Interior Car Cleaning: Make the Cabin Feel Properly Clean
The parts you touch every day often make the biggest difference: the door handle, armrest, seat seams and the screen in front of you. Start with a sensible order, then choose the method for each material. You’ll get a more complete result without wiping dust back onto a seat you have just finished.
Follow a complete cabin routine
Use the interior-cleaning guide to organise mats, vacuuming, surfaces and glass. Start wet jobs early enough to dry, and finish by sitting in your normal driving position to check the view you’ll actually use.
Choose the seat material first
| Your seats | Where to begin |
|---|---|
| Woven fabric | Cleaning fabric without unnecessary soaking |
| Finished leather | An even, comfortable leather finish |
| Alcantara | Gentle care and pile inspection |
If suitable fabric needs a deeper wash, compare a spray extractor and wet-and-dry vacuum before buying. If the seats are already clean and dry, consider whether fabric protection fits the available time.
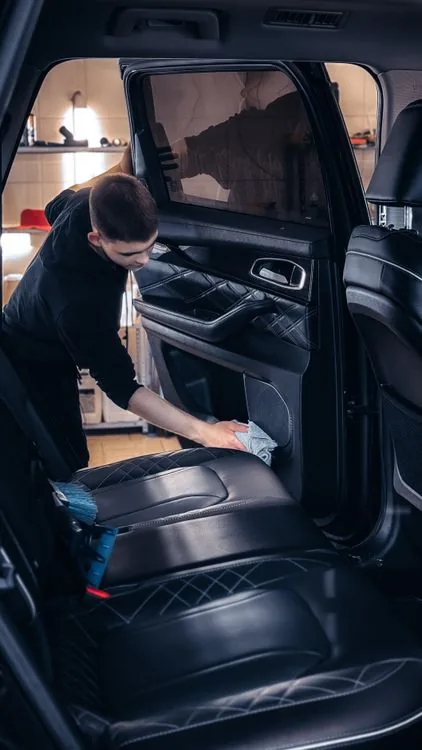
Reach the smaller details
Choose a vacuum for the gaps beside the seat and a brush that brings accessible dust towards the nozzle. Follow the touchscreen method for the display and glass cleaning for windows.
For marks overhead, use the headlining guide. Its controlled cloth method belongs to that surface; carpet-cleaning techniques need to stay with the carpet.
Finish the floor properly
The mat guide separates carpet from rinseable liners and includes drying and refitting. If hair is caught in the textile, use the dog-hair method before introducing moisture.
For a concentrate you already own, the APC tables help you measure a supported dilution correctly. Keep the product’s task instructions beside the numbers.
My straightforward product starting point
Interior Shampoo has helped me lift built-up film from suitable cabin surfaces. Pair it with clean cloths and the correct material method, then judge the finish once dry. For a wider shopping list, see the product guide.