Some links in my articles are affiliate links. I may earn a commission when you buy through them.
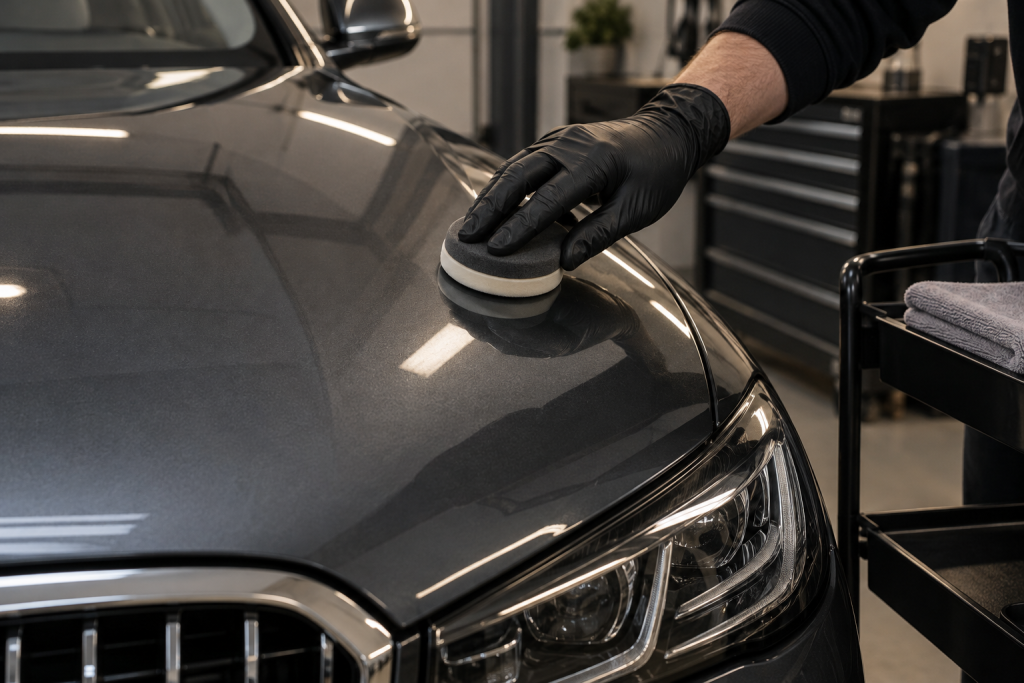
You wash the car, step back, and the paint still looks a little tired. Then the sun comes out and shows you every swirl you hoped had disappeared. A good polish can make a lovely difference, but the bottle needs to match the improvement you’re after.
For an ordinary glossy car I’d like to improve by hand, my first choice is Autoglym Super Resin Polish. I’d choose Meguiar’s Ultimate Polish for the final gloss before waxing, and Meguiar’s Ultimate Compound when visible defects need a stronger correction step. You don’t need to buy all three: start with the job your paint actually needs.
Best for a straightforward hand polish
Super Resin is the one I’d buy for a family car that needs its gloss bringing back without making machine polishing the weekend’s main event. It combines light polishing, filling and a protective wax, so it suits an improvement-and-finish job in one bottle.
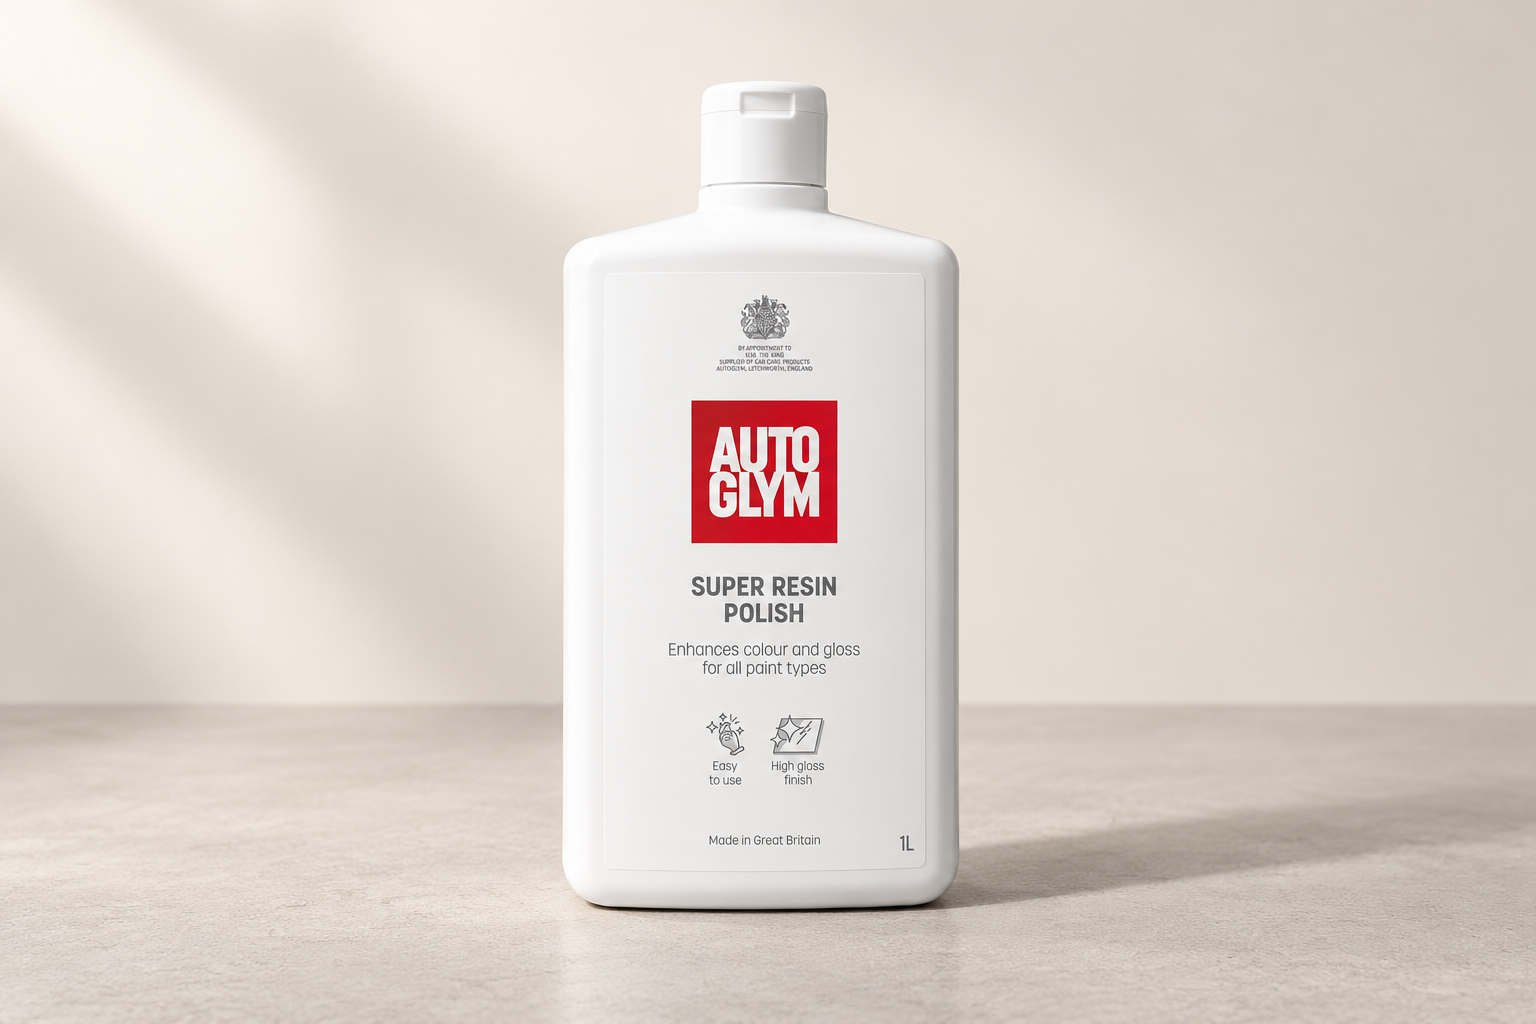
Super Resin gives lightly marked paint a clearer finish after buffing. Work a small section carefully rather than coating half the car in product.
The filling part matters when you’re buying. A mark can become less visible without being completely removed. That’s useful if you want a presentable car and sensible effort; it doesn’t mean a deep scratch has been repaired. Inspect the dry paint in different light before deciding it needs another pass.
Apply a thin layer to clean, dry paint with a suitable applicator, let it dry, then buff with a clean microfibre. Keep it off unpainted plastic and rubber. Autoglym excludes matt and satin paint, wraps and satin vinyl decals in its current application directions.
I’d choose Super Resin for a normal wash-and-polish afternoon followed, if wanted, by compatible protection. For a ceramic-coating preparation job I’d use the coating maker’s polishing and residue-removal process: a finish containing wax and fillers isn’t a shortcut to a coating-ready surface.
Best for the gloss stage before wax
If the paint is already in decent shape, or you’ve finished the heavier correction, Ultimate Polish makes more sense. Meguiar’s positions it as the last polishing stage before wax, with polishing oils to enrich the appearance, particularly on dark colours.
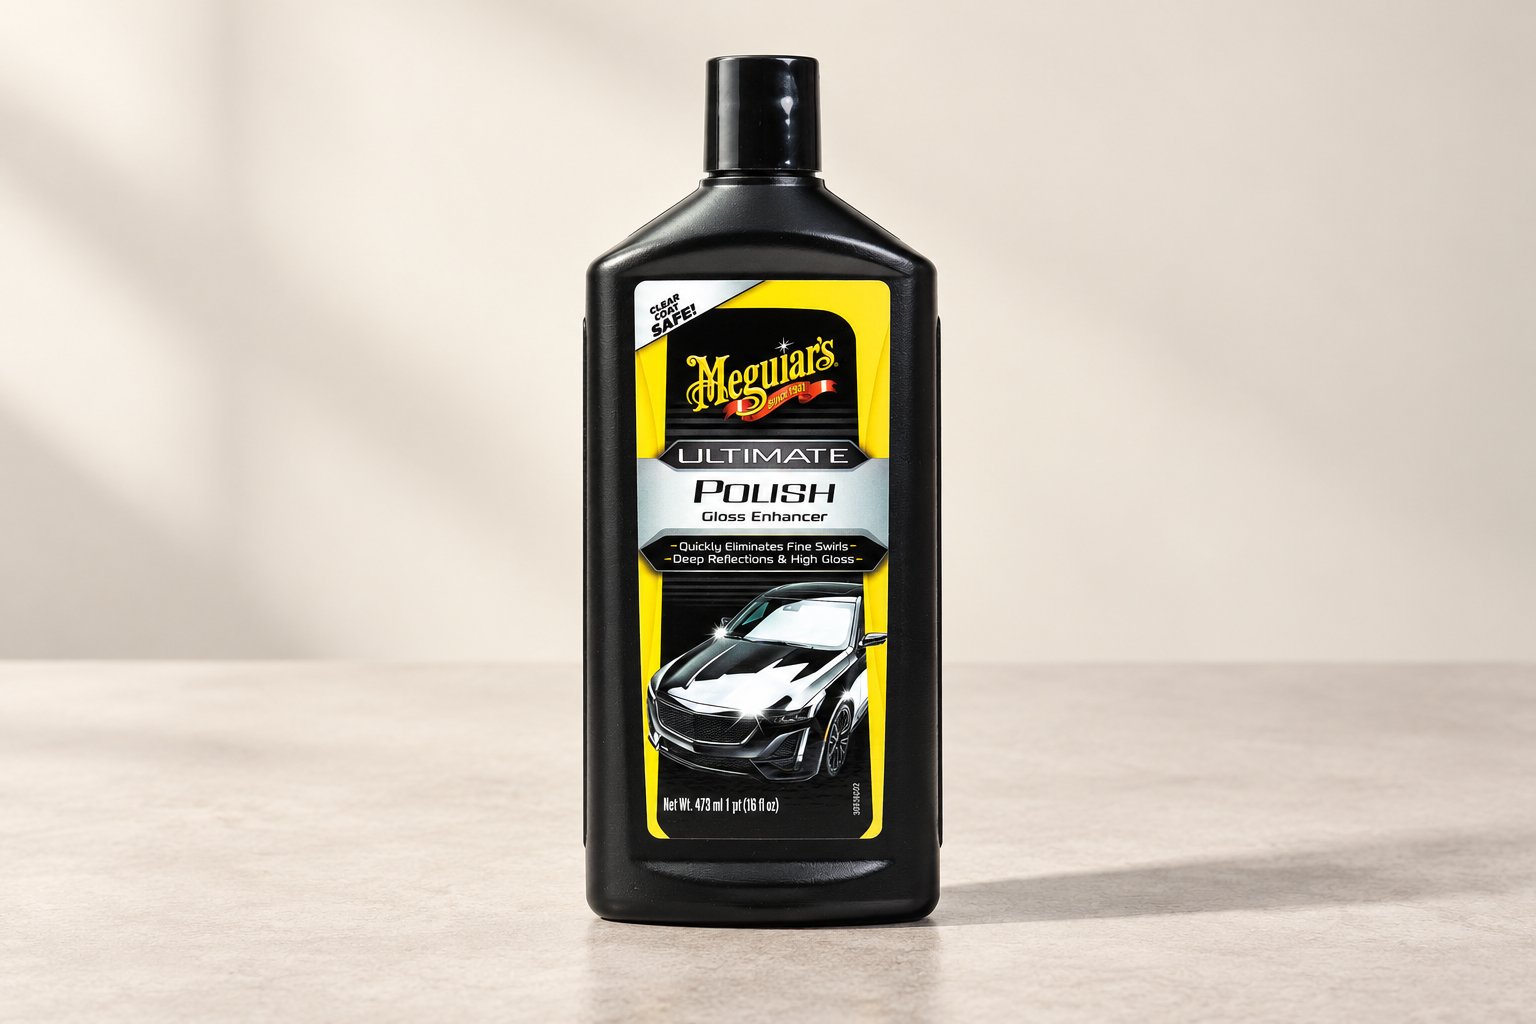
Light marks look less distracting after polishing and buffing the area clean. It’s a good fit when the aim is to refine what you already have, rather than keep cutting at a defect that needs a different approach.
I’d use it on glossy paint that looks sound but could use a nicer final finish. Black and dark metallic cars tend to make small imperfections and uneven residue easy to see, so check the panel from the side as well as straight on. Silver paint deserves the same inspection; it simply hides some things more politely.
Ultimate Polish is a pre-wax product, so plan the protection that follows. It isn’t the bottle I’d buy as my only wash-and-protect step. Meguiar’s UK product guidance also supports dual-action application; the pad and technique still need to suit the paint.
After machine correction, inspect the first section before deciding whether another polish stage is worthwhile. If the finish is already clear, adding work for the sake of completing a three-step list won’t improve your afternoon.
Best when the paint needs correction
For visible swirls, oxidation or suitable blemishes that a gentle finish hasn’t dealt with, I’d choose Ultimate Compound from this shortlist. It is an abrasive correction product, usable by hand or dual-action machine, rather than an interchangeable version of a finishing polish.
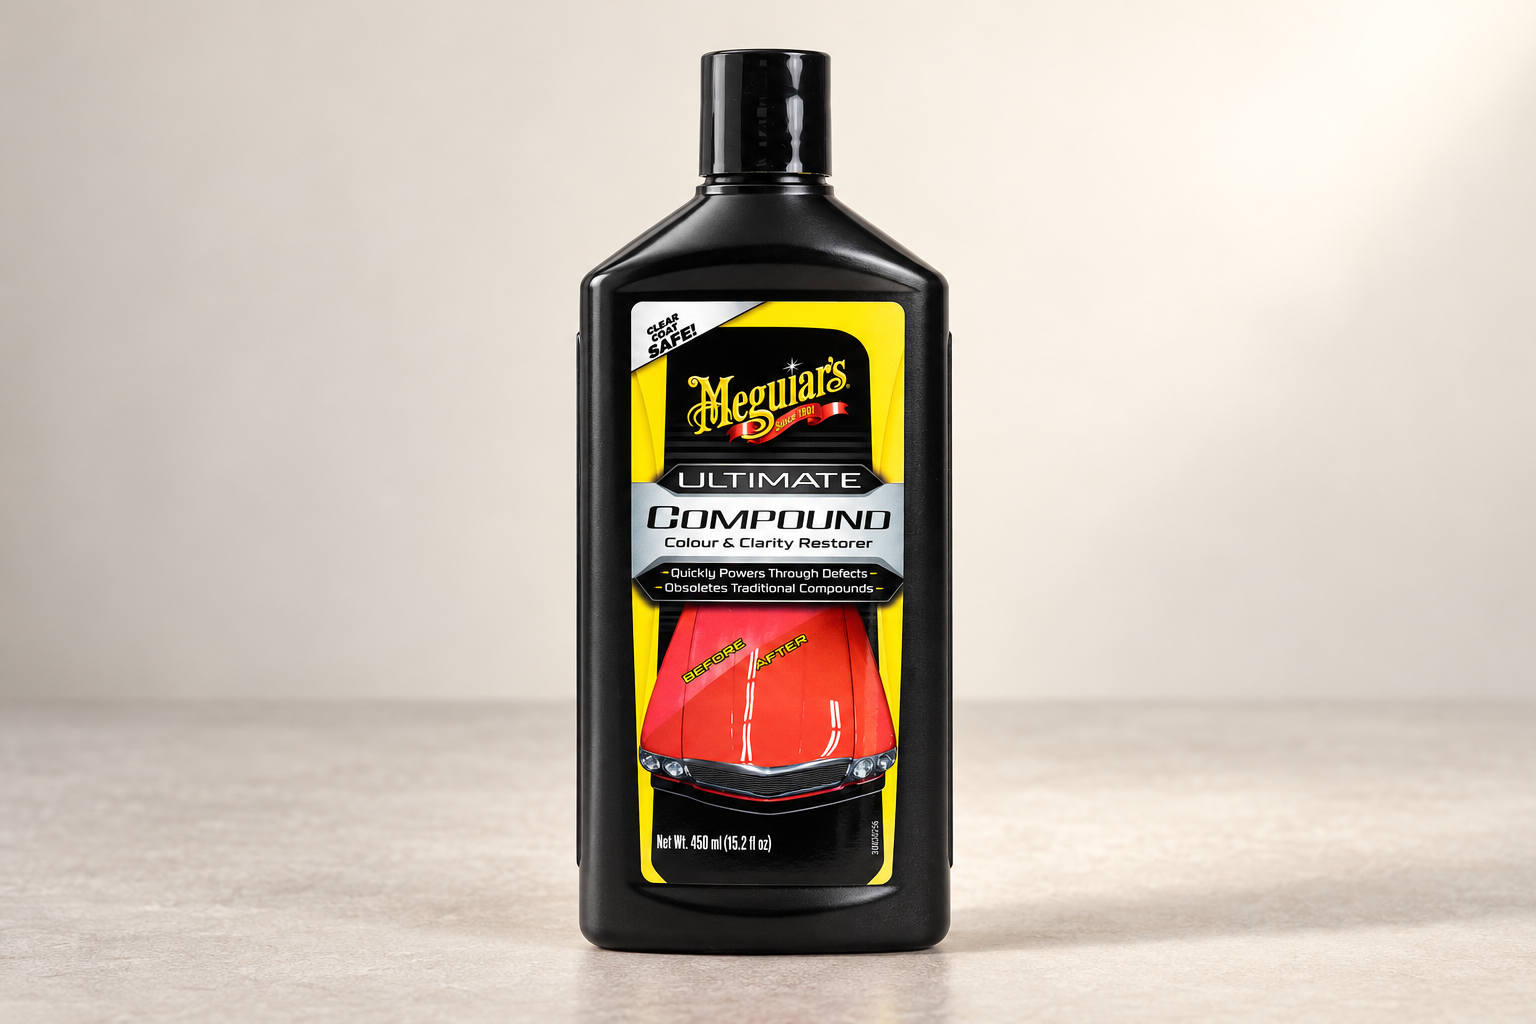
Small, controlled passes can make light marks less distracting. Work modest amounts, wipe away the residue and check the paint between passes before deciding whether more work is justified.
Meguiar’s UK guidance describes its correction role and hand/DA use. That makes Ultimate Compound the appropriate choice here when removal, rather than an enhanced final appearance alone, is the priority. A heavier job still needs a suitable pad, clean working face and careful inspection.
You can’t judge the result while the panel is covered in residue. Wipe it clean, compare with the adjacent area and look for both the original defect and any new haze. If refinement is needed, that’s where a finishing stage earns its place. Avoid treating a stubborn, deep mark as permission to keep removing paint.
For the difference between these stages, see compound versus finishing polish. If you’re buying your first machine as well, the beginner machine-polishing guide explains the equipment and working sequence.
What I’d check before choosing a bottle
Are you improving the appearance or removing a defect?
For a car you want to enjoy looking at, light polishing and filling can be a very sensible result. If you’re preparing paint for a coating or checking permanent correction, you need to distinguish the actual paint finish from oils, wax and fillers left on it. The protection you plan to use determines the preparation after polishing.
Is the surface ordinary glossy paint?
These choices are for suitable glossy automotive paint. Matt paint, satin finishes, wraps and paint protection film need their own approved care routine. A patch that has been repainted, exposed edges or failing lacquer also changes the job. Check what surface you’re working on before reaching for an abrasive.
If the cloudy surface is a headlight lens, use the headlight-restorer guide to choose the lens-compatible product and finishing process.
Will you work by hand or machine?
Hand polishing suits smaller improvements and local areas. A machine gives you a different way of working, but buying one doesn’t automatically make a stronger product the right choice. Start with a manageable test section and the least aggressive suitable combination. Use the hand-polishing method if you want a practical starting point without a machine.
What happens after polishing?
If wax is next, a compatible pre-wax finish can suit you well. If a ceramic coating is next, follow its specified preparation so it bonds to the surface it was designed for. If a spray sealant is next, check that it can go over the polish you’ve chosen. The spray-sealant guide explains the wet and dry application choices.
For a hand-applied finish after polishing, compare the liquid and paste wax options, then use the thin-coat waxing method to plan application and removal.
A small test section can save a lot of work
Wash first and deal with contamination that would otherwise get dragged through the polishing step. Choose an area large enough to judge but small enough to finish comfortably. Keep the untreated area beside it as your reference.
Work and remove the product according to its directions, then inspect with the residue gone. Look in direct and softer light: one flattering angle can make the panel look finished while another still shows the marks.
If the improvement suits what you’re trying to achieve, repeat that approach around the car. If the finish is clear but one isolated scratch remains, give that scratch a separate decision. You can have a very smart-looking car without chasing every last mark.
Do you need a separate polish for black cars?
The colour changes how easily you see defects; it doesn’t, on its own, tell you which abrasive strength to buy. I’d choose Ultimate Polish when a dark glossy car is ready for its pre-wax gloss stage, and Super Resin for a practical hand enhancement. If swirls are the main problem, choose the correction method around the paint condition, not a black-car label.
For most owners starting with a washed, lightly tired car, I’d still begin with the hand-polish choice. Spend the extra effort on a clean applicator, thin application and a proper final inspection; those are far more useful than a shelf full of bottles doing nearly the same job.