Some links in my articles are affiliate links. I may earn a commission when you buy through them.
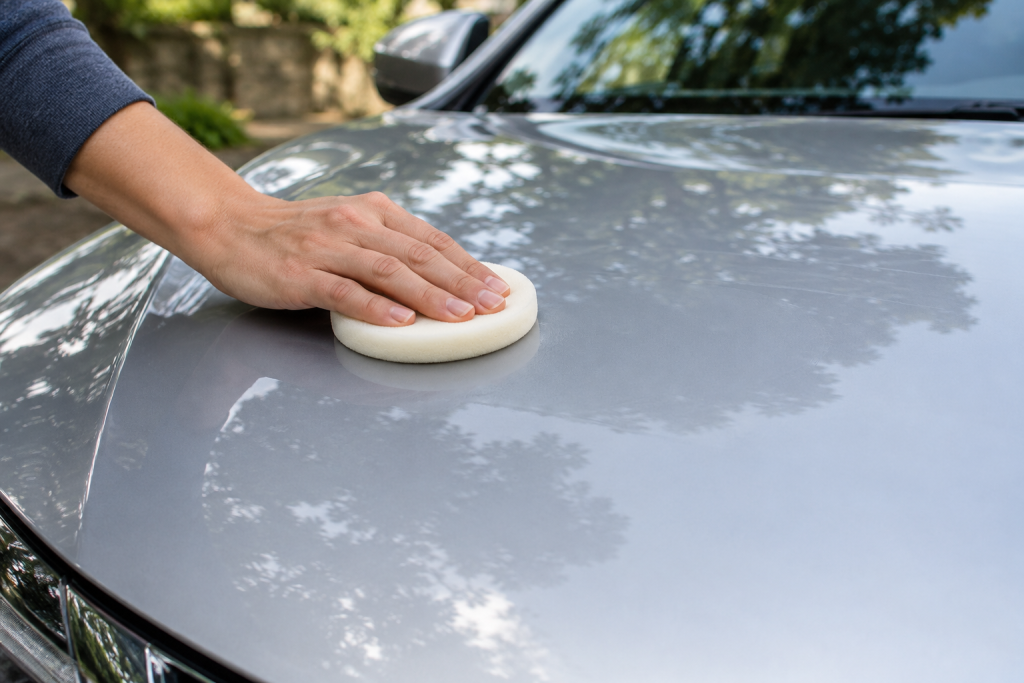
Waxing by hand should finish a good wash nicely. If it turns into a battle with white residue or greasy-looking smears, the amount on the pad and the removal stage are the first things I’d check. Start with one section so you can get both right before working round the car.
Work on clean, dry, cool gloss paint. Spread a thin, even film, let it reach its product-specific removal stage, then buff with clean microfibre faces. My liquid starting point is Meguiar’s Ultimate Liquid Wax; Autoglym Ultra High Definition Wax is the paste alternative. Both include a pad and cloth, and the steps below explain their different loading and removal routines.
- Wash, dry and inspect the paint.
- Prepare the pad and spread a thin coat.
- Check a small area at the right removal stage.
- Buff, change cloth faces and inspect the edges.
Keep conventional gloss wax away from matte/satin finishes and use the finish maker’s approved method on wraps or decals. On a recently repainted panel, ask the refinisher when waxing is appropriate.
1. Wash, dry and check what needs attention
Wash thoroughly and dry the car, including the water that collects behind mirrors, handles and badges. If a drip runs out from behind a mirror, dry it before you wax that panel. The drying guide covers those awkward areas.
Look at the clean paint in daylight. Deal with identified contamination before waxing, and decide whether visible marks actually need polishing. If the paint is already clean and looks the way you want it, move on to protection. Use the polish-versus-wax guide if you’re expecting wax to correct scratches.
Choose shade and cool panels. Leave enough light and time to buff the car properly; check any later dry-period requirement before starting on a driveway where showers or dew may interrupt it.
2. Prepare the pad and your finishing cloths
Set out the wax, its applicator and clean microfibre cloths, including a spare for the final wipe. Keep them on a clean tray or in a bag. A bottle balanced on a bonnet can trap grit beneath it; a dropped pad goes aside for cleaning.
For Ultimate Liquid Wax, shake the bottle and put a small amount onto the supplied foam pad. For UHD Wax, dampen the white face of the applicator and dab it lightly onto the wax in the pot. The damp-pad instruction belongs to that paste routine; you don’t need to soak every wax pad or dilute the bottle.
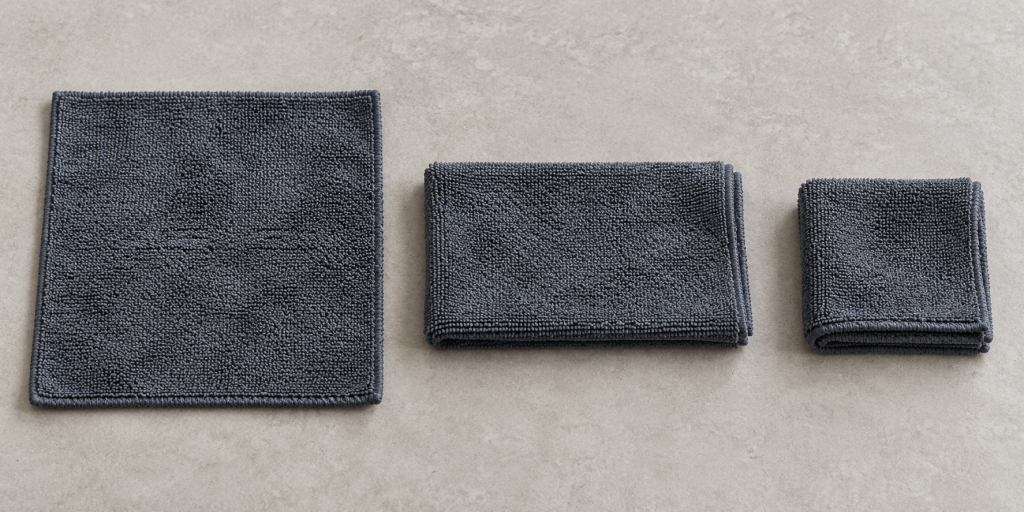
Fold a square cloth in half and then in half again. You can turn or refold it to expose eight working faces, changing to another cloth when they become loaded. Keep a clean one for your final inspection, separate from anything used on wheels or oily trim. The microfibre guide helps you choose suitable cloths.
If you haven’t picked a wax yet, the wax buying guide explains which of the two routines I’d choose.
3. Spread a thin film you can remove easily
Start on a section you can reach without leaning against the paint. On a bonnet or roof, divide the area rather than stretching across it with a loaded pad. Keep the pad’s face against the panel and spread with light, overlapping passes so you cover the gaps between them.
Aim for a faint, even film. You should still be able to see the paint’s colour and reflections through it. Thick white tracks, blobs at the start of a pass or a raised band where strokes meet tell you to reduce the next load. Continue spreading the product already on the pad before adding more; once it is carrying wax, it needs less topping up than at the start.
Meguiar’s UK quantity guide uses roughly a £1-coin-sized amount for half an average bonnet as an illustration for its waxes. Treat that as a starting reference, then watch the coverage on your own car. It is not a dose for every panel, and you don’t need a fresh blob for every pass.
For the paste, use light circular movements with the damp applicator, as Autoglym directs. Gently dab the surface of the pot instead of scooping out a lump. Work carefully beside badges and trim, keeping the pad within the permitted paintwork. This wax’s instructions exclude unpainted plastic/rubber, matte or satin paint, wraps and satin vinyl decals.
4. Check that the wax is ready to buff
Ultimate Liquid Wax: Meguiar’s G210516 guidance gives a 5–10-minute drying stage for a thin coat on one panel. Cool or humid conditions can extend it. Check your UK bottle for any updated directions.
UHD Wax: Autoglym specifies 10–15 minutes before buffing. Keep its timing with its own damp-pad method.
Try a small area with a clean cloth face before committing to the whole panel. If it wipes clear, continue. If a wet film smears and you are still within the drying stage, leave it a little longer and check again. Meguiar’s UK detailing guide illustrates the same clean-versus-smeared cue with a finger swipe; use a clean fingertip gently if following that test, never a fingernail.
Keep track of the first section you applied. On your first attempt with a wax, remove and inspect it before coating the rest of the car. You can adjust the next load while there’s still only a small area to deal with.
5. Buff with fresh cloth faces
Use light pressure to lift the residue, turning the cloth as it loads up. Follow with a clean face for the finishing wipe. For the paste, Autoglym recommends straight-line buffing. You should be able to see the cleared area growing as the cloth moves over the panel.
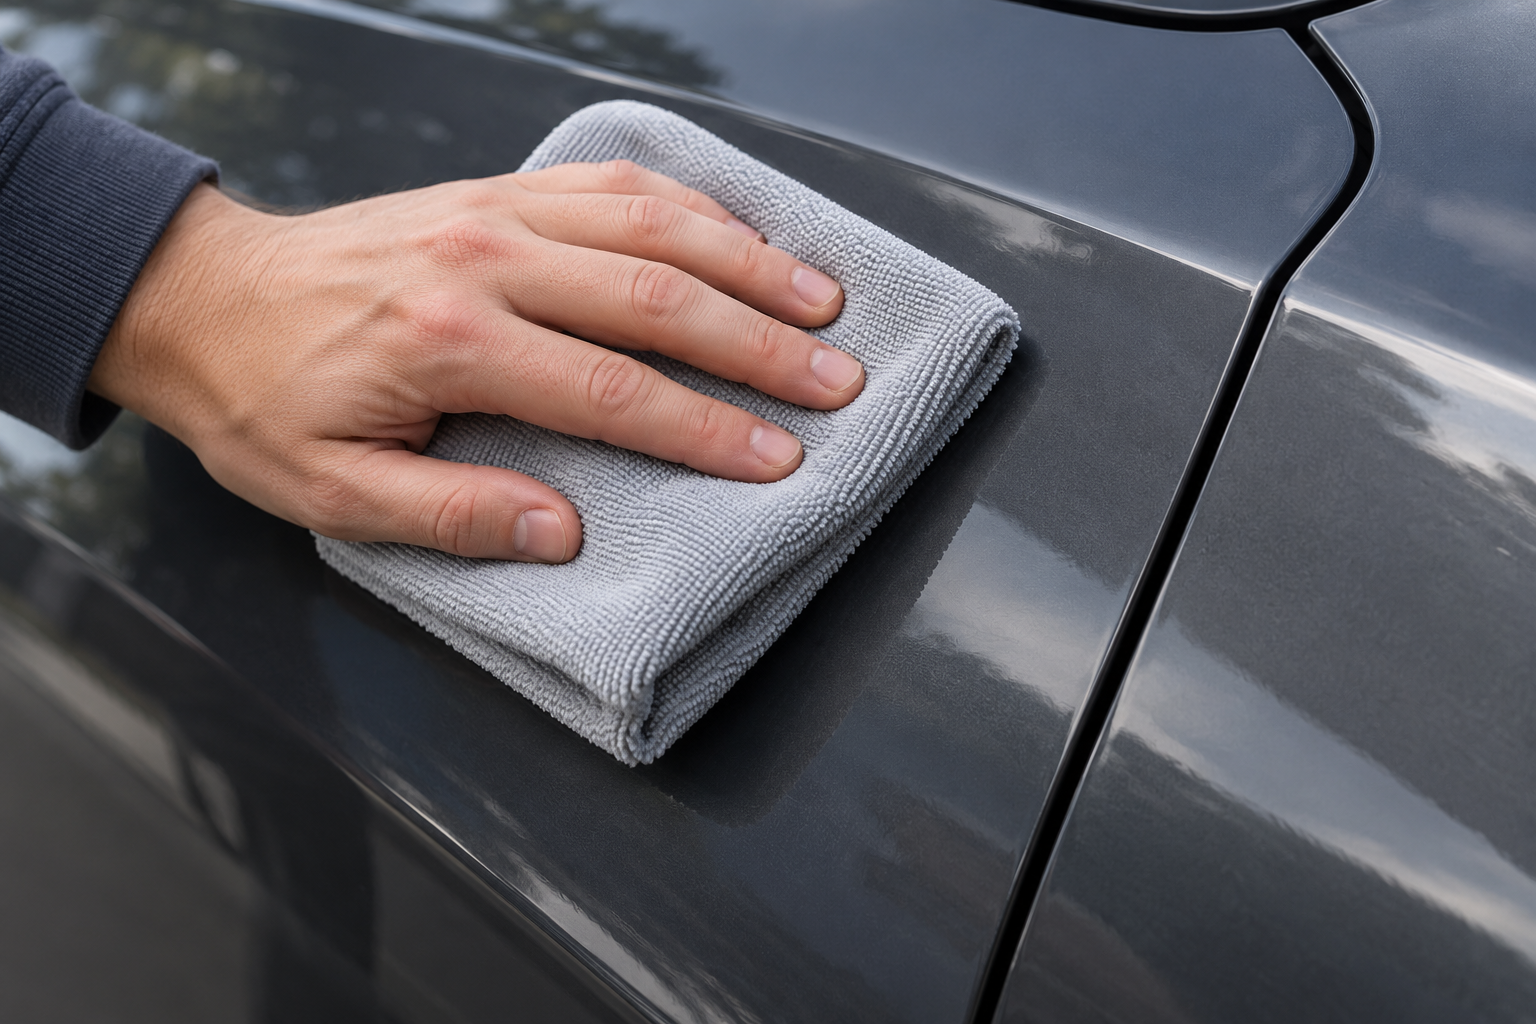
If the cloth starts dragging or spreading haze back over an area you’ve just cleared, change to a fresh face before increasing the pressure. Use a second clean cloth if refolding no longer gives you a clean working surface.
6. Sort out smears before adding more wax
A wet-looking smear: check the drying stage and change cloth faces. If it is still early, wait and retest a small area.
A heavy overlap or white ridge: work on that small area with a fresh finishing cloth and gentle passes. I give those joins a final wipe before considering more product. If it remains stubborn, stop coating new panels and reduce the loading on the next section. Both makers warn that heavy application makes removal harder; pressing harder over the whole panel adds work without diagnosing it.
A mark that stays after loose residue is gone: change your viewing angle. Establish whether you are seeing remaining wax, contamination or a mark in the paint before trying another treatment. Don’t add an extra coat to hide a patch you haven’t identified, or introduce a solvent onto freshly finished paint. For hardened residue that will not lift gently, use the wax maker’s specific removal advice for that product and surface rather than experimenting with a stronger cleaner.
Check badges, lower panel edges and the joins between sections. If product has reached textured trim, use the material-specific approach in the plastic-trim guide; scraping it with a fingernail can leave another problem to fix.
If the white mark came from polishing before the wax, the polish-residue guide covers Autoglym’s specific cleanup method and the checks to make once the surface is dry.
7. Finish the inspection and put the kit away
Step back and look along each panel from a second angle. An even sheen beside a badge matters as much as the shine in the middle of the bonnet. Once it looks right, leave it alone rather than doing another round with a cloth already full of residue.
The waiting time before buffing is separate from any later instruction about water, washing or another layer. Follow that later period on your wax’s pack before rinsing the car just to admire the beads.
Clean the applicator after use; for the paste pad, Autoglym specifies mild detergent, rinsing and air drying. Use the microfibre-washing routine for the cloths and store everything dry. At the next wash, use a compatible shampoo and inspect the clean finish before deciding whether it needs more wax.