Some links in my articles are affiliate links. I may earn a commission when you buy through them.
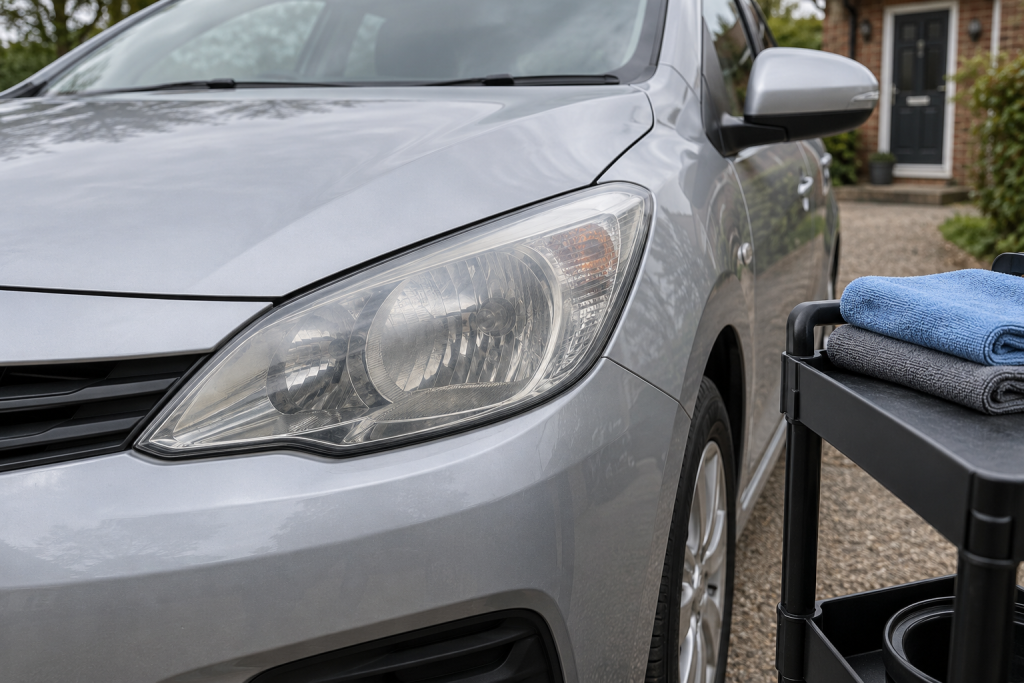
You’ve washed the car, the paint looks lovely, and the headlights are still letting the front end down. For light exterior haze on a compatible lens, my first choice for a straightforward hand polish is T-Cut Headlight Polishing Compound. Its two-cloth method is easy to control around the borders. If you also need a separate finishing product for uncoated clear plastic, choose the T-Cut Headlight Restoration Kit instead. Rain-X X-treme Clean & Headlight Restorer suits a clean-and-rinse routine and can also earn its place as a glass cleaner on the surfaces its directions allow.
Choose after looking at the dry lamp. A smear on the outside, a deteriorating surface and moisture inside the unit need different answers. The cloudy-headlight overview helps with that first inspection. The choices here are for an accessible exterior surface that the product is approved to treat.
For a simple hand-polishing stage
A dedicated headlight compound, with separate application and removal cloths. A useful choice when light exterior haze is the job and you have planned any required finishing stage.
Before buying: The 150g compound is a single product. It is not the compound-and-sealant kit, and T-Cut excludes windows and windscreens.
For polishing plus a separate finish
Combines headlight compound with a dedicated restorer sealant, so the finishing stage can be planned with the polish.
Before buying: The kit is described for uncoated clear plastic headlights. Check the actual pack contents; the compound quantity differs between listings.
For a rinse-off cleaning routine
A 325ml dual-purpose cleaner for the maker’s approved glass and plastic applications, useful when you want to clean headlights and have a separate glass-cleaning use for the bottle.
Before buying: Rain-X’s UK directions include a water rinse. This bottle does not supply a separate headlight sealant.
What are you trying to remove?
Wash the lamp and let it dry before buying. Road dirt and leftover wash product can make the lens look worse than it is. Inspect from the side as well as straight on, and look at the narrow strip beside the painted panel. A clean centre can distract you from a hazy border.
A polishing product makes sense when the unwanted film or light haze is on the outside and the lens is otherwise sound. If you can see water or mist behind a clean outer surface, the cloth cannot reach it. Cracks, a visibly lifting surface layer or damage within the unit are reasons to stop treating this as another quick polishing job.
Avoid buying solely from a dramatic split-lens photograph. The material, condition and complete process matter more than how wet and glossy a demonstration looks halfway through. Compare the finished lens dry, in the same daylight as the other lamp.
My choice for a controlled hand polish
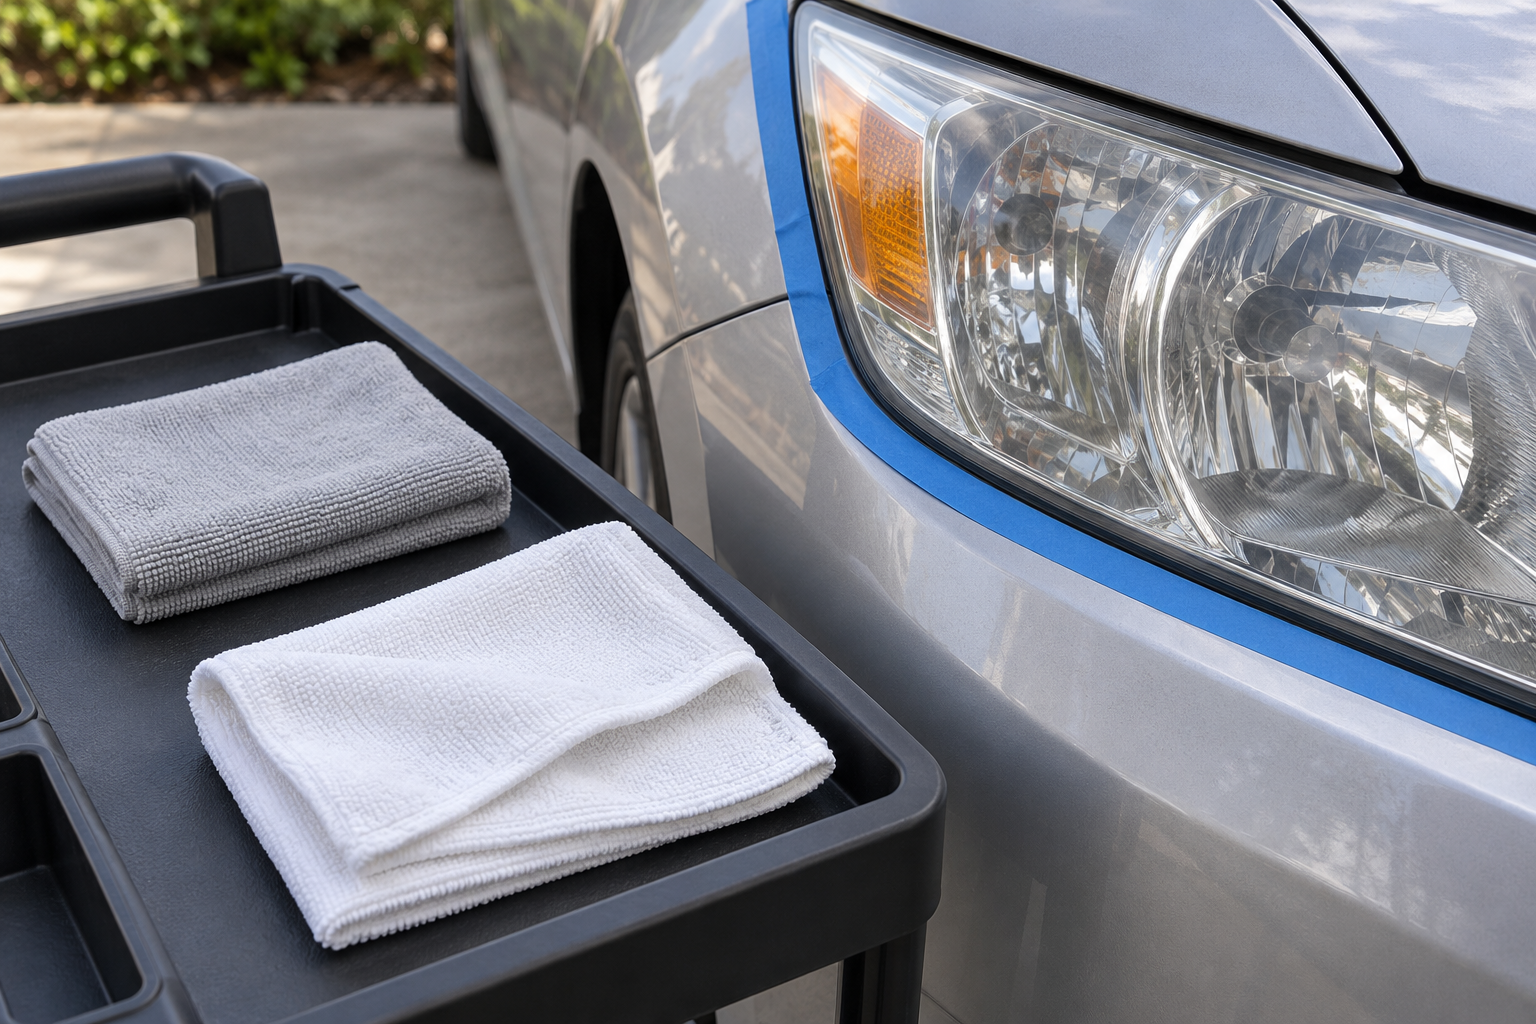
T-Cut compound is the one I’d reach for when I want a dedicated headlight-polishing stage without assembling a machine setup. T-Cut’s directions specify washing and thoroughly drying first, masking the neighbouring paint, then using one microfibre to work the compound in circles and another to remove the excess.
Keeping those cloths separate is useful around the edges. You can remove the remaining film and inspect the border without picking up another load of compound from the application cloth. I pay particular attention to that last narrow strip beside the trim; it is easy to finish the broad face and leave a dull outline.
T-Cut lists plastic, glass and acrylic headlights for this compound, but excludes windows and windscreens. Identify the lens and any existing coating before you start. Don’t turn the broad material list into permission to polish a visibly damaged or peeling finish.
You don’t need a polisher to follow the hand method. If you already own one, the product’s machine instructions are a separate method with a specified pad. Buying a machine just to avoid working a small headlight by hand would be well down my list. The hand-polishing method covers preparation, cloth handling and inspection in more detail.
When I would buy the compound-and-sealant kit
The T-Cut kit is the more convenient purchase when the lens fits its uncoated-clear-plastic description and you want both stages together. You polish, remove the residue, then apply the separate sealant over the whole lens and wipe away the excess.
The kit listing linked here pairs 75g of compound with 125ml of sealant; the standalone compound tube is 150g. Check the contents of the particular pack you are buying and arrange clean cloths for both stages. A familiar photograph of the front of the box can easily hide a different bundle.
A kit name does not tell you whether sandpaper, a drill attachment or a sealant is included. This is a compound-and-sealant choice. If you are comparing it with a sanding system, read that system’s full preparation and replacement-protection method before deciding which job you are prepared to undertake.
The separate finish also needs clean cloths. Reusing a compound-loaded cloth for the sealant carries polishing residue into the next stage. Put the cloths out before opening either product, with the finishing pair somewhere they won’t collect splashes or dust.
When Rain-X is the more useful bottle
Choose Rain-X cleaner if its rinse-off method suits your wash setup and you also want its approved glass-cleaning function. Rain-X’s UK directions give a short sequence: remove loose dirt with water, apply to a soft cloth or the approved surface, rub in circles using pressure, then rinse and dry with paper towel or a clean, soft cotton cloth.
Have the rinse water ready before applying it. Complete Rain-X’s own UK rinse-and-dry sequence before assessing the finish. Keep runoff and residue controlled around the neighbouring panels and check the bottle’s material instructions.
Its glass-cleaning role is a useful distinction from the T-Cut headlight compound, which specifically excludes windows.
Plan the finish before starting
A compound bottle, a cleaning cream and a system with a separate sealant are different purchases. If you are removing or reworking an existing protective finish, identify the complete approved restoration system first. Don’t assume a paint wax or ceramic coating already in the cupboard is automatically the right finish for the lamp.
T-Cut describes its kit sealant as protection against sunlight, rain and bird lime. Use it as the specified finishing stage. Keep the product names and instructions so you know what is on the surface next time.
If the headlights have already been polished and the haze has returned, use the checks for recurring cloudiness before buying another abrasive. You may need to remove residue, complete a missed stage or investigate a problem that is not on the outside at all.