Some links in my articles are affiliate links. I may earn a commission when you buy through them.
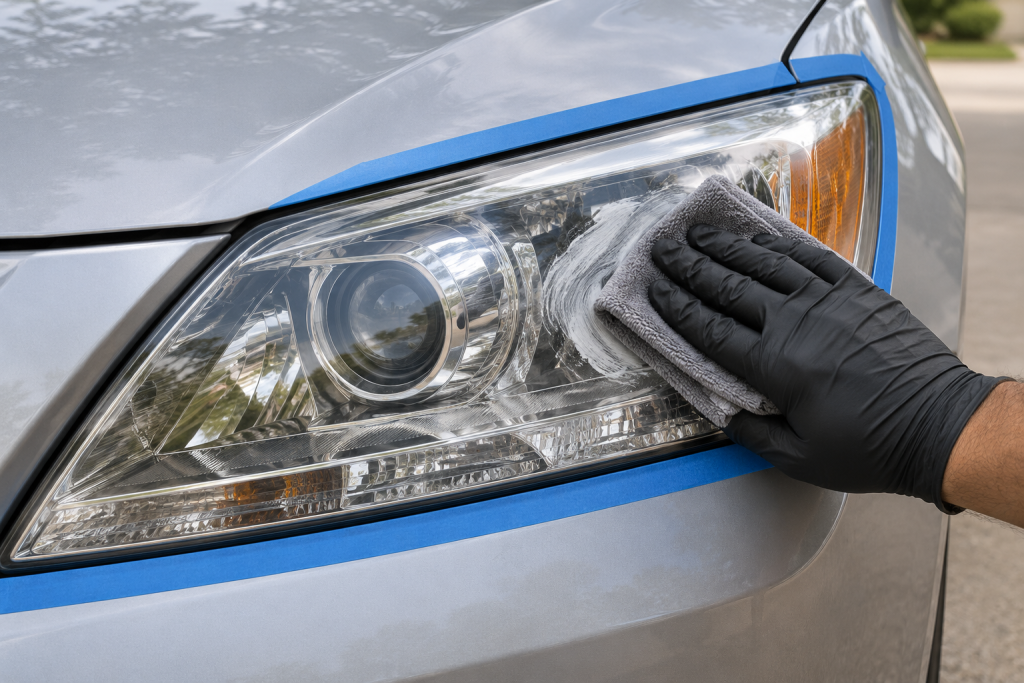
It’s surprisingly easy to make the middle of a headlight look better and leave a cloudy outline beside the paint. With T-Cut Headlight Polishing Compound, I work one lamp at a time, keep the application and removal cloths separate, and inspect the dry border before moving on. The hand method needs clean cloths and careful access rather than a machine.
This is for a sound, compatible exterior lens with light haze. Wash and inspect first: moisture behind the lens, cracks or a lifting surface need a different decision. Use the headlight-restorer buying guide if you still need to choose between a compound, a compound-and-sealant kit and a rinse-off cleaner.
- Wash the lens and dry it thoroughly; identify the material and condition before polishing.
- Mask the neighbouring painted edge and set out separate clean application and removal microfibres.
- Apply the headlight compound to the first cloth and work in circular motions, following the lens across its curves and borders.
- Remove the excess with the second cloth, turning to clean faces as you work.
- Inspect dry from several angles, then complete the finishing stage required by your restoration system.
Get a clean, dry view of the lens
Wash the lamp with car shampoo, rinse away the dirt and dry it thoroughly. Take a moment to look at the lens before adding any compound. Check whether the cloudy area is something you can actually reach from outside.
Move your head sideways to change the reflection. Look at the upper edge, the outer corner beside the wing and the lower strip above the bumper. A headlight’s shape can hide a narrow untreated border when you stand directly in front of the car.
Compare both lamps in the same light. If one is in shade and the other catches a bright reflection, the difference can be misleading. Keep the lights switched off while you assess the surface, and choose somewhere you can comfortably see and reach the complete lens.
T-Cut’s current compound directions list plastic, glass and acrylic headlights, with an explicit exclusion for windows and windscreens. A visible coating failure or damaged unit needs assessment before an abrasive process. Don’t use the list of materials as a reason to keep rubbing a defect that is not changing.
Separate the cloths before you open the tube
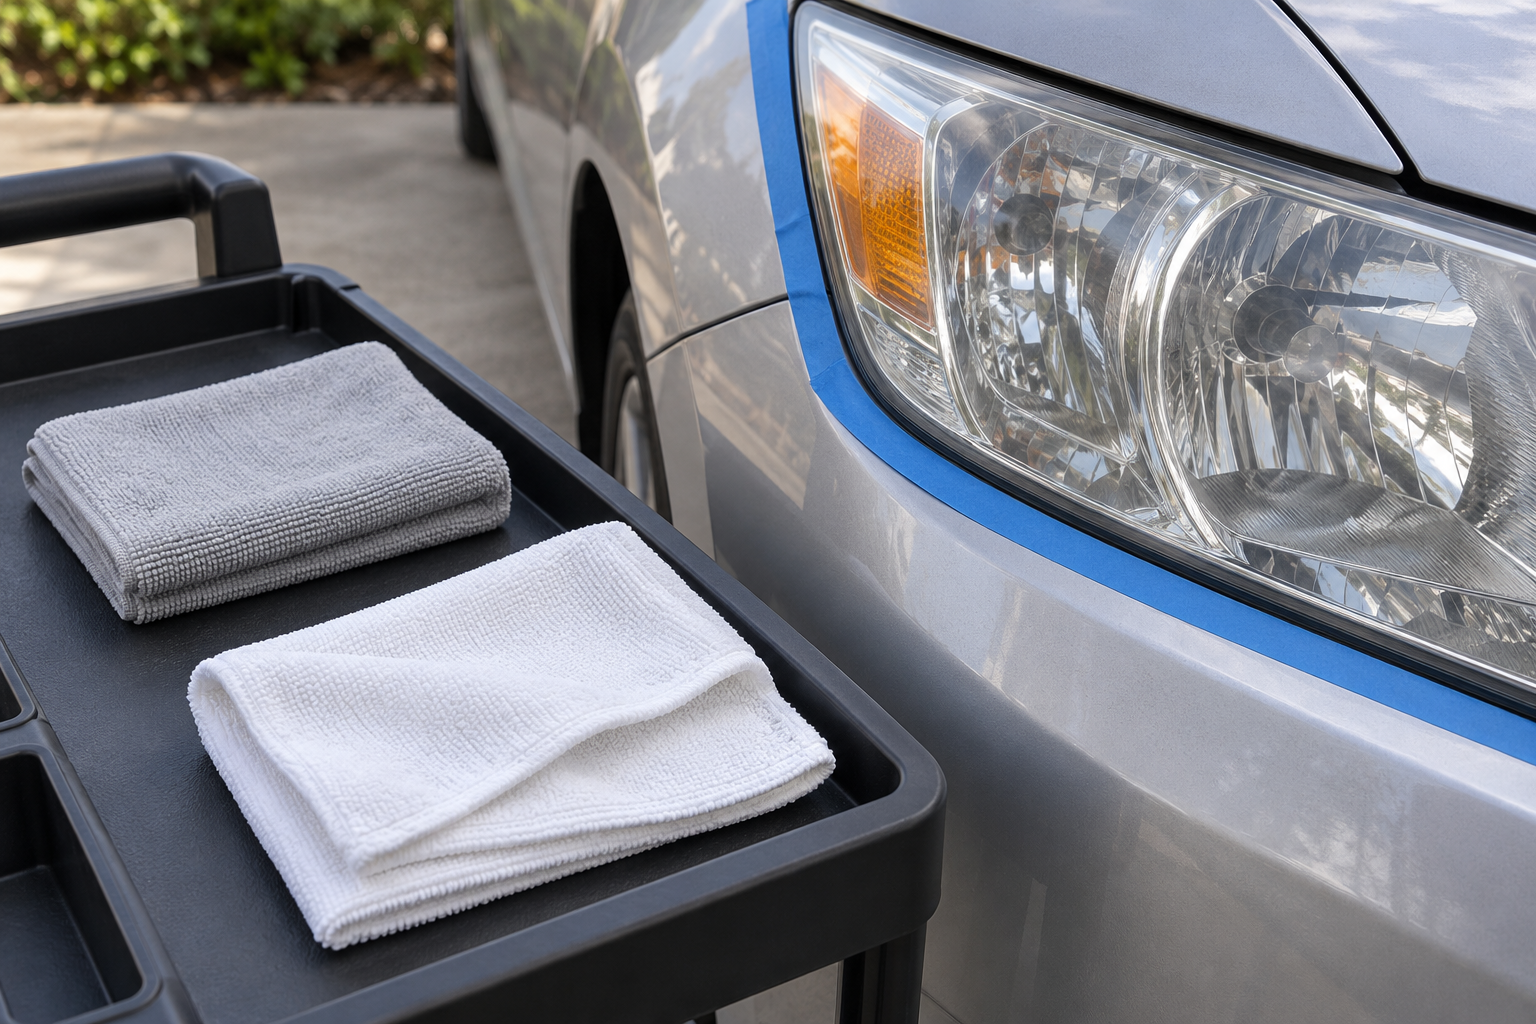
Set out two clean microfibres: one for application and one for removing the excess. Add clean spares if the lenses are awkward or the cloth faces become loaded. A different cloth colour for each job makes it much easier to keep track when you put them down.
Fold the application cloth into a pad you can hold flat. Keep a clean working face between your fingers and the lens rather than pushing a fingernail through a thin corner. Fold the removal cloth so you can turn to another clean face instead of smearing the same residue around.
If a cloth falls on the drive, replace it. Put the clean spares on a clean tray or trolley; the bumper is an easy place to leave a cloth, but it may still hold dirt along its seams.
Mask the paint and make room for the border
T-Cut specifies masking the painted surface around the headlight. Use automotive masking tape suitable for the surrounding finish, following the tape’s own surface instructions. Keep the lens accessible rather than covering the narrow strip you need to polish.
Check the tape around tight corners before you start rubbing. If you cannot reach a border without dragging the cloth onto neighbouring paint or textured trim, change how you hold the folded cloth. Don’t force a bulky handful into a narrow gap.
Keep the bottle or tube and spare cloths off the bonnet. You should be able to change cloth faces or reach a clean spare without leaning your clothing across the car’s front corner.
Work the compound across one lamp
Apply T-Cut compound to the first microfibre, then work it on the lens in circular motions. Keep the working area small enough to see where you have spread the compound and where you have removed it. The product directions do not prescribe a fixed dose or hand-polishing time.
Start on an accessible part of the lens and move across it methodically, including the curves and the border. Keep checking that the cloth remains folded and that you are working the intended surface. Adding more compound while the existing film is still obscuring the view makes assessment harder.
I give the edge beside the trim its own inspection rather than assuming the broad polishing passes reached it. The narrow outline is often easiest to see when you step sideways or crouch slightly.
This article covers hand application. T-Cut’s machine method specifies its own pad and working instructions; hand-polishing movements are not a machine speed guide. There is no need to introduce a power tool to follow the process here.
Remove the film before deciding on another pass
Use the second microfibre to remove the excess. Work around the perimeter as well as across the broad face, turning the cloth to clean faces when it starts moving residue instead of collecting it.
Look again with the surface dry and clear of product. Check from close up, then step back to compare both lights in the same daylight. A wet-looking film is not the finished result you are trying to judge.
If an area is still cloudy, establish whether you have left compound on it, missed a border or reached something this method is not resolving. Wipe away the remaining film before deciding to repeat. Stop if the surface looks damaged, the defect appears internal or the same patch is unchanged after cleaning and assessment.
For a lens that looked good initially and later became cloudy, the recurring-haze checks help you separate leftover film and finishing-stage questions from another polishing decision.
Complete the finish your system requires
The 150g compound is a standalone polishing product. If your restoration needs a separate protective finish, plan that before the job. A paint-protection bottle with a similar name does not establish compatibility with a headlight lens.
The T-Cut Headlight Restoration Kit includes a dedicated restorer sealant for its stated uncoated-clear-plastic use. Its directions call for all compound residue to be removed first, then a small amount of the shaken sealant on a clean cloth, circular coverage over the whole lens and a second clean cloth to remove excess. Use fresh finishing cloths rather than the pair loaded with compound.
Keep the instructions for the actual pack, including any drying or exposure conditions it supplies. Don’t borrow an overnight curing period from a paint coating or a different headlight kit. Once the finishing stage is complete, inspect the borders again and remove the masking tape carefully according to its directions.