Some links in my articles are affiliate links. I may earn a commission when you buy through them.
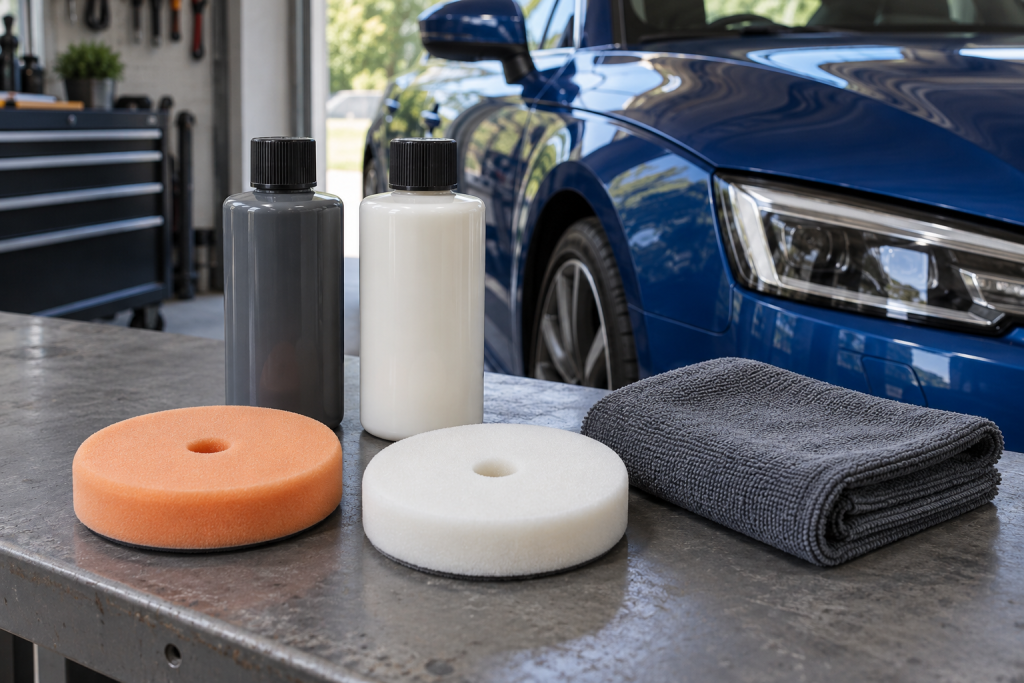
If two bottles both promise to remove swirls and make the paint shine, it’s fair to wonder why you would need a compound and a polish. The distinction becomes much clearer when you look at the car: are you trying to reduce visible defects, refine an already decent finish, or make it look better with a simple hand application?
I’d begin with the mildest combination that can give the improvement you want. A finishing polish is a sensible first trial for fine marks. A compound earns its place when that trial leaves shallow defects you still want to improve. Buying the stronger bottle doesn’t mean you should use it over every panel.
For fine swirls and improving gloss, start by considering Meguiar’s Ultimate Polish. For more obvious shallow defects on suitable glossy paint, Meguiar’s Ultimate Compound is the stronger option I’d test. If you want an uncomplicated hand-applied improvement with filling and protection, Autoglym Super Resin Polish is a different, useful route. These jobs overlap, but they are not identical.
Compound does more of the defect-removal work
A compound is generally intended for a stronger abrasive step than a finishing polish. The actual result depends on the product, pad, machine and paint, so the word on the bottle is a starting description rather than a universal cutting scale.
Meguiar’s Ultimate Compound can make light marks less distracting after washing and decontaminating. Work small areas, wipe away the residue and compare with untreated paint from different angles. It is worth considering for a controlled correction attempt, with the depth of any remaining scratch assessed separately.
It can be used by hand or with a suitable dual action machine. A machine helps with the repeated working action across larger areas; hand use still makes sense for a small accessible patch. Neither method makes a deep scratch safe to chase. Use the scratch assessment guide if you can feel the mark or see a break in the finish.
Finishing polish is for a clearer final appearance
Meguiar’s Ultimate Polish is a useful choice when the main aim is fine-mark improvement and gloss before protection. Work a small clean section and judge the result after wiping away the residue.
The maker describes it as a pre-waxing glaze with polishing oils. That matters if you are comparing immediate appearance with bare-paint correction: some of the visual improvement comes from the product’s finishing character. It’s a good fit for a wax-based finishing routine, but check the preparation requirements before putting a ceramic coating over it.
A fine polish may also refine haze left by a stronger stage. If the compound has reduced the original marks but left a faint grey veil, your next useful trial may be a finer liquid and fresh finishing pad. It usually isn’t a reason to compound the whole panel again. The haze guide helps you distinguish that from residue that simply needs removing.
A filling polish can be the right choice too
Autoglym Super Resin Polish offers another approach for someone who wants a better-looking car without a machine-correction project. Autoglym describes its filling properties as well as its polishing and protective role. The clearer appearance after buffing is an improvement in the finish; it does not mean every mark has been permanently removed.
For a car that needs a tidy-up before normal use, that can be exactly the point. Apply it by the maker’s method on suitable glossy paint, allow the thin layer to dry and buff it off. Keep it off unpainted trim, and don’t use this gloss-restoration approach on matte or satin finishes.
There is no prize for choosing the most abrasive route when the easier one produces the finish you want. Our hand-polishing article covers the practical method, while polish versus wax explains the separate role of protection.
Does a three-bottle system mean three compulsory stages?
No. A staged range gives you different tools for different conditions. The Menzerna three-stage set contains a heavier compound, a medium polish and a fine finishing product. It makes sense for someone who wants those options and is prepared to test combinations, rather than someone who wants a rule saying every bottle must touch every panel.
Menzerna’s current guidance distinguishes the medium-cut role of 2500 from the finer finishing role of 3800. I’d use that distinction to decide where a test should start and what might refine the result. The existence of a heavy-cut bottle doesn’t establish that your paint needs it.
If the mild stage delivers enough improvement, stop there and protect the finish. If you need a stronger stage on one panel, that doesn’t automatically make it necessary on the roof, boot and every door. Paint condition and repair history can differ around the same car.
Make the comparison on one small section
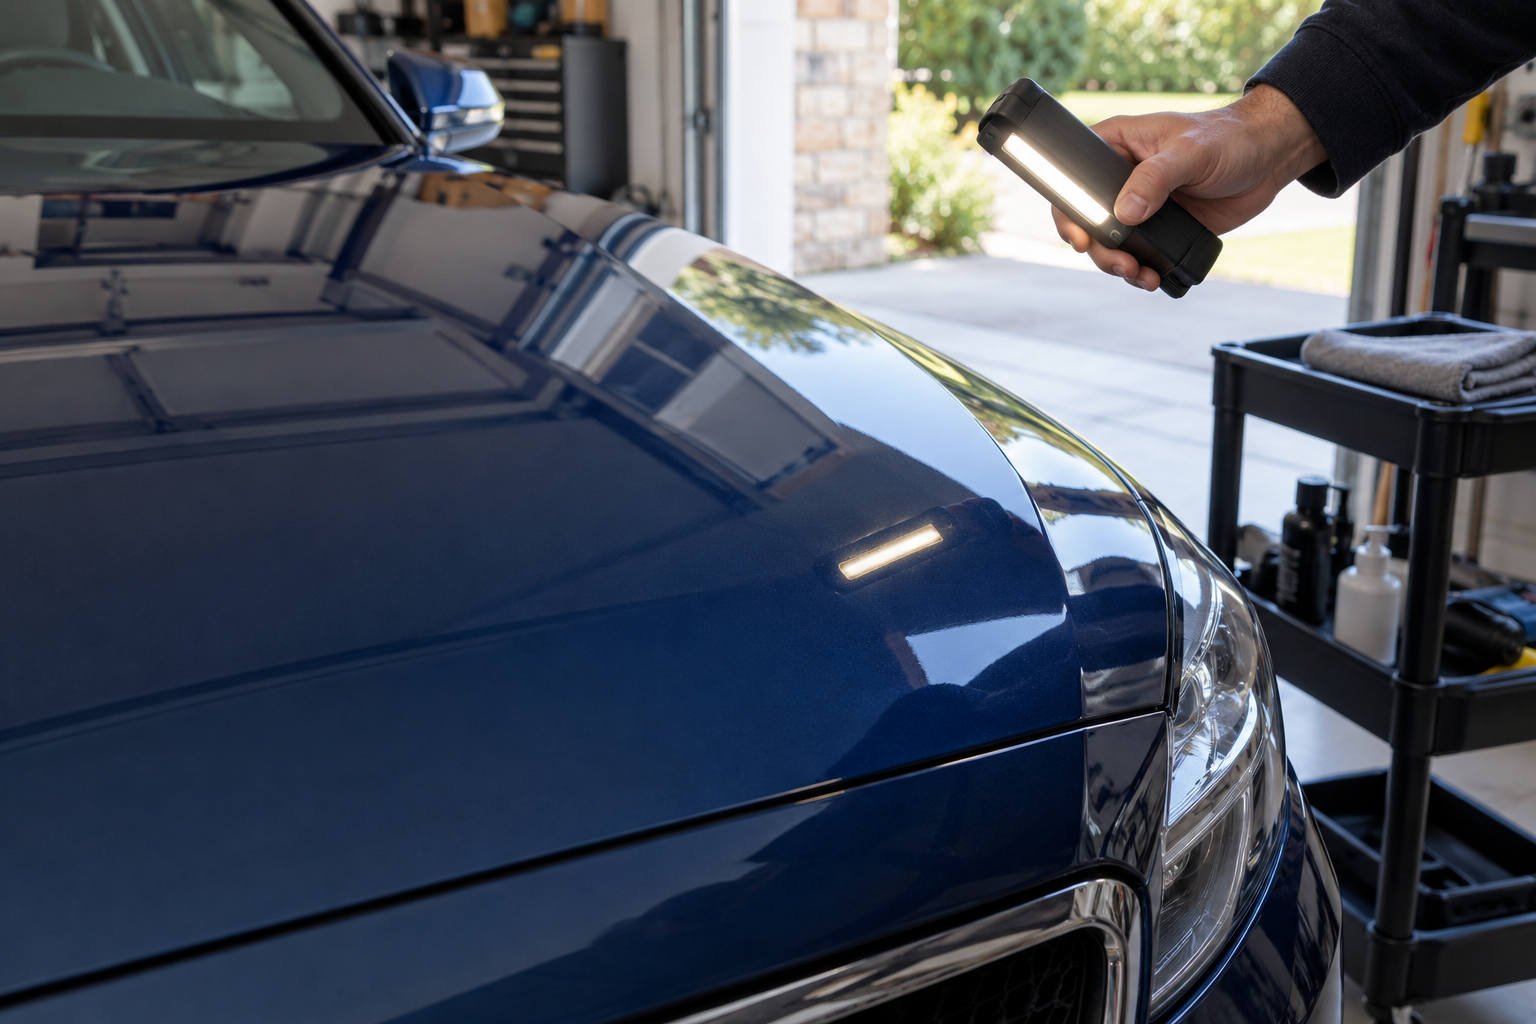
Wash and prepare the paint, then choose a sound area with representative marks. Use a clean, compatible pad and the product’s stated working method. Work the small section, remove residue gently and inspect it beside the neighbouring paint in the same light.
Ask three questions: have the original marks improved, is the overall finish clear, and is there any new haze? If the answer is “improved, clear and no haze”, you may have found the combination you need. Don’t add another stage simply because a video did.
If the marks remain but the finish looks clear, consider a cautious stronger test. If new haze appears, check pad cleanliness and technique and try refinement rather than escalating immediately. If the polish smears, first check whether you have too much product or a loaded cloth. Those are application problems, not proof that the paint needs more abrasion.
Keep the pad separate for each liquid. Swapping from compound to finishing polish on the same loaded pad makes the test harder to interpret. The pad guide explains how to choose and organise the working grades, and the full machine-polishing guide puts the test into the complete process.
How much product should you put on the pad?
Follow the instructions for the particular pad-and-liquid combination rather than copying a universal blob count. Pad size, material and whether it is fresh or already working all change the amount needed. Enough product to work consistently is useful; soaking the foam until it feels heavy is not.
If you find yourself adding more every time the machine seems less effective, stop and inspect the pad. It may need cleaning or replacing with a fresh one. A crust of old residue or saturated working face can make a familiar product behave differently from the first section.
Don’t let a working polish dry solid because you assume every car-care liquid needs to “cure”. A hand polish that is left to haze before buffing and a machine compound that is worked then removed can have different directions. Read the bottle you are actually holding.
What should follow the polishing stage?
Choose protection to suit how you maintain the car. A wax or sealant can be a straightforward final step; a coating brings its own preparation and curing requirements. Follow those requirements rather than treating polish residue as a suitable bonding surface by default.
If your chosen polish already leaves protection, decide whether an additional compatible product is worthwhile. More layers are not automatically a better result. The protection guide helps you choose without turning a modest polishing session into a complicated product stack.
For most first attempts, I’d keep the purchase small: Meguiar’s Ultimate Polish for a mild test, or Meguiar’s Ultimate Compound where the defects justify the stronger option, with compatible clean pads. Add a staged system when you understand what extra job it will do. You’ll learn more from inspecting one well-worked section than from buying every level of cut at once.