Some links in my articles are affiliate links. I may earn a commission when you buy through them.
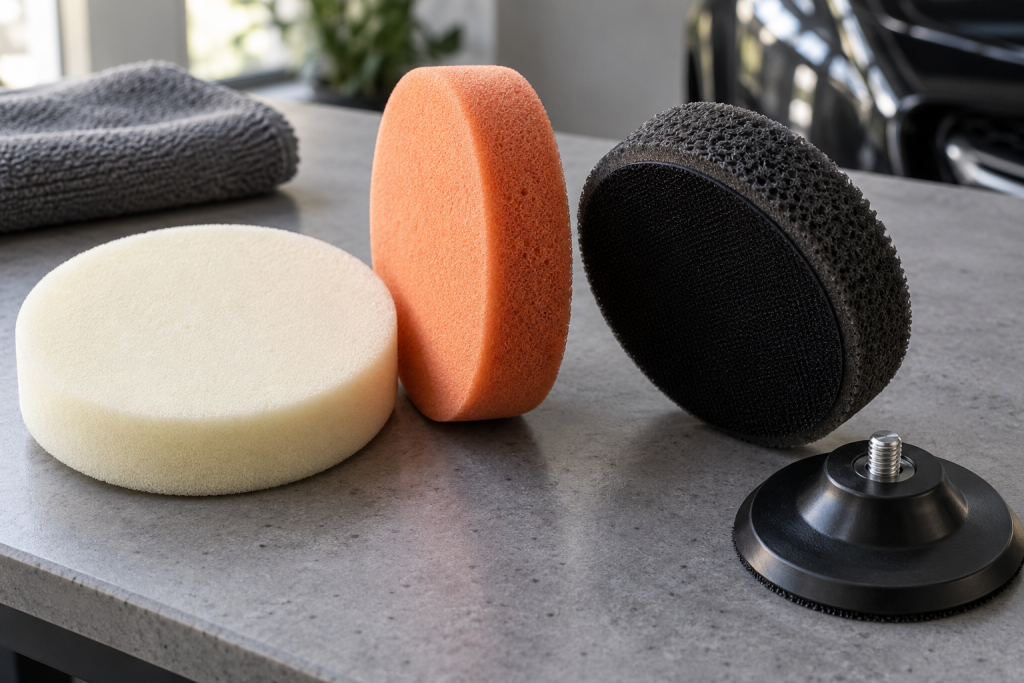
You’ve chosen a polisher, but the pads seem to introduce a completely new language: cutting, finishing, foam, microfibre, five inches, six inches—and a rainbow of colours that don’t agree between brands. It’s easy to order a pack that looks right and discover it doesn’t fit, or contains only one pad you actually want to use.
I’d choose in this order: fit the machine, choose the polishing job, then buy enough of the selected grade to keep working with clean pads. Colour comes last. It’s a label within a particular range, not a universal guide to how aggressively a pad will cut.
Match the pad’s stated backing-plate requirement to your machine first. For a beginner working on light defects, start with an appropriate foam polishing pad and mild polish, then let a test section decide whether you need more cut. Buy spare copies of the useful grade; a mixed pack is for choosing between grades, not necessarily finishing a whole car.
Read both measurements on the pad listing
The plate diameter and the working-face diameter are different measurements. Some pads taper out from a smaller backing to a wider face, providing a margin around the plate. Others use a different profile. Don’t choose a pad simply because its biggest number sounds close to the number on your machine.
The SPTA mixed foam pads are sold as a 5.5-inch face for a 5-inch/125 mm backing plate. That distinction is useful: 5.5 inches describes the face, while 125 mm identifies the plate fit in the listing title. Check the selected variant and the actual dimensions on arrival, especially where a product page mixes information from several sizes.
In this case the current page has conflicting size wording in its descriptive bullets, so I’d confirm the 125 mm variant with the seller if the selected option is unclear. I’d rather make one quick fit check than discover the mistake with polish already on the car.
These are not the matching pads for the 150 mm plate currently listed on the Ginour dual action polisher. Use pads approved for the plate you have. Don’t leave hard backing plate protruding beyond the pad, and don’t fit an oversized pad merely to hide an unsuitable plate underneath. The first-polisher buying guide explains the machine side of the decision.
Choose the grade for the result you want
A cutting pad is intended to increase defect removal when paired with an appropriate compound. A polishing pad is the useful middle ground for lighter correction and improving clarity. A finishing pad is generally for finer refinement or a specified finishing product. Those descriptions still need the manufacturer’s chart: one brand’s polishing pad can behave differently from another’s.
Foam is a sensible starting material for learning a simple DA process. Microfibre and wool can be effective too, but they have their own loading, cleaning and working requirements. Don’t assume wool always means a soft final buff just because it feels soft in your hand. Some wool pads are designed for substantial cutting.
With the SPTA mixed foam pads, check the grade and speed on a small section before choosing a combination for the rest of the panel. Start mildly and inspect the finish before moving to a harder pad.
For a mild starting combination, consider Meguiar’s Ultimate Polish with a compatible polishing pad. For a stronger trial, Meguiar’s Ultimate Compound may be appropriate with a pad its system supports. Read the liquid-selection guide alongside the pad chart: the bottle and pad work together, so neither label tells the whole story on its own.
Why the same polish can behave differently
The material, firmness, size and condition of the pad all affect contact with the paint. The machine’s movement and your technique matter too. That is why a recommendation such as “use the orange pad” isn’t enough without naming the range and job.
A loaded pad can stop giving the result you saw in the first test section. Adding more compound may make the working face wetter and harder to manage rather than restoring its earlier performance. Before deciding that the paint suddenly needs a heavier cut, inspect and clean the pad or change to a fresh one.
For diagnosis, change one thing at a time. Try a clean pad of the same grade before changing both pad and liquid. If a fresh pad restores the result, you have learned something more useful than “this panel needed more compound”. The haze troubleshooting guide covers the cases where the finish looks cloudier instead of clearer.
How many pads should you buy?
There isn’t a universal pad count per car. Vehicle size, pad size, the condition of the paint, how much correction you attempt and how readily you can clean and dry the pads all change the answer. A heavily worked bonnet can use more of your pad capacity than several lightly polished areas.
As a practical planning allowance, I’d have several identical working pads available for a whole-car stage—four is a sensible starting shopping allowance, not a guarantee. Keep more available for a large vehicle or demanding correction, and stop to clean and dry them properly if you run out. For a single test panel, two of the chosen grade let you swap away from one that is becoming loaded or warm.
For two stages, keep separate pads for cutting and finishing. You don’t want a few trapped cutting particles carried into the refinement stage. A five-colour mixed pack may be useful for the test, but once you’ve identified the working grade, repeat purchases of that grade are generally more useful than another complete rainbow.
If you only have one serviceable pad, plan a small job. Working one panel, washing the pad and continuing after it has dried can be perfectly reasonable for a home project. Trying to polish the entire car with a saturated pad is the less useful economy.
Fit it carefully before switching on
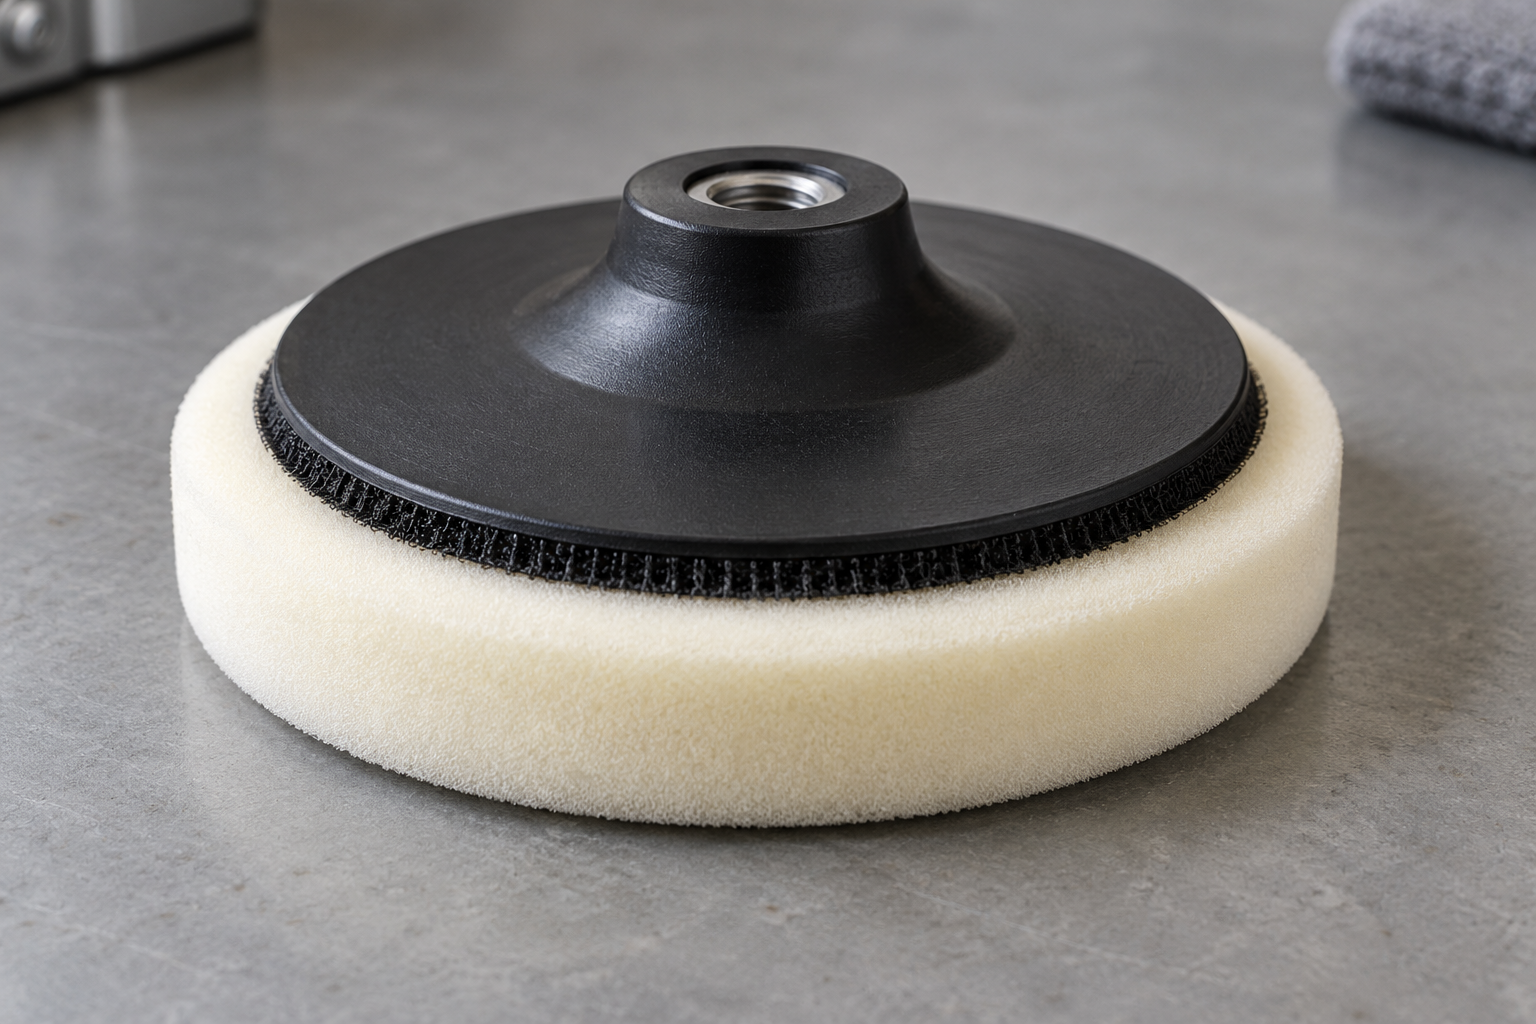
Disconnect the machine from power, or remove the battery, before fitting or changing a pad. Check the foam, adhesive joint and hook-and-loop surface. Centre the pad evenly so the machine isn’t carrying an obvious imbalance, and make sure the attachment is secure.
Keep the clean working face off the ground. If you drop it, change to a clean pad; a quick brush with your hand isn’t a reliable way to remove embedded grit. When you set the machine down, support it so the pad doesn’t collect dust from the bench.
Prepare the pad according to the maker’s instructions. Don’t copy the priming method from a microfibre-pad video and assume every foam pad needs the same amount of product. Too much liquid can make the session messy and obscure what the pad is doing.
Look after the useful pads first
Clean them frequently during work using the method approved for that pad, and wash them after the session before residue sets hard. Give them time to dry fully before storage. The pad cleaning and replacement guide covers the difference between ordinary staining and a pad that should be retired.
Store clean pads away from used ones and keep grades or product assignments identifiable. A simple labelled storage arrangement is more helpful than trying to remember which of two identical pads last held compound.
If you’re starting from scratch, choose your machine first, confirm the plate fit, then buy a mild working pad and a few spares. The complete polishing guide will help you turn that small, compatible collection into a controlled first session.