Some links in my articles are affiliate links. I may earn a commission when you buy through them.
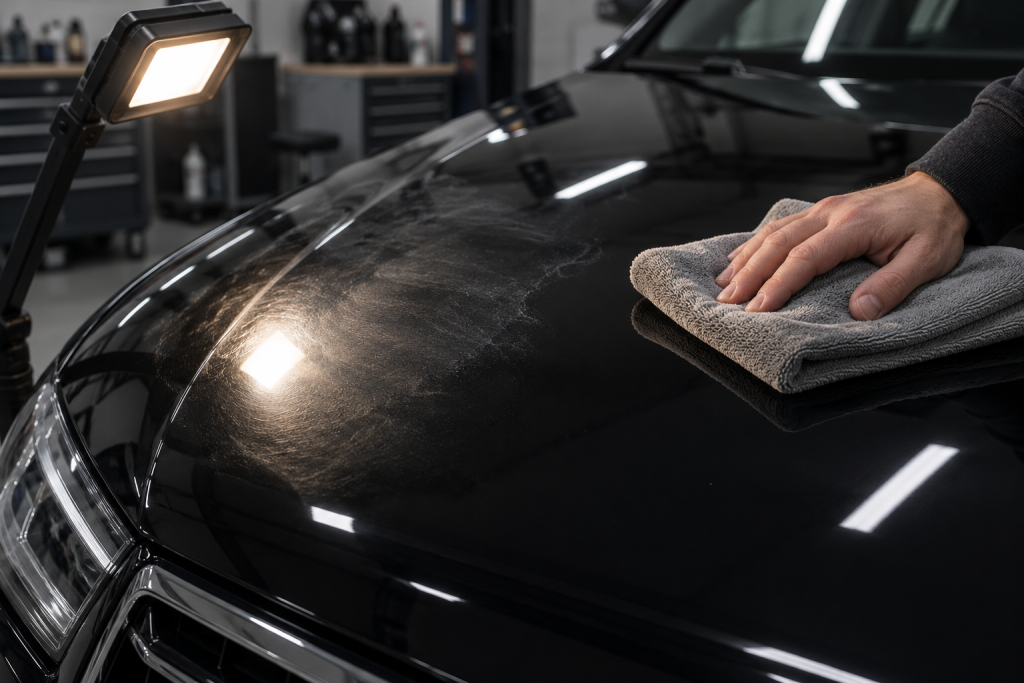
You wipe off the polish expecting a lovely clear reflection, but the panel looks faintly cloudy. It’s frustrating, especially if the original swirls have improved. Before doing another round with the machine, I’d pause: residue on the surface and fine marks left in the surface can look similar, but they need different fixes.
Start with a clean, gentle wipe and a change of viewing angle. If the cloudy appearance moves or clears, deal with the residue. If it remains as a fine grey veil after appropriate cleaning, look at the pad, polish and technique before testing a finer finishing combination. More aggressive polishing is rarely the first useful response.
Stop polishing, let the panel cool and inspect a small area after careful residue removal. Check the cloth and pad for contamination or overload. Only try a finer polish on a clean fresh pad once you have established that the haze remains in the finish. If you see colour change, failing lacquer or damage on an edge, stop the correction attempt.
First separate residue from actual surface marks
Use a clean, paint-suitable microfibre towel and light pressure to remove the remaining product. Turn to a fresh face rather than smearing the same residue back over the panel. If your first towel feels loaded, change it before deciding the polish has left a defect.
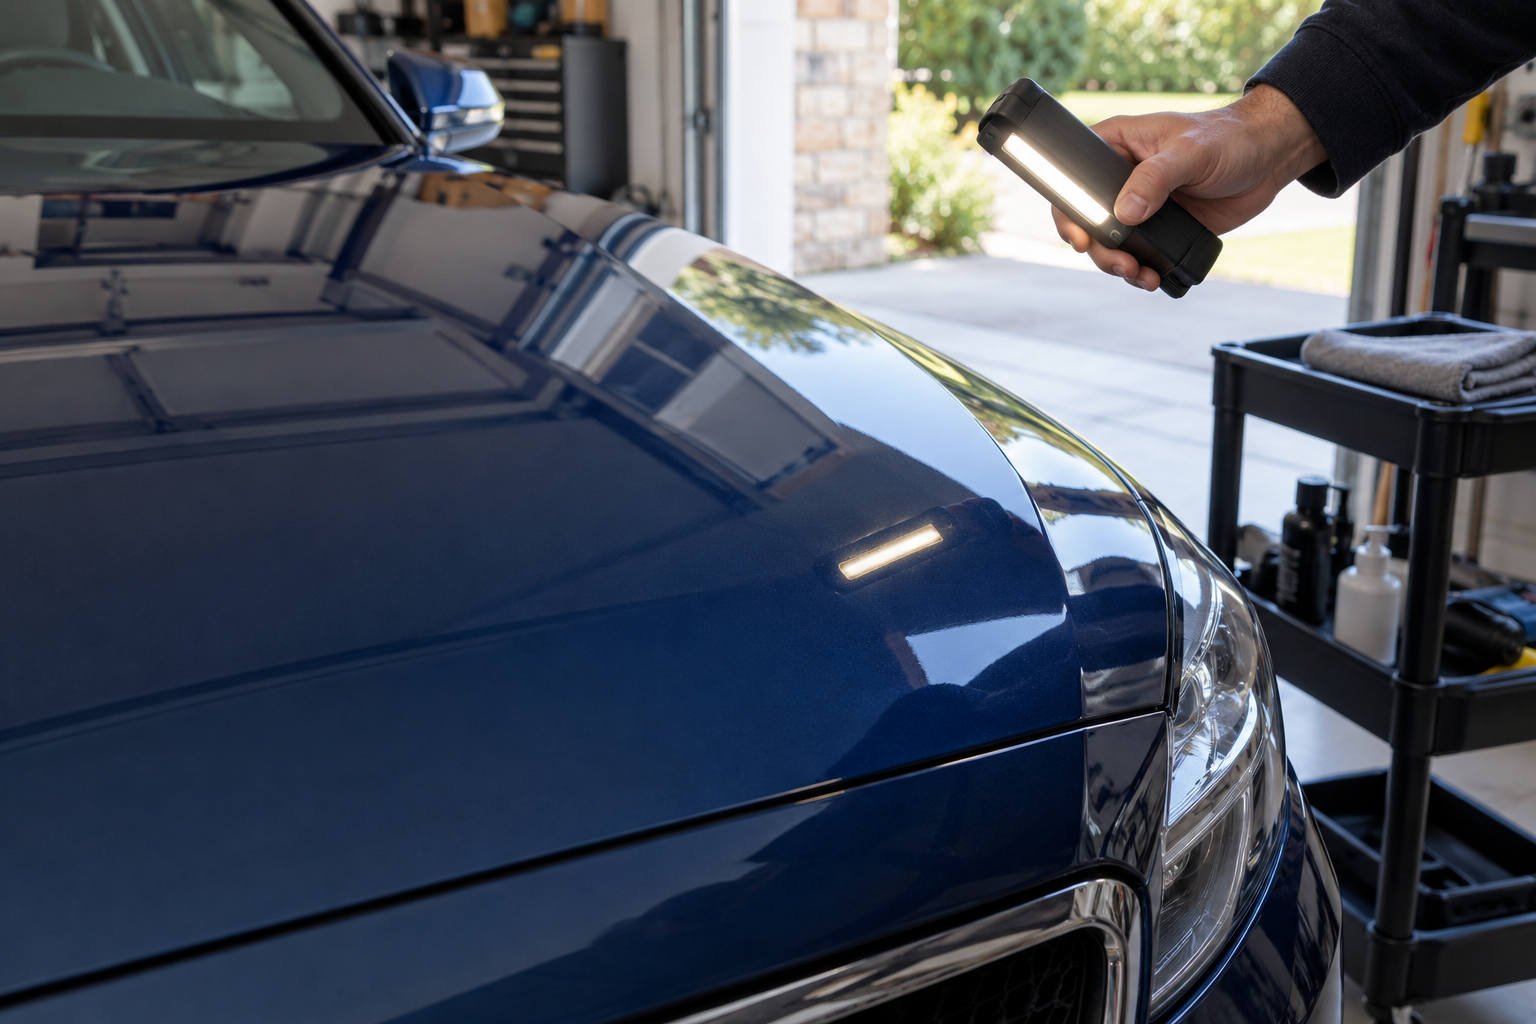
Look from a different angle and move the inspection light. Oily streaks can change shape as you wipe; fine marring is more likely to stay in a consistent area. That is a useful clue, not an infallible diagnosis. Work on one small section so you can see what your next action changes.
Where the product system calls for a preparation or inspection wipe, use a suitable paint-compatible product according to its directions. An improvised strong solvent mix can create a new problem, especially on sensitive repairs or adjacent trim. You’re trying to reveal the finish, not strip everything nearby as quickly as possible.
Check the towel before blaming the machine
If marks appear mainly after buffing, the towel and your wiping technique deserve attention. A gritty edge, hardened residue or excessive pressure can undermine a carefully polished section. Choose a clean soft cloth, inspect it and fold it so you can keep exposing fresh faces.
Use enough clean cloths to remove the residue without dragging. If the product has become stubborn, follow its removal instructions instead of scrubbing harder with a dry corner. The microfibre-cloth guide helps you choose a suitable buffing towel, and the towel-washing guide covers keeping it useful for the next session.
It is also worth checking the surface before each fresh attempt. Dust from nearby work, a drop of dirty water from a mirror or grit carried by the cable can arrive after your careful preparation. Don’t polish over a newly contaminated section simply because it was clean ten minutes ago.
A loaded pad can change the finish halfway through
The pad that worked neatly on the first section may now contain old polish, removed material and too much fresh product. If the result becomes inconsistent, change to a clean pad of the same grade before changing the whole system.
Check the working face, the centre and the pad’s temperature. Stop if it is becoming hot, damaged or difficult to keep behaving consistently. Cleaning during use is useful, but it does not always restore a saturated pad immediately. A fresh dry replacement lets you make a fairer comparison.
Don’t mix cutting compound and finishing polish on a pad that still contains the first product. The finer bottle cannot undo whatever abrasive material is trapped in the foam. The pad-cleaning guide and pad selection guide explain the practical separation and replacement checks.
If the compound has left fine haze
A stronger cutting stage can improve the original defects while leaving fine marks that need refinement. On a clean test section, a fresh suitable finishing pad with a finer polish is the next combination I’d consider. Keep the working area manageable and inspect after removing the residue.
Meguiar’s Ultimate Polish is a useful option for fine refinement before a compatible protection step. Work a small clean section, remove the residue and compare the result beside untouched paint rather than judging only the wet shine during application.
If you already work with the Menzerna three-stage set, the finer 3800 stage has a different role from the heavier compound in the set. The manufacturer positions it for finishing, including fine polishing marks. You don’t need to restart the heavy-cut stage to use a finishing product where it is actually needed.
The compound-versus-finishing-polish guide explains how to choose. Keep the recommendation conditional: a fine polish can refine suitable light marring, but it cannot replace missing clear coat or fix every sort of cloudy appearance.
Check how the pad is meeting the panel
On a broad flat area, keep the pad level and move it in controlled overlapping passes. Tipping it onto its edge to reach an awkward corner concentrates the contact. A narrow feature may simply be unsuitable for the size of machine you are holding.
Use the speed and pressure guidance for the actual tool and product. Numbers on a dial aren’t universal, and copying an aggressive pressure technique from a different machine can stall a free-spinning DA. If rotation slows under load, reassess the pad angle and pressure rather than immediately turning everything up.
Work only as long as the product’s directions and the visible result warrant. Dry buffing after the lubricant has gone is not an extra finishing step. Equally, stopping before the product has been worked as intended can leave you judging an unfinished application. A small test gives you a manageable way to learn that balance.
Change one variable and compare
I’d use this order: fresh cloth, clean surface, fresh pad of the same grade, then a finer pad-and-polish trial if genuine haze remains. It keeps the diagnosis understandable. If you change everything at once and the panel improves, you won’t know what prevented the problem from returning.
Check the result in both a directed light and ordinary daylight when possible. A soft garage light can hide fine marks, while one harsh lamp can make you chase a finish beyond what is sensible for the car. You want an honest view of the improvement, not whichever angle makes the next purchase seem necessary.
The beginner’s polishing guide explains the full test-section method. If you are also dealing with one deeper line, assess it separately using the scratch guide rather than increasing the cut over the whole hazy area.
When to stop experimenting
Stop if you see a sudden change in paint colour, a sharp patch of different finish, peeling, cracking or an uncertain edge. Don’t try to “blend” suspected damage by polishing a wider area. Get the panel assessed before removing more material.
Fresh repairs and unknown coatings can also complicate the result. Ask whoever applied them about the appropriate curing and maintenance process rather than assuming the usual routine applies immediately. If the cloudiness appeared after a coating application rather than polishing, follow that coating-specific high-spot guidance; this polishing sequence is not a universal coating-removal method.
Get back to a simple finish
Once the test section is clear, repeat only the successful refinement on the areas that need it. Remove residue, inspect, then apply suitable paint protection. Keep separate clean pads and cloths ready for the next job so you don’t have to rediscover the same cause on another panel.
For a first session, a modest improvement with a clear, even finish is a good result. A cloudy patch is a prompt to inspect and adjust. It doesn’t mean you need the harshest pad in the drawer.