Some links in my articles are affiliate links. I may earn a commission when you buy through them.
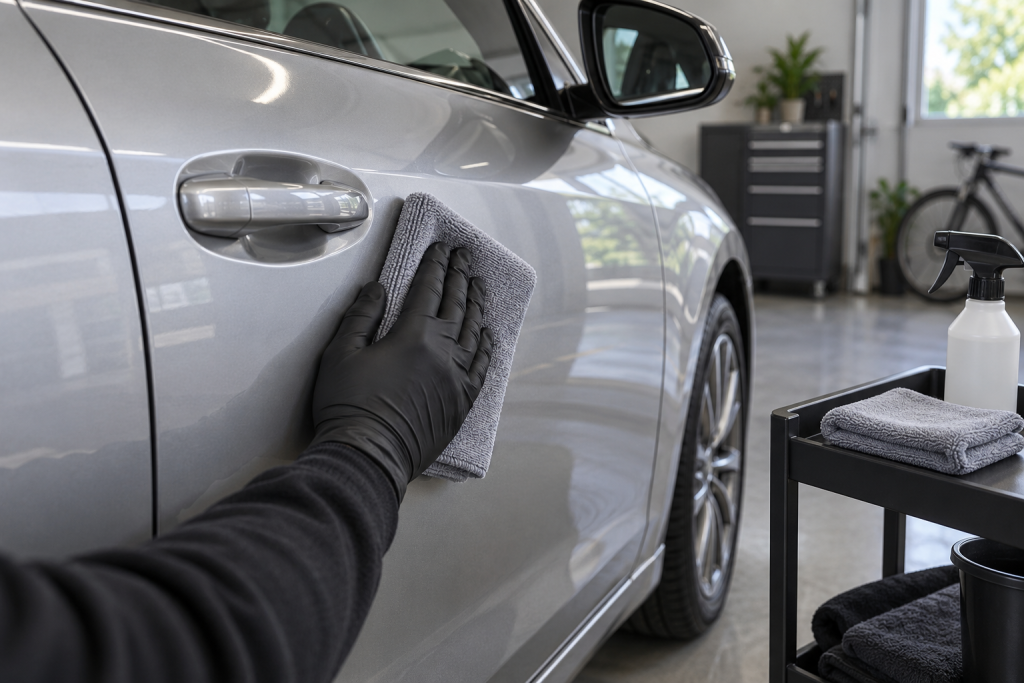
The car is clean, the coating is ready, and every video seems to add another bottle to the preparation. Choose the preparation around the contamination on your paint, the marks you want to improve and the coating system’s final-wipe instructions.
Wash first, treat identifiable contamination, polish only where the condition and your chosen finish justify it, then use the coating system’s specified final preparation on completely dry paint. Keep waxes, gloss sprays and unknown residues out of that final stage. If your paint has been repaired, wrapped or finished in matte, establish product compatibility before choosing a solvent wipe or abrasive step.
Start with the surface you actually have
Before buying chemicals, check whether you’re looking at ordinary gloss clear-coated paint, a resprayed panel, a wrap or paint protection film. One car may have more than one of these. A bonnet covered in film can look much like the painted wings beside it, but the preparation products need to suit both surfaces independently.
For recent paintwork, ask the repairer when a coating can be applied and which preparation is suitable. There is no helpful universal waiting period that covers every repair system. Keep that answer with the job notes rather than guessing from how dry the paint feels.
On a car with existing protection, establish what it is if possible. A wash that changes beading does not prove a previous coating has been removed. Equally, washing with a strong mixture isn’t a dependable way to create a bare, coating-ready surface. If you’re maintaining an existing coating rather than replacing it, start with the cleaning and beading checks.
Wash before judging the paint
Loose dirt can hide small deposits and make otherwise sound paint look dull. Give the car a proper wash, rinse the gaps and clean the lower areas carefully. Use the full washing routine if you need the order of work. Keep dirty wheel tools away from paintwork throughout.
This first clean also tells you where more attention is needed. Don’t start with tar remover on every panel simply because the bottle is part of a kit. Look for the problem it is meant to solve.
After rinsing, make your inspection somewhere you can see both broad reflections and individual marks. A wet panel looks flattering. Dry it before deciding that all the defects have disappeared or that it needs aggressive polishing.
Choose decontamination stages by the deposits
Black sticky specks along the lower body may call for a suitable tar remover. Small iron deposits may call for an iron remover. A rough bonded film left after appropriate chemical cleaning may justify clay. Each stage needs its own product directions, material checks and removal method; don’t stack wet chemicals on top of one another.
Gtechniq W6 is an option for iron contamination on compatible surfaces. See when to use iron remover for the decision and method.
For sticky deposits, use the tar-removal guide. Keep solvent products away from excluded trim and film. A local treatment is often easier to control than spraying a whole side of the car and hoping to wipe it all before it changes.
Clay is useful when contamination remains, but it adds contact and can leave marks that then need refining. Don’t add it automatically to pristine paint. Work through whether your car needs claying before including it in the afternoon’s plan.
If you need to buy clay, compare the clay bars and grades by remaining contamination and the finishing products you already own.
Decide what finish is worth preserving
Swirls may still be visible after coating. Polish them beforehand if you want to improve them. The useful decision is whether they bother you enough to justify correction, not whether a coating kit obliges you to polish the entire car.
Choose one representative test area. Refine it, remove the residue appropriately and inspect it in useful light. Compare the improvement with the time and effort involved. You may be delighted with a modest single-stage improvement without pursuing every isolated mark.
Use the beginner’s polishing guide if you’re planning a machine stage. Areas with uncertain paint history, thin edges or damage need more restraint than a broad sound panel. If you see failing clear coat or exposed colour/primer, a ceramic coating is not the repair.
Inspect before coating, while you can still change your mind about correction. A glossy finish can look impressive from a distance and still show a distracting mark beside a door handle when you get closer.
Make the final wipe a separate job
A suitable preparation liquid removes polishing residues from paint that has already been cleaned. Choose the product specified for your coating and finish, with fresh cloths for this stage.
For Gtechniq Crystal Serum Light, the manufacturer’s directions specify Gtechniq Panel Wipe. Apply the preparation to the cloth and follow with a clean dry cloth as directed, working manageable sections. The current UK product excludes PPF, vinyl, plastic and rubber and advises avoiding smart repairs or resprays. Don’t assume every bottle called panel wipe has identical solvent strength or compatibility. Gtechniq’s application guidance gives the material restrictions.
Check the surface as you go. If wiping leaves marks or the finish reacts unexpectedly, stop and investigate rather than covering it with coating. Repeated forceful wiping can create a new problem on a surface you have just spent time refining.
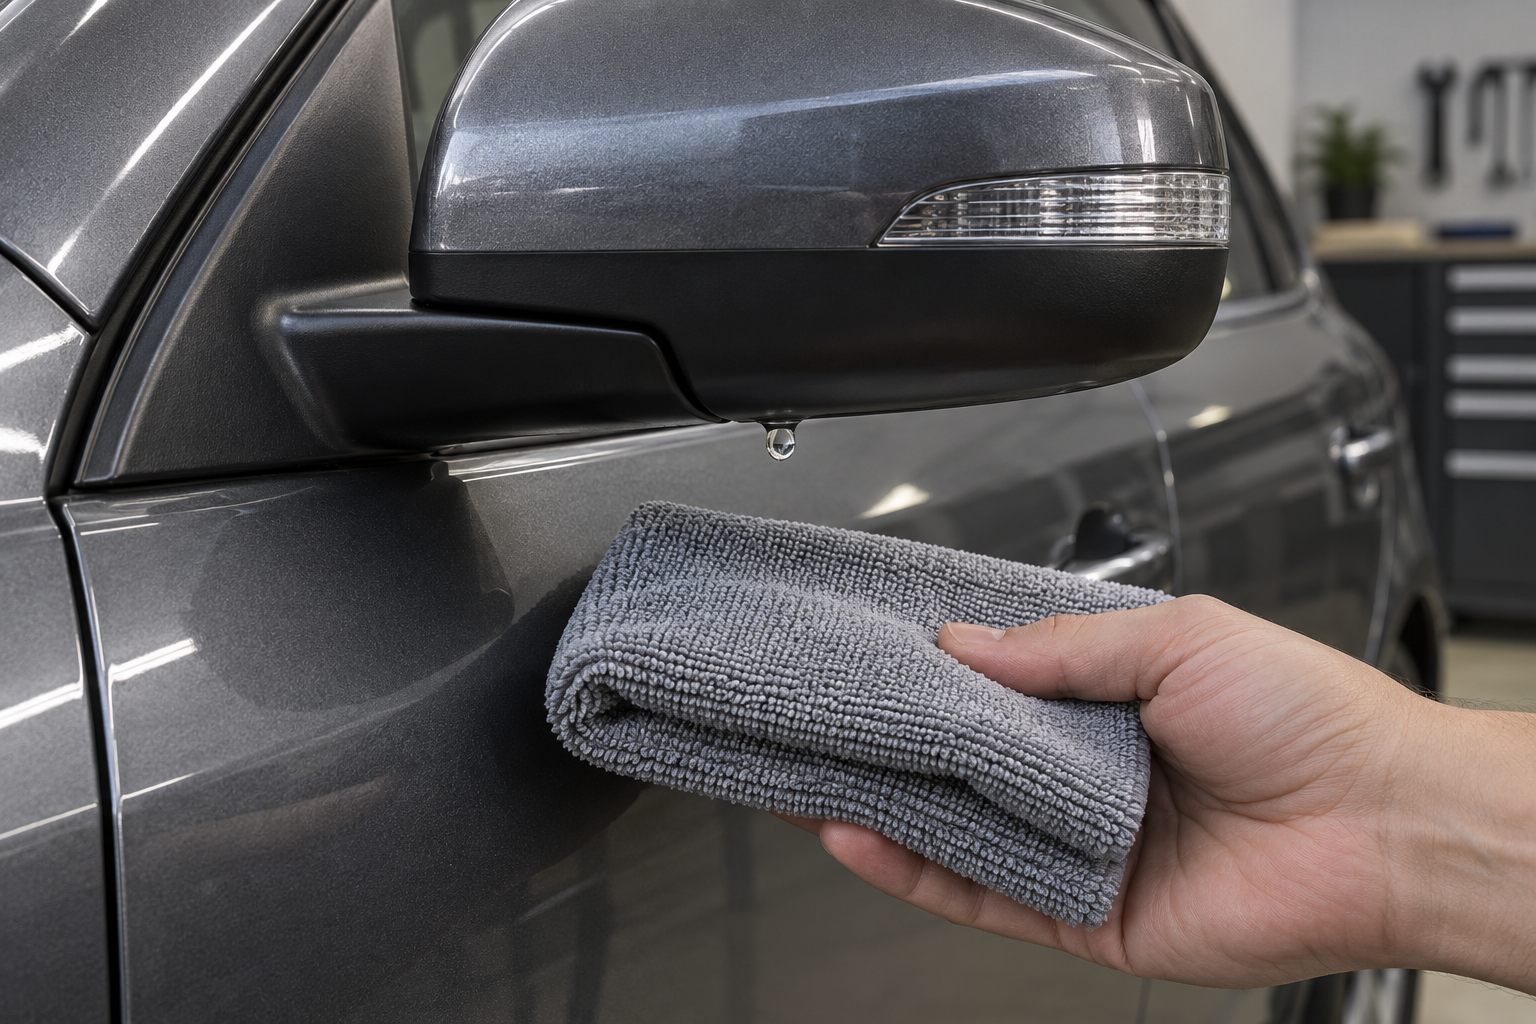
Look for the water you haven't dried
Run a clean cloth along the accessible edges and check mirrors, handles, badges and panel joins. Opening a door can free water that hadn’t reached the paint when you first dried it. Do this before the coating applicator is in your hand.
If you wash outside and move into a garage, inspect again after the move. Check that tyres or footwear haven’t carried grit into the area where you will kneel or place a trolley. Store the clean coating cloths in a covered container while you finish the wet work.
The drying guide covers the wider technique. For this job, your final check is particularly concerned with a drip crossing newly prepared paint halfway through application.
A sensible stop point before coating
I would be ready to proceed when the paint is clean, dry, free of unwanted preparation residue and at a finish I am happy to keep. The working space must also be ready. You need room to see the lower panels, enough fresh cloths and time for the specified cure after the final section.
Don’t start because you’ve reached the coating stage on a checklist if the light is fading or the car has to leave in an hour. You can divide preparation and application across sessions, provided you reassess and clean any newly contaminated surface before continuing.
For the application itself, return to ceramic coating at home. Keep the products for polishing, preparation and coating physically separate on the trolley; reaching for the right cloth should be easy even when you’re tired.