Some links in my articles are affiliate links. I may earn a commission when you buy through them.
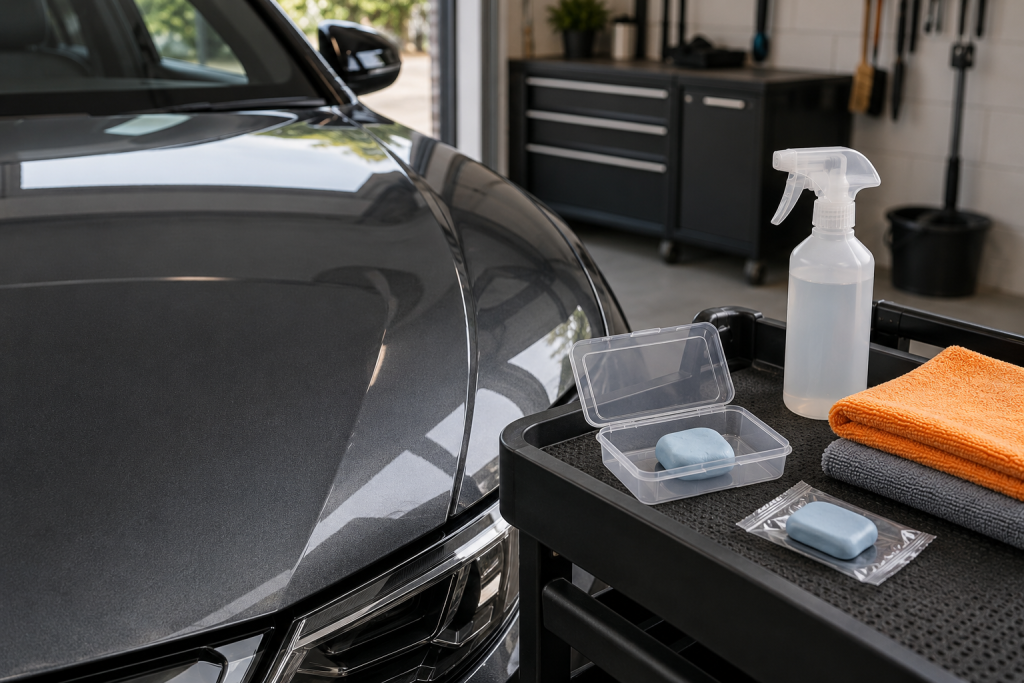
You’ve washed the car, dried it and stood back to admire it—then run a hand over the bonnet and found it still feels gritty. A clay bar can help with the bonded roughness left after cleaning, but I’d choose one around the finish you’re preparing for, rather than buying the biggest lump in the search results.
For an occasional clay-and-hand-polish session on ordinary gloss paint, I’d start with the Autoglym Clay Detailing Complete Kit. It brings the clay, its lubricant, a finishing cloth and hand polish together. If you already have your finishing products, Bilt-Hamber Auto-Clay Soft is a useful separate-bar choice for lighter contamination; Bilt-Hamber Auto-Clay Medium suits a more moderately contaminated surface. Both grades use clean tap water for lubrication, as Bilt-Hamber specifies.
Clay, then hand polish
A matched clay-and-lubricant kit with polish for a planned gloss-paint refresh.
Before buying: The polish is useful if that is your next step; coating preparation needs its own process.
Already have your finishing products
A water-lubricated bar for paint with lighter contamination, with a softer working consistency in cooler conditions.
Before buying: Choose by remaining contamination and temperature, not simply the age or colour of the car.
These are choices for conventional gloss paint. If yours is matte, satin, wrapped or covered in paint-protection film, establish what that exact finish permits before buying. And if the paint already feels smooth after washing and targeted cleaning, you can put the clay money towards the next job instead.
The complete kit I’d choose for a hand-polish session
The appeal of the Autoglym clay kit is the job it equips you for. You can remove remaining bonded roughness with the supplied clay and lubricant, wipe the residue with the finishing cloth, then assess the paint for the included hand polish. That is a useful route for an owner building a small kit for occasional paint preparation.
On my prepared patch, the remaining rough spots reduced with light, lubricated passes. Checking the dry surface by touch helped me find what was left; the wet shine alone was a poor guide. I’d keep that same little inspection habit whichever bar you choose.
The included polish makes this kit particularly sensible when you actually want a hand-polish finish. If your shelf is already full of finishing products, a separate bar avoids buying another polish for the sake of it. For a ceramic-coating job, plan the paint preparation first: a kit containing a polish and gloss-enhancing lubricant does not by itself complete the coating’s preparation requirements.
Use the supplied lubricant with this clay. On cool, clean paint, keep both the working piece and the small area beneath it lubricated, glide lightly in straight passes, then wipe and inspect. Fold the clay as it becomes soiled. Autoglym’s kit information excludes matt exterior finishes; I’d keep it on the conventional gloss-paint job described here.
Bilt-Hamber: choose the grade, then keep it wet
If you already know what you’ll use to finish the car, Auto-Clay Soft makes a straightforward addition. The useful difference is its water lubrication: you need a clean spray bottle and plenty of clean tap water rather than a separate clay-lubricant purchase. That suits someone who prefers to choose their clay and finishing products separately.
I’d pick Soft for lighter remaining contamination, particularly when cooler weather makes clay firmer. For a moderately contaminated surface, Auto-Clay Medium is the next option to consider. In Bilt-Hamber’s range these are working grades; they are not colour-matched treatments for light or dark paint.
Temperature is easy to overlook when shopping indoors. A bar that becomes awkward to fold on a cold driveway may be much more pliable in warm conditions. Bilt-Hamber advises choosing firmness with temperature in mind; its Regular grade is the firmest and is aimed at heavier contamination or hotter conditions. There is no reason to buy that grade automatically because you have never clayed the car before if the remaining contamination is light.
Check what the roughness actually needs
Before ordering clay, wash the car properly and inspect the remaining roughness. Obvious tar dots and iron contamination have their own targeted treatments. The tar-remover choices and iron-fallout choices explain which products fit those jobs. Removing suitable deposits first leaves less for the clay to collect and carry across the next patch.
Clay is useful when bonded roughness remains on an otherwise clean, suitable surface. It will not fill a scratch or repair failing lacquer. A panel can feel smoother while still showing swirls in the sun, so leave time to look at the dry finish as well as feel it.
For a coated car, check the coating maker’s maintenance guidance before mechanical decontamination. If the problem is reduced water beading, work through the coating checks before assuming it needs claying. That can save an unnecessary preparation job on an otherwise sound finish.
Compare the useful contents, not just the clay weight
Set the cost of a clay kit beside what you already own. The Autoglym clay kit includes lubricant, cloth and polish. The Auto-Clay Soft needs a spray bottle, clean water and a suitable cloth, followed by whichever finishing treatment the paint needs. Neither shopping list should require you to buy products you already have.
A larger bar gives you more material to divide into working pieces, but it does not establish a reliable number of whole-car treatments. A clean car with a little bonded roughness and a neglected, heavily contaminated panel will soil clay differently. I’d rather have a few clean pieces available than try to make one increasingly dirty piece last the whole car.
Keep the lubrication distinction straight when comparing packs. Bilt-Hamber specifically permits water with Auto-Clay; that is not permission to use plain water with every other clay. Use the matched lubricant in the Autoglym kit. An unrelated detailing spray already on your shelf may have a different purpose.
Make the first patch earn the rest of the job
Give yourself a small test area before committing to the whole bonnet. Start on clean, cool gloss paint, away from direct sun. Prepare the working piece, wet the surface with the correct lubricant and use light passes. The clay should glide. If it starts dragging, stop, check its face and restore lubrication before continuing.
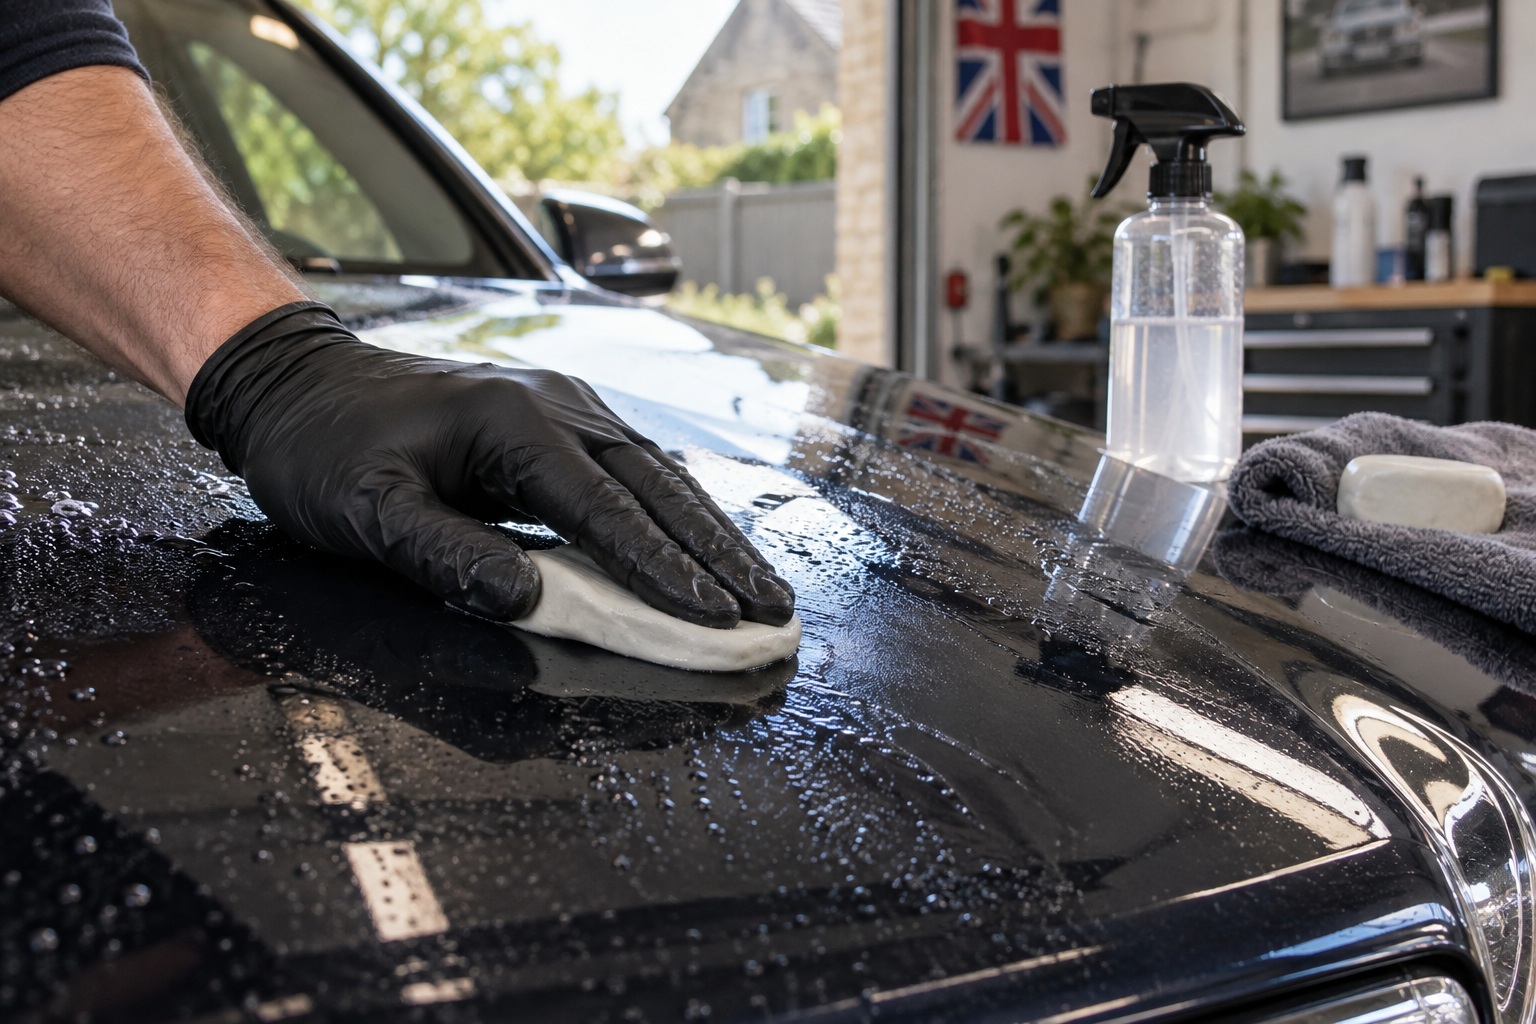
Wipe the patch dry, feel for the remaining roughness and look along the paint under useful light. If it is smoother and the finish is satisfactory, continue where the car needs it. If you see new hazing or marks, stop and reassess the clay, cleanliness and finishing plan before treating more paint.
Fold to expose a clean working face as contamination builds. Once folding no longer gives you a clean face, retire that piece. If it falls on the ground, discard it from paintwork use; hidden grit is a poor souvenir to bring back onto the bonnet.
My clay-bar method takes you through the full sequence. Afterwards, choose the finishing step from what the dry paint needs: hand polishing where appropriate, or suitable wax, sealant or coating. Keep claying for preparation when it is needed, rather than adding it to every wash.