Some links in my articles are affiliate links. I may earn a commission when you buy through them.
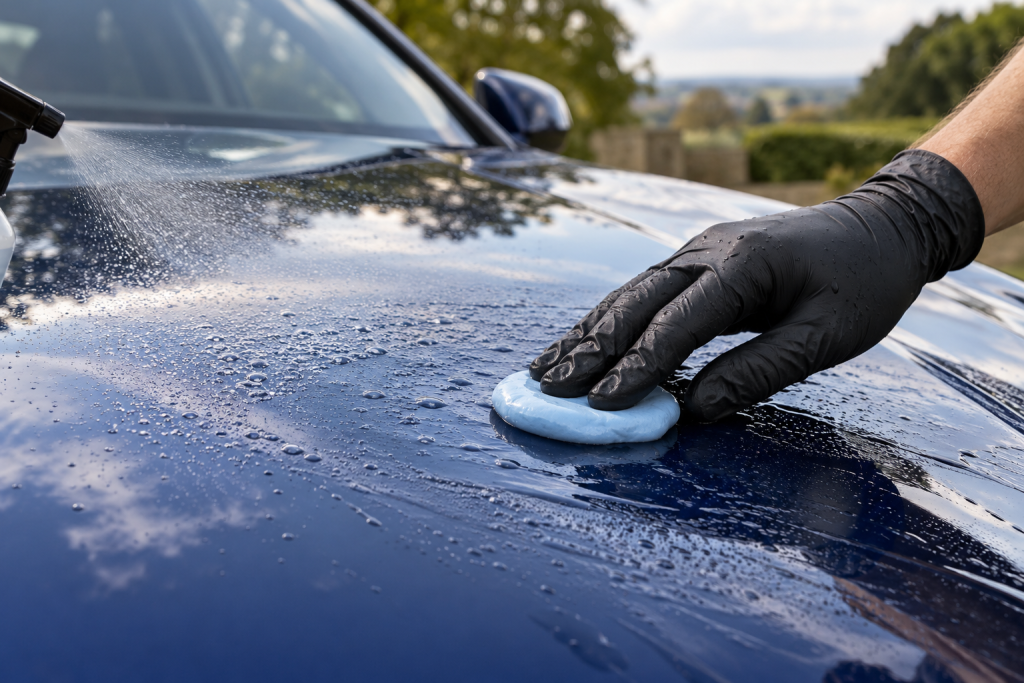
A clay bar that drags across the bonnet makes the job feel wrong very quickly. The right lubricant should let you work lightly and keep the patch wet, but I’d choose it around the clay you own and what you plan to put on the paint afterwards.
My first choice for the Auto Finesse clay system is Auto Finesse Glide, its dedicated lubricant. For someone already using G3’s clay mitt, G3 Pro Rapid Detailer 2.0 is the maker’s matched spray and also serves as a finishing detailer. If your Bilt-Hamber Auto-Clay permits plain tap water, use that option rather than buying an extra spray just because another bar needs one.
Auto Finesse clay system
A dedicated lubricant with a clear keep-the-panel-wet working cue.
Before buying: The maker confirms silicone in the formula; plan the final preparation if you are applying a coating.
Already own the G3 clay mitt
The current matched lubricant, with a separate spray-and-buff detailing use.
Before buying: It leaves a protective layer, so it does not finish a bare-panel preparation job.
For a kit supplied with its own lubricant, start with the matched bottle. “Detailer” on a label does not establish compatibility with every clay, mitt or towel. The clay-bar buying guide helps if you are still choosing the system itself.
Glide: a dedicated spray for a planned claying session
Glide makes sense when the job is specifically to clay with the compatible Auto Finesse system. Its useful working instruction is to keep adding lubricant so there is no resistance between the clay and paint. That gives you something to feel for, rather than a vague instruction to use a “generous amount” and hope the first spray lasts.
On a cleaned panel, spray the working area liberally and glide the clay lightly through it. When the working patch starts losing its wetness, replenish it before the clay starts sticking. Smaller patches make this easier, especially outdoors where a breeze dries the edge while you are concentrating on the middle.
Check the clay face as you go and stop if the panel becomes dry. I found the remaining rough spots easier to locate by touch after wiping the residue away. You do not need to press harder to make a drying patch productive.
There is a finishing consideration worth knowing before buying: Auto Finesse’s FAQ confirms silicone in the formula. That can fit an ordinary detailing routine, but a coating job still needs the coating system’s specified cleanup and final preparation. Do not choose a lubricant on the assumption that “dedicated” automatically means residue-free.
G3 Rapid Detailer: useful when it matches your mitt and routine
Rapid Detailer 2.0 has a defined pairing with G3’s Deep Clean Clay Mitt. Farécla’s current directions say to wash first, spray both the work area and mitt, work gently with light pressure while keeping it lubricated, then buff away residue with a clean dry microfibre.
I’d choose this route for an owner already using that mitt and wanting the same spray for its intended detailing jobs between washes. The current 2.0 product is silicone-free, and the maker also says it leaves a protective layer. Those two facts can coexist: silicone-free does not mean that nothing is left on the paint.
The version matters when shopping. The current UK 500ml bottle is part 7258; Farécla’s product page distinguishes it from older products. Match the 2.0 bottle rather than assuming an old label or a similarly named regional version has the same directions.
When water is the right choice
Bilt-Hamber specifically permits clean tap water for its Auto-Clay. A clean trigger bottle lets you keep the small working area thoroughly wet. You still need enough water on the paint for the bar to glide; a few isolated beads on a drying panel are not the same thing.
This permission belongs to that product system. Keep the supplied lubricant with an Autoglym kit, and use the specified spray with another manufacturer’s clay unless that maker offers an alternative. I would not create a universal shampoo-and-water recipe for unknown bars: clay formulations and their directions differ.
If you are using water in a hard-water area, wipe and dry completed sections rather than leaving the car covered in droplets. The hard-water washing guide covers the rinse-to-dry routine. Water lubrication saves a product purchase in the right system; it still needs thoughtful handling.
Buy for the session and the stage afterwards
Check the lubricant already in your kit before ordering a second bottle. Then set out enough clean cloths, a way to keep spare clay clean and somewhere safe to put the spray. A large bottle is little help if the trigger does not let you wet the exact area you are working on comfortably.
I would not estimate a number of whole-car treatments from bottle volume alone. Panel temperature, working area, contamination and spray output all affect how much you use. Keep a sensible reserve so you are not tempted to finish the last panel with a drying bar.
For a wax or general hand-polish routine, the matched lubricant and its cleanup instructions give you a practical route into the finishing stage. For a ceramic coating, work backwards from the coating preparation: both a silicone-containing lubricant and a silicone-free protective detailer can require further cleaning before the specified final wipe.
If the clay still drags, check more than the bottle
Stop and look at the working face. Collected contamination needs a clean face, and a damaged or dropped piece needs retiring from paintwork. Adding more liquid does not make trapped grit disappear.
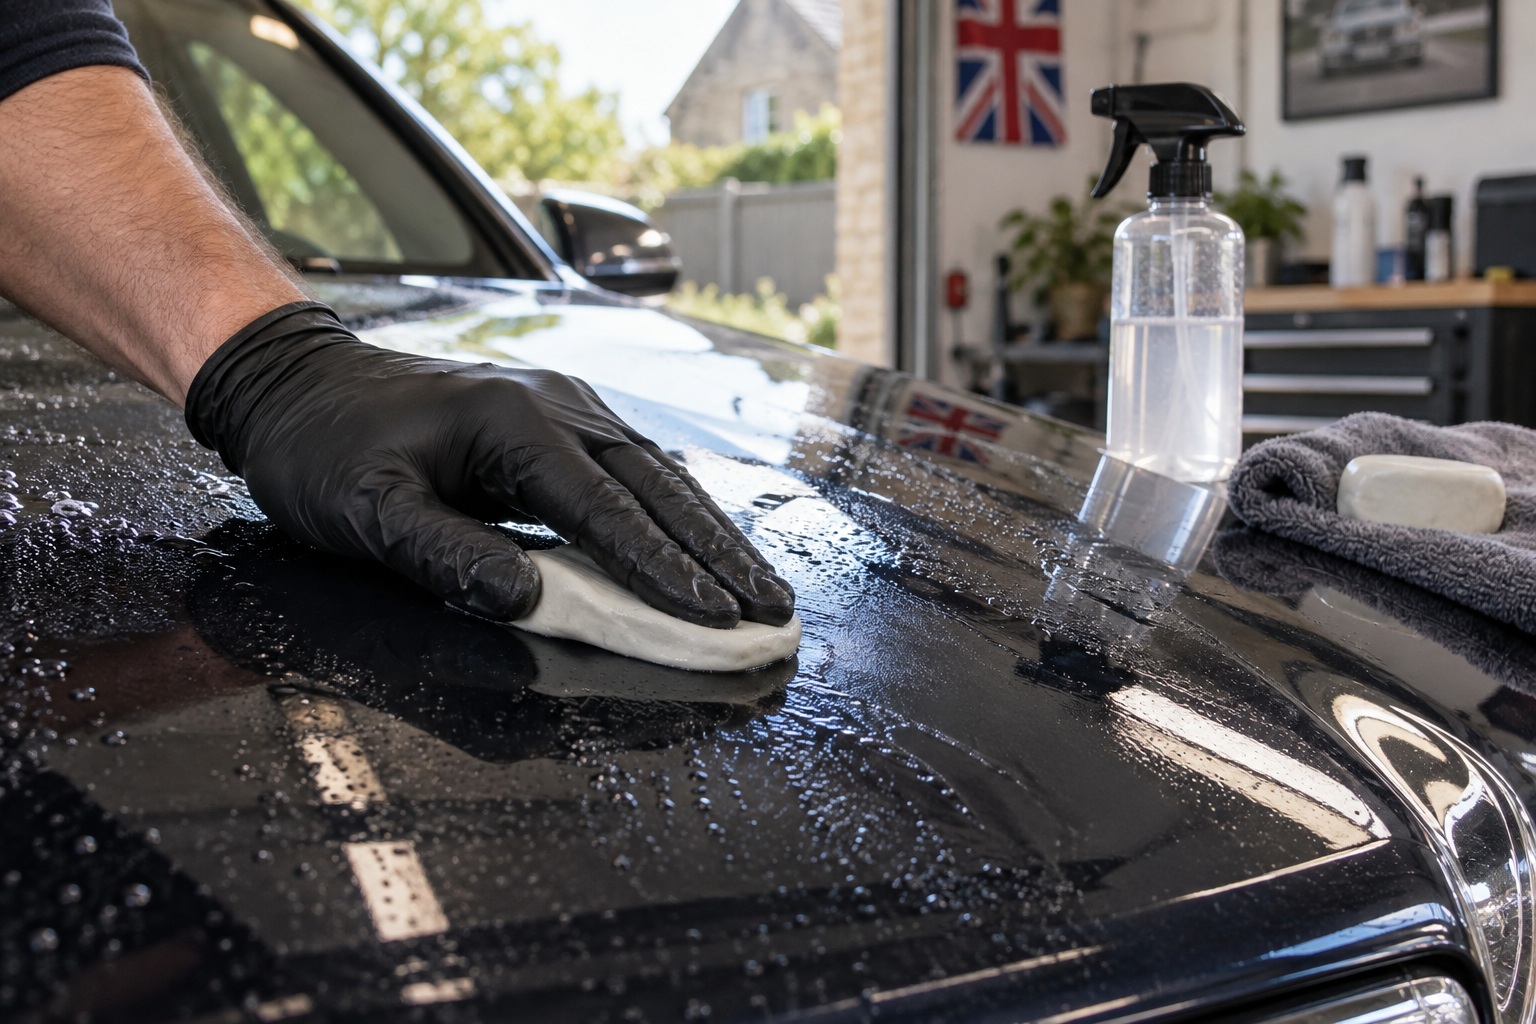
Check whether the bar is too firm to reshape comfortably in the conditions and whether you are trying to cover too much paint at once. The correct grade and a smaller wet area can change how controllable the job feels.
Wipe the test patch dry and inspect under useful light. If it is still gritty, return to the deposit diagnosis rather than repeatedly passing over an unidentified mark. If the surface is smoother but newly marred, reassess the process before doing more panels. The full claying method explains the next checks.