Some links in my articles are affiliate links. I may earn a commission when you buy through them.
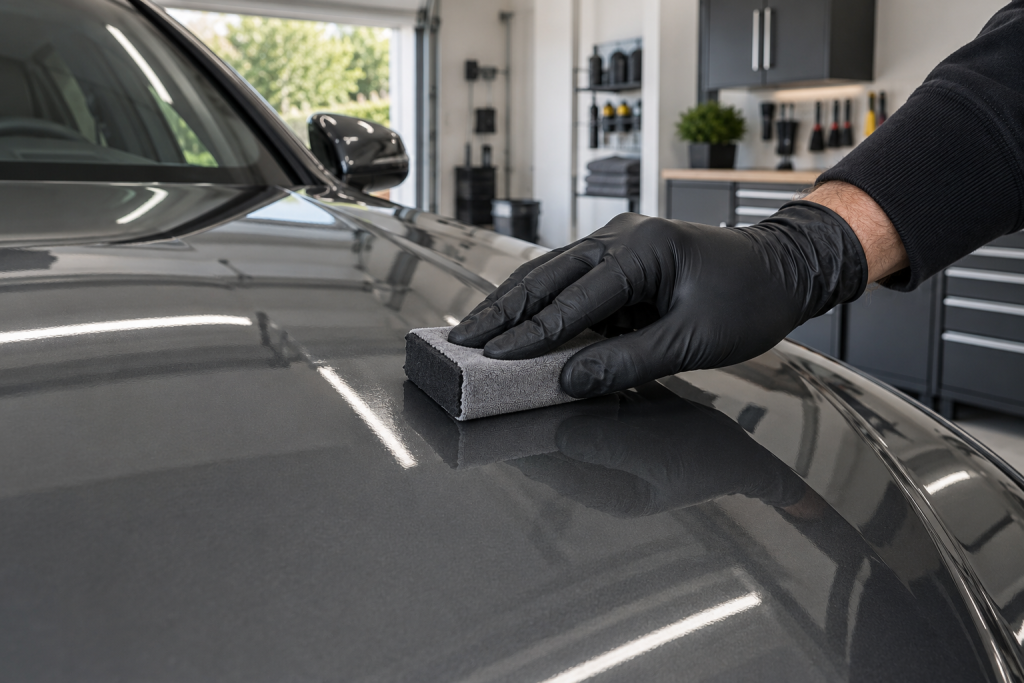
You’ve got the paint looking how you want it, and you’d like the next wash to be easier. A ceramic coating can help. For a home application, I’d choose around the space and dry time you can provide, then prepare the paint and work in sections you can inspect properly.
For a first coating on ordinary gloss paint, I’d choose Gtechniq Crystal Serum Light if you have suitable indoor space for application and curing. A thin, carefully checked application gives an even finish. If you need an outdoor application, Gyeon CanCoat EVO is a useful alternative, provided you can still protect the car from water for its specified initial curing period. Prepare the paint for the chosen system before either application.
Decide where the car will spend the night
The awkward part of coating a daily driver is often finding somewhere for it to sit afterwards. Work backwards from when you next need the car. Allow for washing, any necessary correction, final preparation, application and the product’s protected curing period. The last panel determines when that final period starts.
A garage that just fits the car may still leave you unable to open doors, reach the lower panels or move a light around it. Check those things before committing to the job. Keep the space ventilated as directed on the products, and clear dust-producing jobs out of the same session. You don’t want someone sanding shelves while you’re finishing the bonnet.
Gtechniq’s UK instructions require indoor application and 12 hours indoors afterwards for Crystal Serum Light, within a 5–25°C application range. Read the current bottle instructions before planning your day. A dry-looking driveway and a clear afternoon forecast do not provide the same control over overnight dew. My curing and wet-weather guide explains how to plan around that.
If you can’t arrange a suitable window, choose the simpler protection route in my spray-sealant guide. You can enjoy a properly finished car now and save a more involved coating for a better weekend.
Which coating is best for your working space?
The choices below suit different working arrangements. Your parking space can rule an option out before the bottle size or a longevity claim becomes relevant.
My first choice with suitable indoor space
Crystal Serum Light suits a careful panel-by-panel session with an applicator, fresh cloths and inspection light ready. Include the specified preparation and cloths in your purchase. Check that you can reach the lower doors comfortably and open the boot without brushing wet paint. If the garage is only available briefly, plan a simpler protection job.
The outdoor-capable alternative
CanCoat EVO offers a different application method: the manufacturer specifies spraying into a cloth away from the car, then working small areas and wiping to a clear finish. It permits outdoor use, out of direct sun, with the first 12 hours protected from water. On wheels, a thin application is easier to finish neatly around spoke edges. Check the edges of each section as well as the broad reflection.
When a maintenance spray is the better purchase
For a car with an established coating you’re happy with, check whether it needs a wash or a compatible maintenance product before buying another full coating. Follow the beading checks if that’s the symptom that brought you here. For straightforward protection when your available time won’t suit a coating installation, use the spray-sealant buying guide to choose a suitable alternative.
Check the whole shopping basket
Don’t buy solely on a headline number of years. Your preparation, storage, mileage, wash routine and the specific product all affect how a finish performs. A professionally installed coating warranty may have conditions that do not apply to a DIY bottle. Buy the amount and system you need, then keep the instructions and note the opening date rather than treating the remainder as something that will last indefinitely on a shelf.
Add the preparation specified for your coating, suitable application and removal cloths, and enough clean spares for the job. Keep separate cloths for a solvent wipe and coating residue. A larger bottle may be useful for several cars, but first check its opened-storage directions so you don’t pay for liquid you won’t use.
For the broader choice between types of protection, use wax, sealant or ceramic.
Get the paint ready without creating extra work
Wash thoroughly, inspect, and remove the contamination that is actually present. Tar, iron fallout and rough bonded deposits are different problems. My paint-preparation guide sets out how to decide which stages belong in your job.
Look at the dry paint before deciding to polish. A new car can have marks; an older car can already have a finish you’re happy with. Coating isn’t a reason to chase every scratch. If you want to improve the paint, do that before coating it and use a small test area to find the least correction that gives an acceptable result. The machine-polishing guide covers that process.
Avoid the tempting final wipe with whatever glossy detail spray happens to be nearby. The coating needs the surface its instructions describe. A finishing product designed to leave wax, oils or protection can undo the purpose of your final preparation.
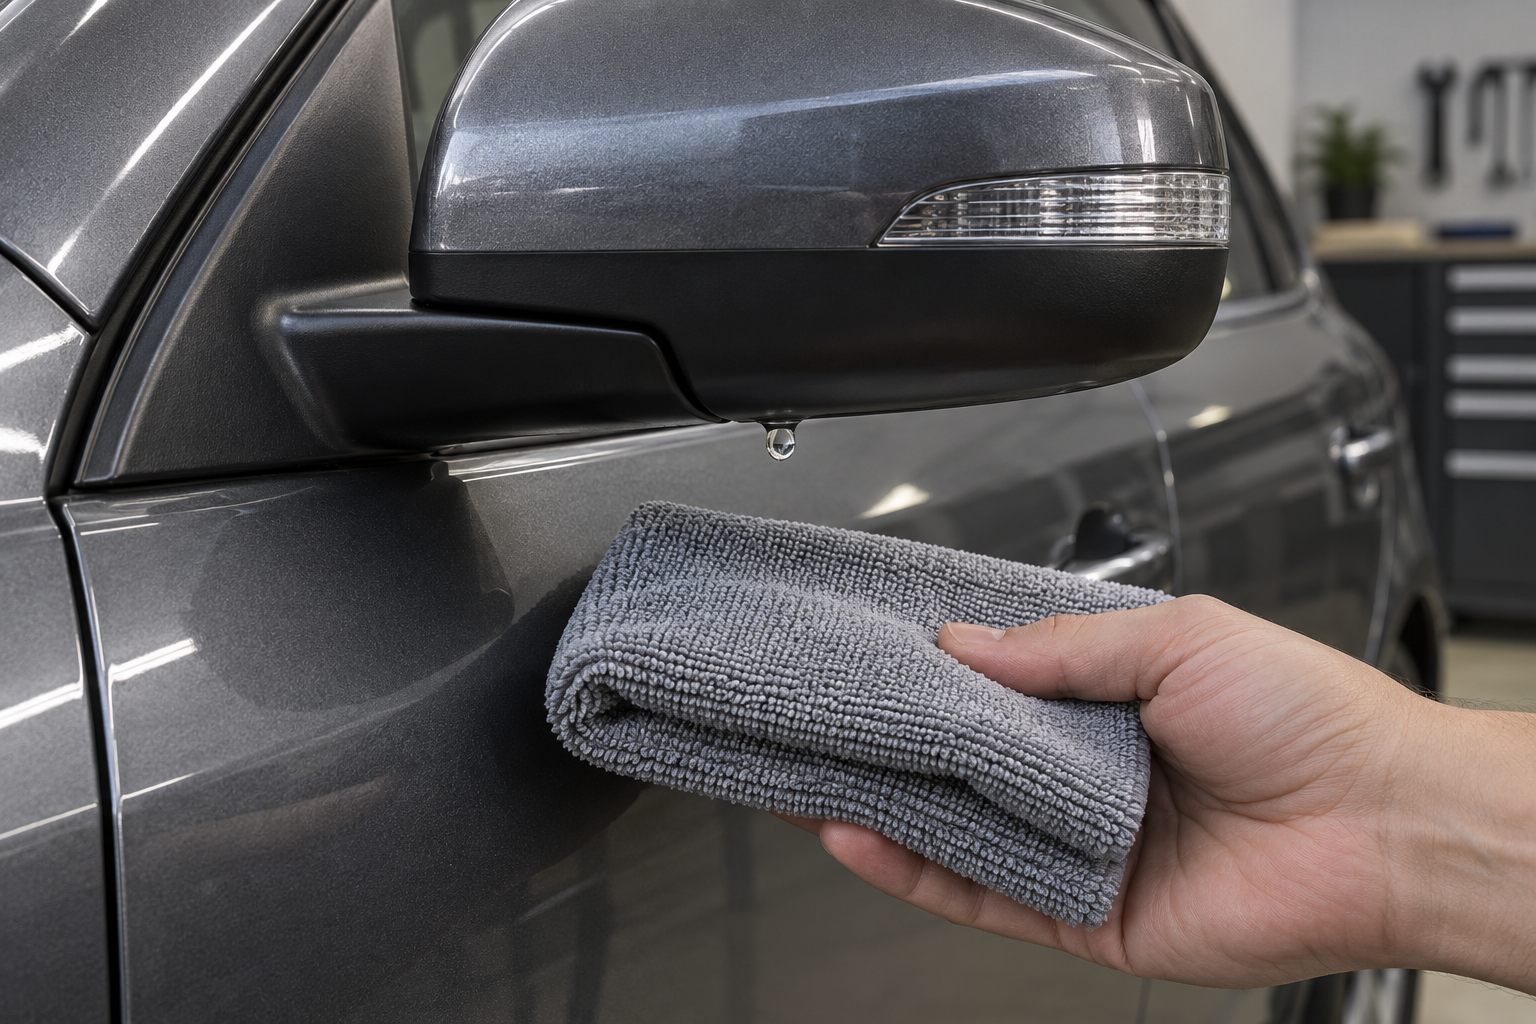
Also deal with hidden water. Mirrors, badges, handles and panel gaps can release a last drip after the broad surfaces look dry. Open and close the doors before the final inspection, then revisit the nearby paint. If you move the car after drying, check again rather than assuming the surface stayed ready.
Lay out the cloths before opening the coating
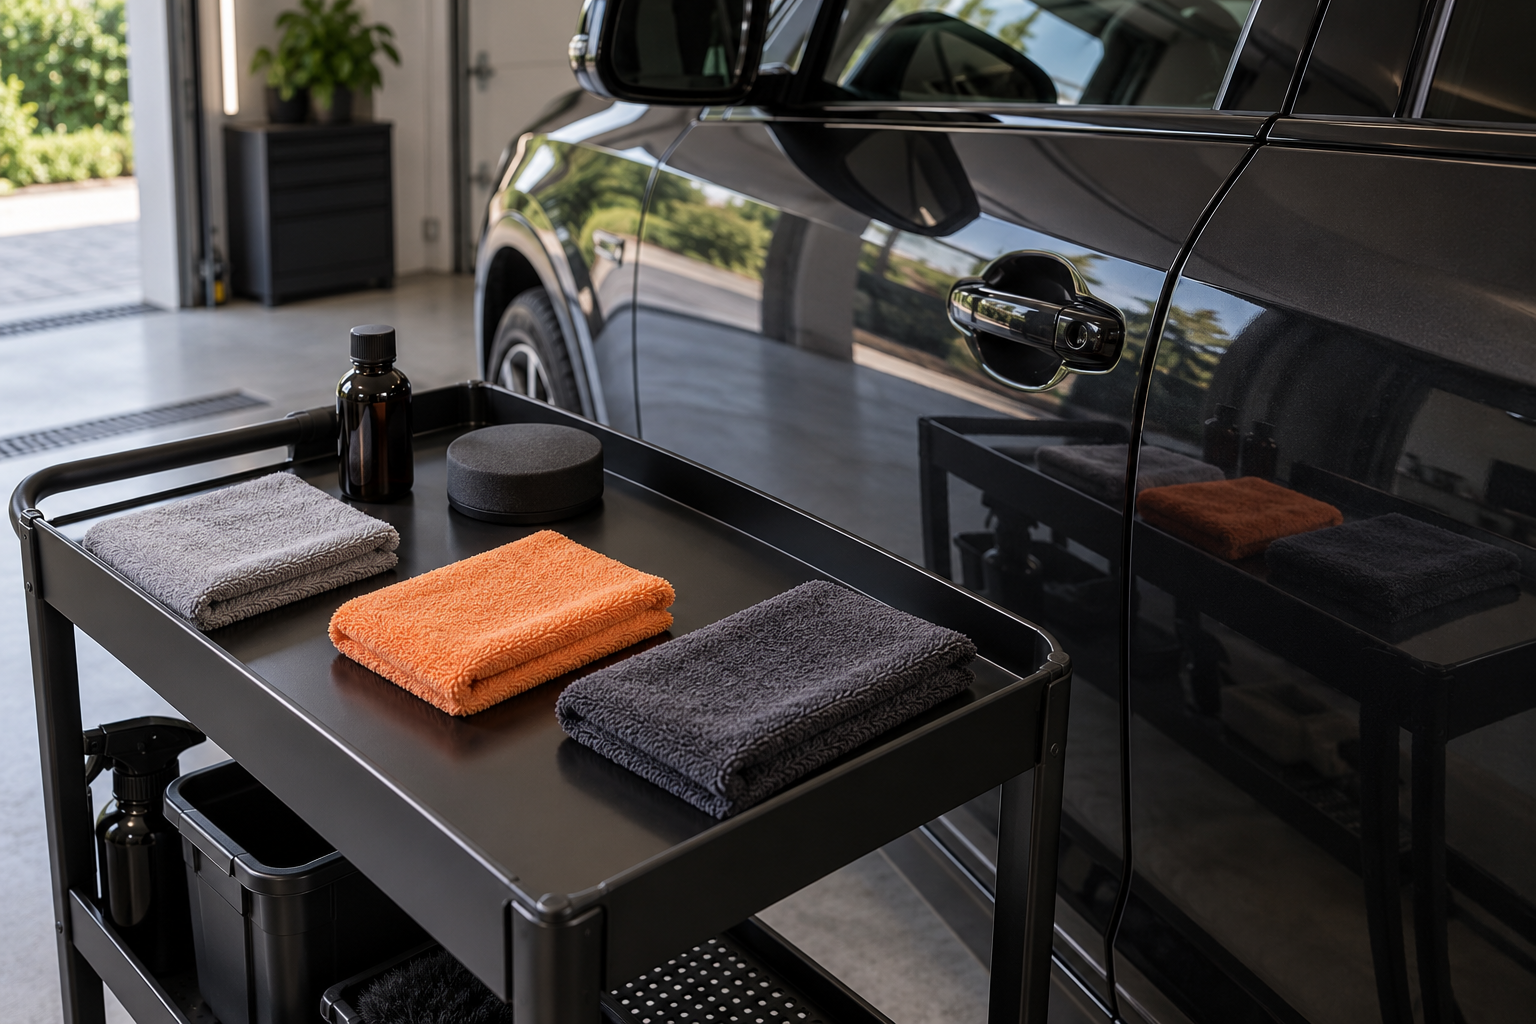
Separate application, initial residue removal and final inspection cloths. Keep clean spares covered and used cloths apart. A cloth that looks almost clean may already contain coating residue; folding to a fresh face helps only while genuinely fresh faces remain.
Use the applicator and cloth type specified for your chosen product. A huge fluffy drying towel is awkward for seeing precisely where you’ve levelled a coating. If you need help choosing pile and size, see which microfibre cloth suits each job.
Put the bottle on a stable clean surface. Keep it away from the edge of the bonnet and close it between applications. Arrange the light so you can inspect a panel without leaning your clothing against the wet work beside it. Remove dangling drawstrings and anything else likely to brush the paint.
Make a simple route around the car. Finish a manageable section before starting another, and keep track of the last completed section. The centre of a bonnet is easy to remember; the strip alongside a roof rail or behind a mirror is much easier to miss.
Work in sections you can inspect properly
Start somewhere accessible so you can understand how the product spreads and wipes in the conditions you’re working in. Use the maker’s stated amount, working area and removal timing. There is no universal rule to wait for a rainbow, and no universal number of minutes that suits every coating.
For Crystal Serum Light, the UK directions specify immediate residue removal, using two cloths and checking with bright, diffused light. That is a reason to keep the working area manageable. Don’t cover a whole side of the car and then return to the first door.
Use overlapping passes to cover the intended area, then remove residue methodically. Take the cloth all the way to the section edges. Check from a second position: a patch that disappears in a strong reflection can show clearly when you crouch or move sideways. More pressure is not the first answer if the cloth starts dragging. Stop extending the area and check the timing, amount and cloth condition.
When you’ve used CanCoat EVO, follow its own spray-into-cloth method; don’t borrow the loading instructions for a dropper bottle. Different delivery methods are a good reason to read the directions again even if you’ve coated another car before.
Inspect the awkward places before you pack away
Pay particular attention to panel edges, the ends of strokes, badge recesses and the point where two working areas meet. Check under more than one lighting angle without touching the paint to see whether it feels slick. At this stage a clean visual inspection is more useful than another finger mark.
If you find an uneven patch, identify whether it is fresh residue or something that has already hardened. Don’t immediately reach for compound. My high-spot guide explains the different next steps and when a local polish means you will need to prepare and recoat that area.
Keep the coating off surfaces outside its approved application list. A gloss-paint product is not automatically suitable for matte paint, a wrap, unpainted trim or glass. Treat those as separate material choices rather than coating everything within reach with the leftover liquid.
For bare exterior plastic, the trim-restorer guide explains when a dressing is enough and when a dedicated plastic coating is worth the preparation.
Leave the finish alone long enough
Once the car looks good, it’s surprisingly tempting to spray water on it for a look at the beading. Save that for after the required cure and aftercare period. The same applies to an extra gloss spray: adding another product immediately can make it harder to judge the first one and may fall outside the coating’s instructions.
Write down when you finished, the earliest permitted water exposure and the first-wash guidance. They are different milestones. If the weather turns, use the curing guide to decide what information to gather before attempting a repair. A shower does not prove that the entire job has failed.
Make the next wash simpler
A coating still needs washing, and dirt still needs loosening before you touch it. Keep your first maintenance routine straightforward: suitable pre-wash where needed, a compatible shampoo, clean wash media and careful drying. The coated-car wash guide explains how to avoid covering up the surface with unnecessary layers of gloss products.
If the water behaviour later disappoints you, wash and assess before buying another coating. Road film, residues and mineral deposits can complicate what you see. Use the stopped-beading checks to separate a cleaning decision from a recoating decision.
For the alloys, use the protected-wheel wash routine to check what shampoo removes before adding a stronger treatment.
Keep the coating’s name and application date with its aftercare instructions. That makes the next wash easier to plan, particularly if someone else will be doing it.