Some links in my articles are affiliate links. I may earn a commission when you buy through them.
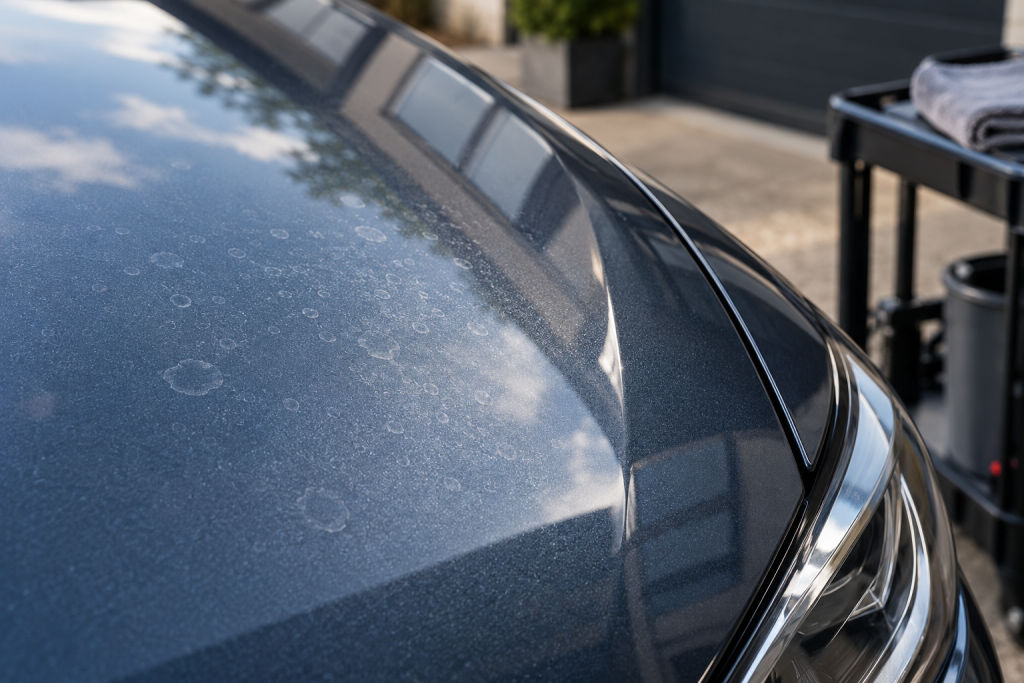
The little rings that survive a wash can make you wonder whether you need a stronger cleaner or a polisher. I’d separate those decisions. A mineral deposit sitting on the surface and a mark left in the finish can look similar, and both may be present in the same spot.
Wash and dry first, then try a compatible deposit-removal treatment on a small area. Remove its residue exactly as directed and inspect the dry result. For a dedicated product to consider, Gtechniq W9 Water Spot Remover is intended for water and silica deposits on paint and glass. If the raised residue has gone but an outline remains, assess the finish rather than repeatedly treating it as fresh scale.
- Wash and dry a representative area so ordinary dirt and wet reflections do not hide the mark.
- Use a product approved for the surface and protection, keeping the trial local.
- Complete its buffing and re-washing stages, then inspect the clean, dry patch.
- Decide separately whether any remaining finish damage warrants correction.
What you can—and cannot—tell from the ring
Water droplets can leave mineral residue as they evaporate. Rings after a hose rinse, sprinkler exposure or water dripping from a recess make a deposit plausible. A clear photograph and the way the marks appeared are more useful than guessing their age from how white they look.
Some deposits sit above the finish; etching describes a change to the finish itself. You may remove the deposit and still see the shape it occupied. Conversely, a stubborn ring after one treatment does not prove it is etched: the cleaner, process or diagnosis may need checking.
Feel the clean surface lightly and look along it under useful light. Do not use a fingernail or abrasive pad as a diagnostic tool. A pale mark can be especially obvious on dark paint without being deeper than an apparently faint one elsewhere.
If the marks are raised specks or sticky patches rather than water-shaped rings, use the rough-paint diagnosis before choosing the chemical. An iron remover, sap cleaner and water-spot remover are different treatments.
Start with the surface and its existing protection
Identify ordinary gloss paint, a repaired panel, matte paint, vinyl or PPF before applying anything. Check the coating’s maintenance instructions if the car is protected. A compatible deposit cleaner can be useful on a coating without making abrasive polishing an equivalent maintenance step.
The current UK maker information lists W9 for water deposits and describes compatibility with paint, glass and coatings. Keep that to its intended cleaning role. A product that dissolves mineral residue does not replace missing clear coat or establish how much abrasive correction a particular panel can tolerate.
On matte or satin paint, avoid a gloss-paint polishing response to a stubborn spot. For films and specialist finishes, confirm the approved treatment and cleanup first. Stop if a trial changes the colour, sheen or feel of the underlying surface.
A controlled W9 trial on clean paint
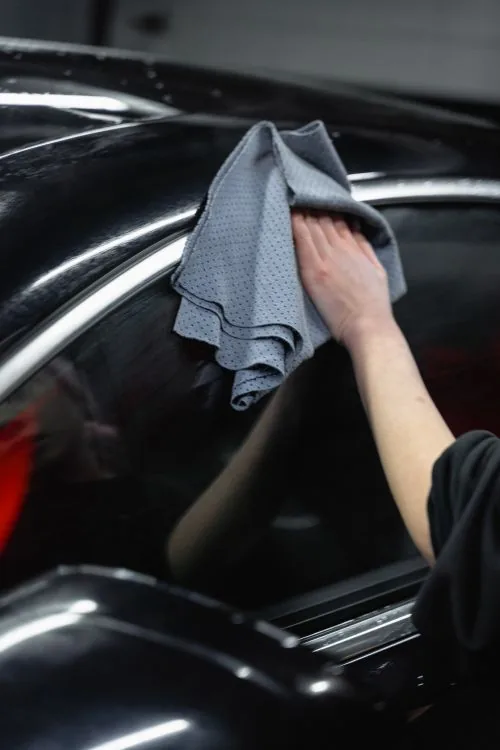
Use W9 after washing and drying, out of direct sunlight. Shake the bottle and wear the gloves specified by the maker. Have separate clean application and buffing cloths ready, plus what you need to re-wash the area afterwards.
Gtechniq’s current UK application panel allows an area no larger than 60 × 60cm. I’d begin with a smaller representative patch so you can inspect the result before doing a whole panel. Spray the product onto the clean microfibre, wipe it over the affected area and buff immediately with another clean cloth.
Repeat only as necessary within the instructions, then re-wash as that application panel specifies. Do not turn “buff immediately” into a long soak while you clean another part of the car. The product should not dry on the surface.
The UK application instructions are the relevant reference here. Different regional pages can give different working-area guidance; use the instructions supplied with your actual bottle if they differ. Complete the cleanup before judging whether another treatment has earned its place.
Read the result before reaching for polish
If the rings have gone and the finish looks sound, stop the removal work. There is no benefit in polishing a satisfactory panel simply because the original problem looked stubborn.
If the patch has improved but residue remains, check whether you completed the application and cleanup properly. A loaded cloth, drying product or incomplete wash-off can confuse the inspection. Compare the cleaned test patch with a neighbouring area before repeating the process.
If the surface is clean and smooth but the outline remains, the finish may need assessment for etching or staining. This is the point to consider an appropriate polish and a controlled test area on sound gloss paint. Keep the improvement you want proportionate to the paint you can safely preserve.
Deep or widespread marks, doubtful repairs and uncertain paint history deserve experienced assessment. Do not leap to sanding or repeated heavy cutting because a cleaner did not erase an outline. For a coating, establish whether correction would require replacing the affected protection before starting it.
Glass is a separate inspection
Water spots on the outside of glass can remain after an ordinary glass cleaner has removed film and fingerprints. The same named product may permit a deposit treatment there, but keep the cloths and material checks separate from the paintwork stage. Prevent product running onto excluded surrounding materials and do not let it dry on the glass.
I check the glass from the driving seat as well as outside. Low-angle light, the wiper sweep and the top edge can reveal residue that was difficult to see straight on. Finish the product’s cleanup and inspect visibility before driving.
A paint compound is not an automatic glass-polishing product. If a mark persists after suitable deposit removal, use glass-specific assessment rather than transplanting an abrasive paint recipe. The glass-cleaning routine helps distinguish ordinary smearing from a separate deposit problem.
Prevent the next batch while you decide on the finish
Work out where the water is drying first. If the roof is spotting while you are still rinsing the lower doors, reduce the area you wash and dry at once. Keep a clean reserve drying cloth for when the first one becomes saturated.
If you’re choosing a spare, the drying-towel guide compares sizes for broad panels and awkward areas. If a clean towel pushes water around from the first wipe, try the absorbency checks before replacing it.
Look for later drips below mirrors, handles and badges after the first drying pass. A fresh trail from a recess needs attention to trapped water, not a different bottle for the whole car. The hard-water washing guide and drying method cover those habits.
Reassess compatible protection after any necessary cleaning or correction. A coated or waxed car can still develop water deposits; I’d keep the rinse-to-dry stage working well rather than rely on beads to take care of themselves.