Some links in my articles are affiliate links. I may earn a commission when you buy through them.
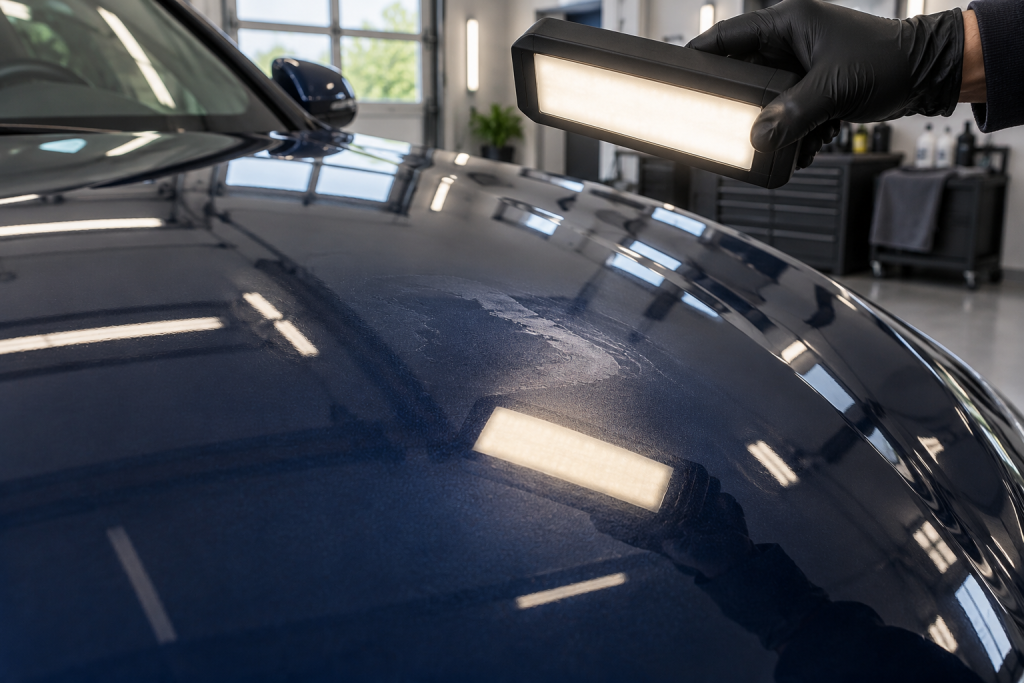
The coating looked good in the garage, but now there’s a darker smear when you move beside the car. It may be excess coating, but it could also be preparation residue, a water mark or a defect that was already there. Before you reach for polish, work out when the mark appeared and whether the coating is still fresh.
If you notice excess product during application, stop extending the working area and follow that coating’s removal instructions with fresh cloths. If the patch has hardened, don’t keep rubbing or experiment with strong solvents. Identify the product and seek its specific correction method; a cured high spot may need local polishing, fresh preparation and reapplication.
What a high spot can look like
People use the term for an uneven patch of coating left after application. Depending on the paint and the light, it can look darker, oily, smeared or slightly rainbow-like. The appearance alone doesn’t establish the cause. A glossy black bonnet can make a tiny uneven patch conspicuous, while silver paint may hide it until you move to a different angle.
Look at the surrounding pattern. A mark at the end of an application stroke or along an overlap is consistent with uneven residue. Circular rings following dried droplets suggest a different starting point. Fine scratches that follow a light reflection may be in the underlying finish.
Start with the history: what was the last product used, when was it applied, and was the panel clear before that stage?
Catch it while you're still applying
Complete one small area, remove the excess according to the bottle instructions, then inspect before moving on. Keep the inspection cloth separate from the first residue-removal cloth. Otherwise you can move product around and think you’ve finished because the mark has changed position.
With Gtechniq Crystal Serum Light, check the overlap edges for an even finish. Look beyond the centre of the panel, particularly where one working section meets another.
That product’s UK directions call for immediate residue removal and inspection with a bright diffused light. Don’t wait for the whole car to haze like a traditional wax. Another coating may have different timing, so carry the habit of inspecting across products without carrying over an unsupported waiting time.
If a cloth begins to drag, reduce the area you’re attempting and change to a fresh suitable cloth. Check that the panel and environment remain within the product’s specified conditions. Adding pressure while continuing around the car can leave you with more work to correct.
Don't assume adding more coating will always fix it
Some manufacturers describe reapplying a little product to a recently over-dried section and removing it promptly. That is a product-specific recovery method, not a universal solvent trick. Follow the directions for the bottle you are using and the stage it has reached.
If those instructions do not cover your situation, pause and ask the maker. Tell them whether the patch appeared minutes ago or was discovered the following morning. Include a photograph in useful light and the application conditions if you recorded them.
A thin fresh residue can behave very differently from a hardened patch. Repeatedly flooding the latter adds liquid without proving you have levelled the original coating. It can also make the edges of your working area harder to judge.
When polishing becomes the right next step
For fully cured residue, Gtechniq’s guidance for Crystal Serum Light calls for polishing and reapplication. That is a local correction task, not an invitation to compound the entire car. The current application instructions distinguish the removal and inspection stages.
On suitable gloss paint, assess a small area with the least aggressive appropriate polish and pad combination. Keep the paint’s history and condition in mind. A high spot near an edge or on an uncertain respray may be a better job for a detailer than a first attempt with a machine.
The polishing step can remove the protection in the worked area. Afterwards, check the finish, remove residue with compatible preparation and reapply protection as the coating system requires. Allow for fresh application and curing on the corrected patch.
Use compound versus finishing polish to understand the correction choice, and preparing paint for coating for the stage afterwards. Matte or satin finishes, wraps and film need their own approved method; ordinary paint polishing can change their appearance.
Separate high spots from mineral deposits
If the mark appeared after water dried on an established coating, clean and inspect before calling it an application fault. A suitable water-spot treatment addresses deposits; it does not level cured coating. Conversely, an abrasive polish may remove both a deposit and protection when a gentler treatment would have been enough.
Gtechniq W9 is a relevant option for mineral deposits on compatible, established finishes. It is not the first thing I would put on a coating that is still inside its early curing period. Check the coating maker’s aftercare instructions and the cleaner’s current directions together.
If the car still has a general film rather than isolated patches, start with a proper maintenance wash. If the issue is disappointing water behaviour without a visible mark, use the beading diagnosis. Those avoid treating every change in appearance as excess coating.
Make the next application easier to inspect
Use a working area you can comfortably reach and see. Position a diffused light so its reflection moves across the area as you change angle; one fixed bright point can hide as much as it reveals. Check the lower door sections by moving yourself or the light, rather than leaning across freshly treated paint.
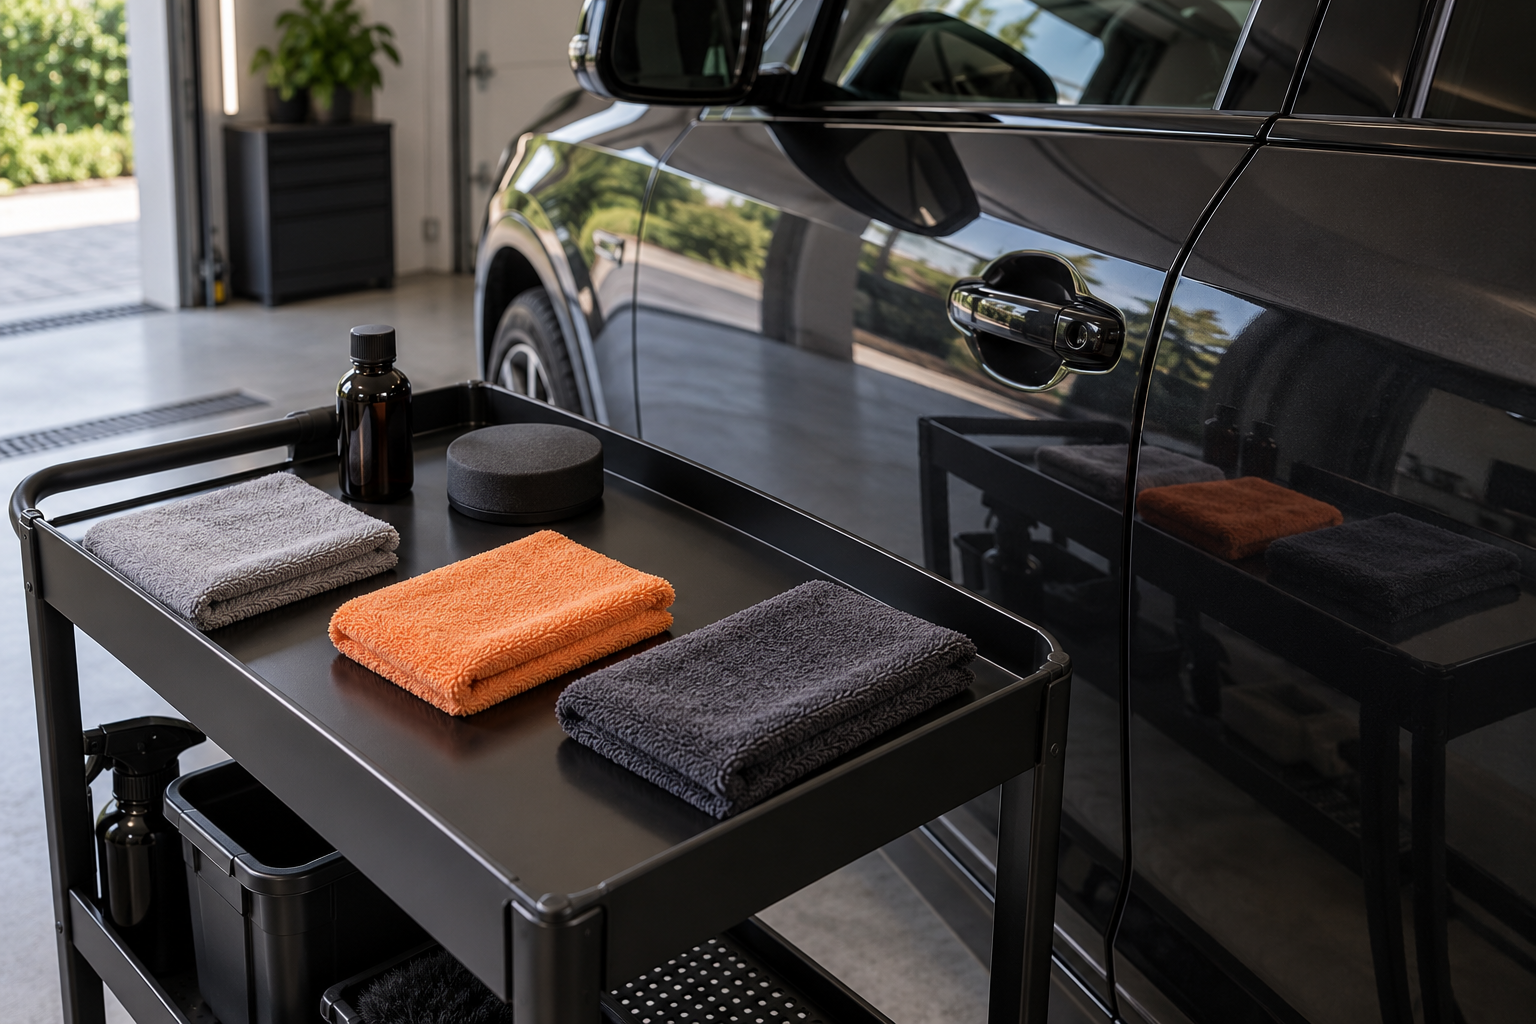
Keep cloths within reach but away from dust, and reserve enough spares to finish without stretching a loaded towel across another panel. Put the used ones into the product-specific cleaning or disposal process promptly; do not return them to the clean pile because they look dry.
Leave yourself time for a final walk round before the protected curing period. Check the bonnet edges, roof strips, handles and the end of each section. For the complete order of work, return to the home ceramic-coating guide.