Some links in my articles are affiliate links. I may earn a commission when you buy through them.
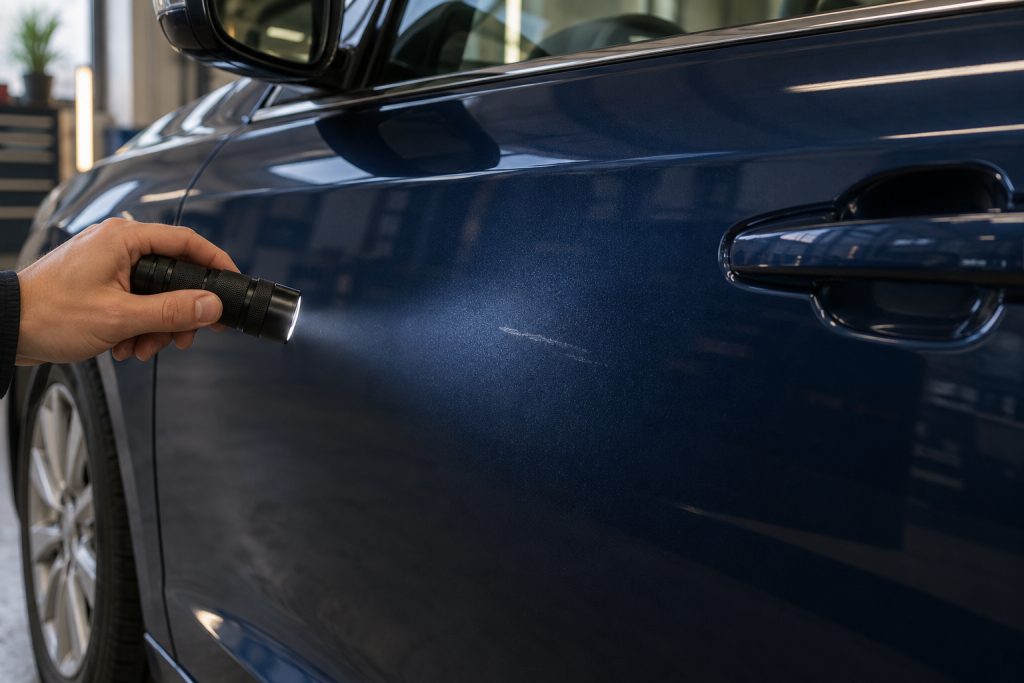
There’s a fresh-looking mark on the door and, naturally, your eye goes straight to it every time you walk past. Before buying the strongest scratch remover you can find, it’s worth working out whether you’re looking at something on the paint, a shallow mark in the surface or damage through the finish. Those need different answers.
Some light scratches and scuffs can be made much less noticeable with careful polishing. A deep scratch may improve around the edges but still need repair. I’ll show you how I’d assess the mark, choose a modest first attempt and recognise when more rubbing is unlikely to be the useful next step.
Clean the area first, inspect it dry in more than one light, and check gently whether the mark feels raised or recessed. Try a mild product on a small area only if the glossy paint is sound. A scratch that catches a fingernail, exposes another layer or sits beside lifting lacquer deserves repair advice before further abrasion.
Clean it before deciding how bad it is
Road film, tar, transferred material and dried cleaning residue can exaggerate a mark. Wash the area gently, rinse and dry it with a clean towel before judging. Don’t rub a dry, dirty panel with a cloth in an attempt to see the scratch more clearly.
If you can see a separate raised deposit, identify it before choosing a remover. Our tar-removal guide is useful for tar spots, but a tar remover is not automatically the right solvent for every paint transfer or unknown mark. Check the product’s surface compatibility and use a small inconspicuous test where appropriate.
The same caution applies to magic erasers, household scouring pads and abrasive toothpaste tricks. They give you little control over the finish and can create a larger dull patch around the original mark. A product intended for automotive glossy paint makes the next step easier to judge.
What the mark’s appearance can tell you
Fine swirls usually become visible around a bright reflection and cover a broader area. A single scratch follows a more distinct line. A scuff may be a wider patch of transferred material, abrasion or both. These descriptions help you choose a starting route, but appearance alone doesn’t reveal the exact depth.
A white-looking line is not automatically through the clear coat: light scattering can make a shallow defect look pale. Equally, a coloured mark may include transferred material while hiding damage underneath. Clean first and avoid diagnosing solely from the colour.
If you see peeling edges, cracks, a chip exposing a lower layer or an area where lacquer is already failing, polishing cannot replace the missing coating. That is the point to get the finish assessed for repair. You can still clean and care for the surrounding car without trying to abrade the damaged area into agreement.
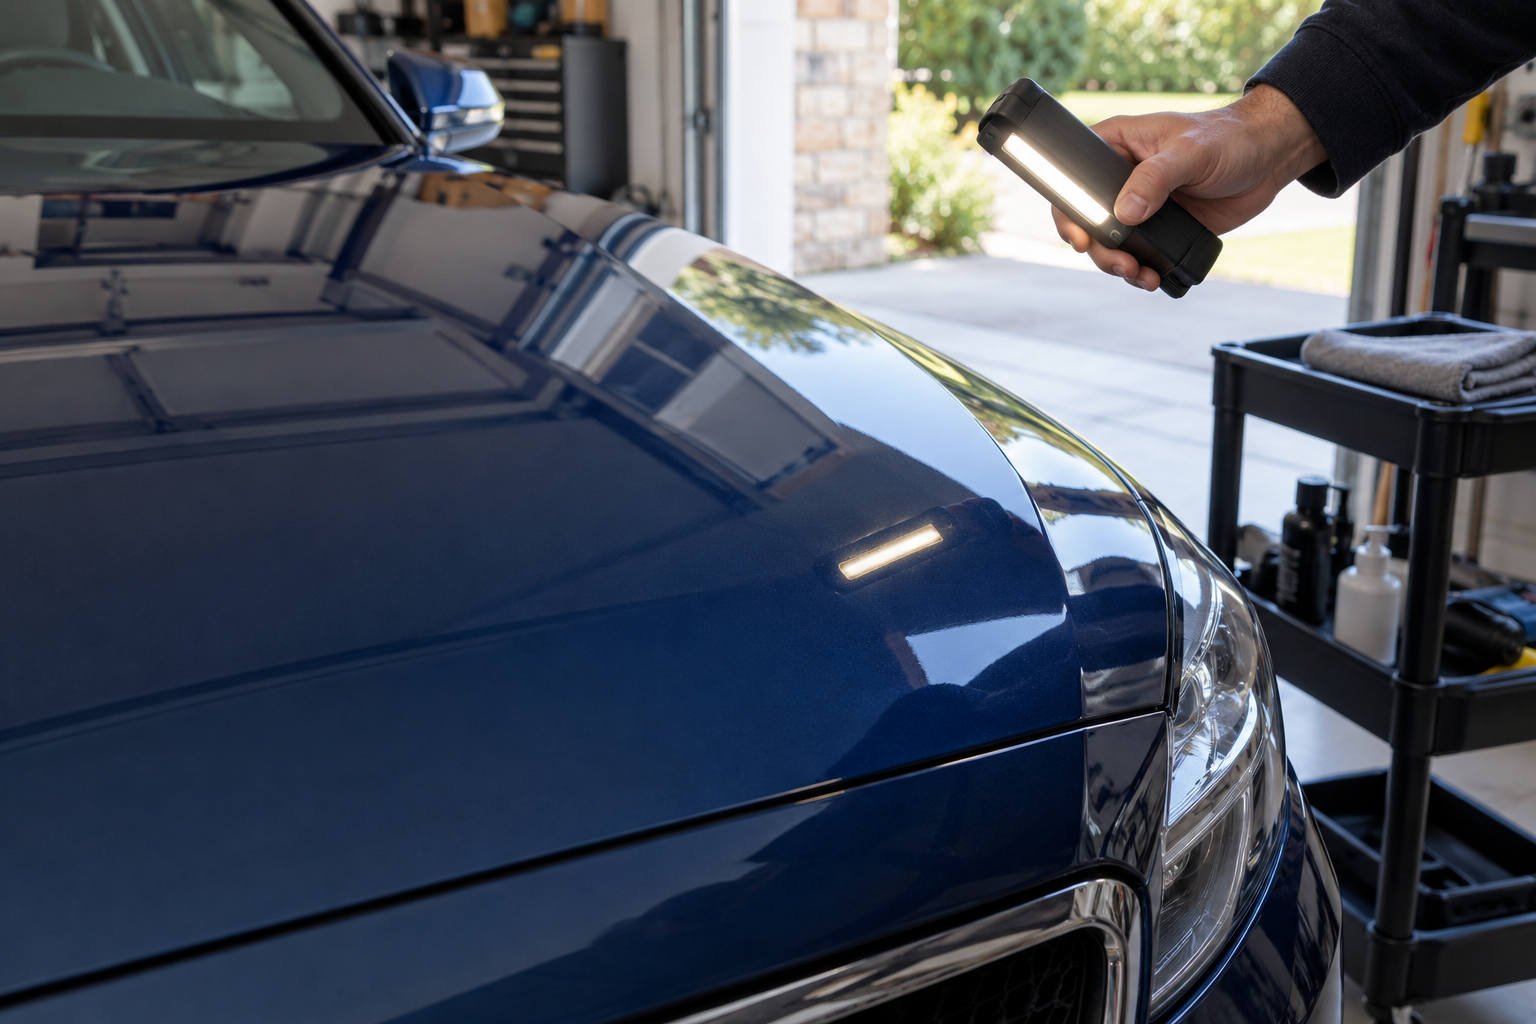
Use the fingernail check as a warning, not a verdict
On a clean surface, a very gentle nail check can reveal whether a mark has a noticeable edge. Don’t drag a nail repeatedly over the panel or try to dig into the line. If it catches, I’d stop treating complete removal as a normal beginner polishing job.
If it doesn’t catch, that still isn’t a guarantee. You haven’t measured the remaining clear coat, and you don’t know how much polishing the panel has had before. A narrow mark on an edge can deserve more caution than a similar-looking mark in the centre of a broad panel.
You may also have seen the suggestion to wet a scratch and see whether it disappears. Water can temporarily change how the surface reflects light; it doesn’t establish that enough finish remains to polish the mark out. Judge the dry result and use those checks to guide caution rather than to authorise increasingly heavy cutting.
My first polishing attempt would be small
For fine marks on sound glossy paint, start with a mild polish and suitable clean applicator. Meguiar’s Ultimate Polish is a useful option for lighter improvement. Work a small section by the product’s directions, remove the residue gently and inspect beside the surrounding paint.
If the surface is clearer and the mark is less distracting, you may already have reached a useful finish. A scratch doesn’t have to disappear under every inspection angle to stop dominating the appearance of the door.
For a more obvious shallow defect that warrants a stronger trial, I’d consider Meguiar’s Ultimate Compound. Controlled work and a proper wipe-down can make light marks less distracting. Assess an unknown deep scratch separately before attempting further abrasion.
The compound-versus-polish guide helps choose between the two. If this is one small area, working by hand can be a sensible way to keep the attempt limited. A machine becomes useful for broader swirls, but it isn’t a shortcut around assessing the paint.
Don’t keep repeating the same attempt indefinitely
After the first controlled application, ask whether the mark has changed and whether the surrounding finish still looks clear. If progress is slight or absent, don’t respond with an open-ended series of harder passes. Stop and reassess the nature of the defect and the history of the panel.
One overlooked problem is making the surrounding paint look excellent while a deep line remains. The contrast can make you feel compelled to continue, even though the deeper line is precisely the part you should leave. Treat the clearer surrounding finish as a result, not an obligation to remove more material.
If your attempt leaves a cloudy patch, stop and consult the haze troubleshooting guide. It may be residue or a finish that needs a gentler refinement step. More of the same aggressive combination can make the decision harder.
When an appearance improvement is enough
Autoglym Super Resin Polish is worth considering if your aim is an easy hand-applied tidy-up rather than permanent removal of every mark. Its filling properties can make light defects less conspicuous while improving gloss. The car can look clearer without every scratch having been removed.
For an everyday vehicle, this may be a proportionate choice. It lets you improve the overall appearance and get on with using the car, rather than turn a small mark into a lengthy correction project. Follow the product’s stated method and keep it on compatible glossy painted surfaces.
Don’t apply a gloss-enhancing abrasive approach to matte paint or assume that a wrap, protective film or clear plastic needs the same treatment. The material changes the answer. Our matte-paint care guide covers that separate finish.
When I’d move to repair advice
Ask a repairer about damage that reaches a lower layer, catches noticeably, follows an edge, includes peeling lacquer or sits on an uncertain previous repair. They can assess whether local repair, touch-up or refinishing is appropriate. Buying another grade of compound won’t put missing paint back.
Photograph the clean, dry area in ordinary light and from a wider angle showing its location if you are asking for an initial assessment. A close-up without scale or panel context can make a tiny scuff look dramatic and conceal where it sits on the car. Avoid judging a promised repair solely from a heavily lit before-and-after picture.
Care for the rest of the finish
Once you have made the improvement you can sensibly achieve, follow the chosen product’s protection requirements. The wax and sealant guide can help you finish the job. Keep wash equipment and towels clean so the next wash doesn’t introduce more light marks around the repaired-looking area.
For widespread swirls on otherwise sound paint, move on to the machine-polishing beginner’s guide. For one questionable scratch, take the smaller route first. The right outcome is a better-looking car with its remaining finish treated carefully, not winning an argument with one stubborn line.