Some links in my articles are affiliate links. I may earn a commission when you buy through them.
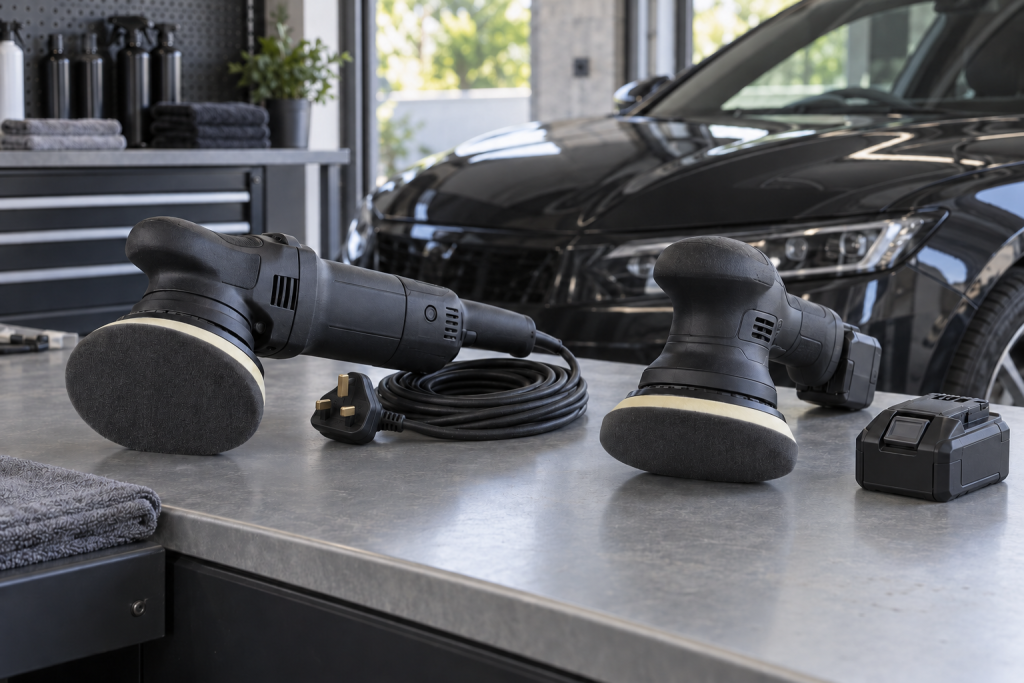
For occasional polishing on your own car, I’d start with a variable-speed, free-spinning dual-action polisher. It’s a manageable machine to learn with, and you can tackle light swirls without jumping straight to a rotary.
Look at the panels you’ll be working on before choosing the biggest machine or the bundle with the most accessories. You need a pad that fits the work, a comfortable grip and a few clean spare pads of the grade you’ll actually use. If you’re unsure whether polishing is the right job, read what paint correction involves first.
Which type of polisher should you start with?
A dual-action, or DA, polisher moves its pad in an orbit while the pad also rotates.
- Free-spinning DA
The motor drives the orbit, while the pad is free to rotate. Too much pressure or a tilted pad can stall the rotation even though the machine keeps vibrating. When that happens, flatten the pad and ease the pressure. Leaning harder won’t help it cut.
- Forced-rotation DA
Gearing drives the rotation as well as the orbit. It keeps that movement going in situations that can stall a free-spinning DA, but it can also pull more insistently as you cross a curve.
- Rotary
The pad spins around a fixed central axis. A rotary demands closer control of heat, edges and finishing technique. Leave a rotary for later if you’re learning.
Check the manual if a listing only says “orbital buffer”. Some large buffers are intended for spreading wax and won’t do the correction work you have in mind.
Understanding 8, 15 and 21 mm throw
Throw is the size of the orbital movement. Backing-plate diameter is a separate measurement: a machine can have a 125 mm plate and a 15 mm throw.
A longer throw sweeps a wider path across a broad bonnet or roof. Around narrow sections and tight curves, that movement needs more room. If the pad can’t stay properly supported, a bigger throw won’t make the job easier.
A shorter-throw full-size DA makes a useful general starting point. A longer-throw machine can also work well if you mainly have open panels to polish. Look at the narrow painted strips, bumpers and pillars on your car too; some will still need hand work or a smaller machine. Don’t tilt a full-size pad onto its edge to squeeze into them.
Choose the backing plate and pads together
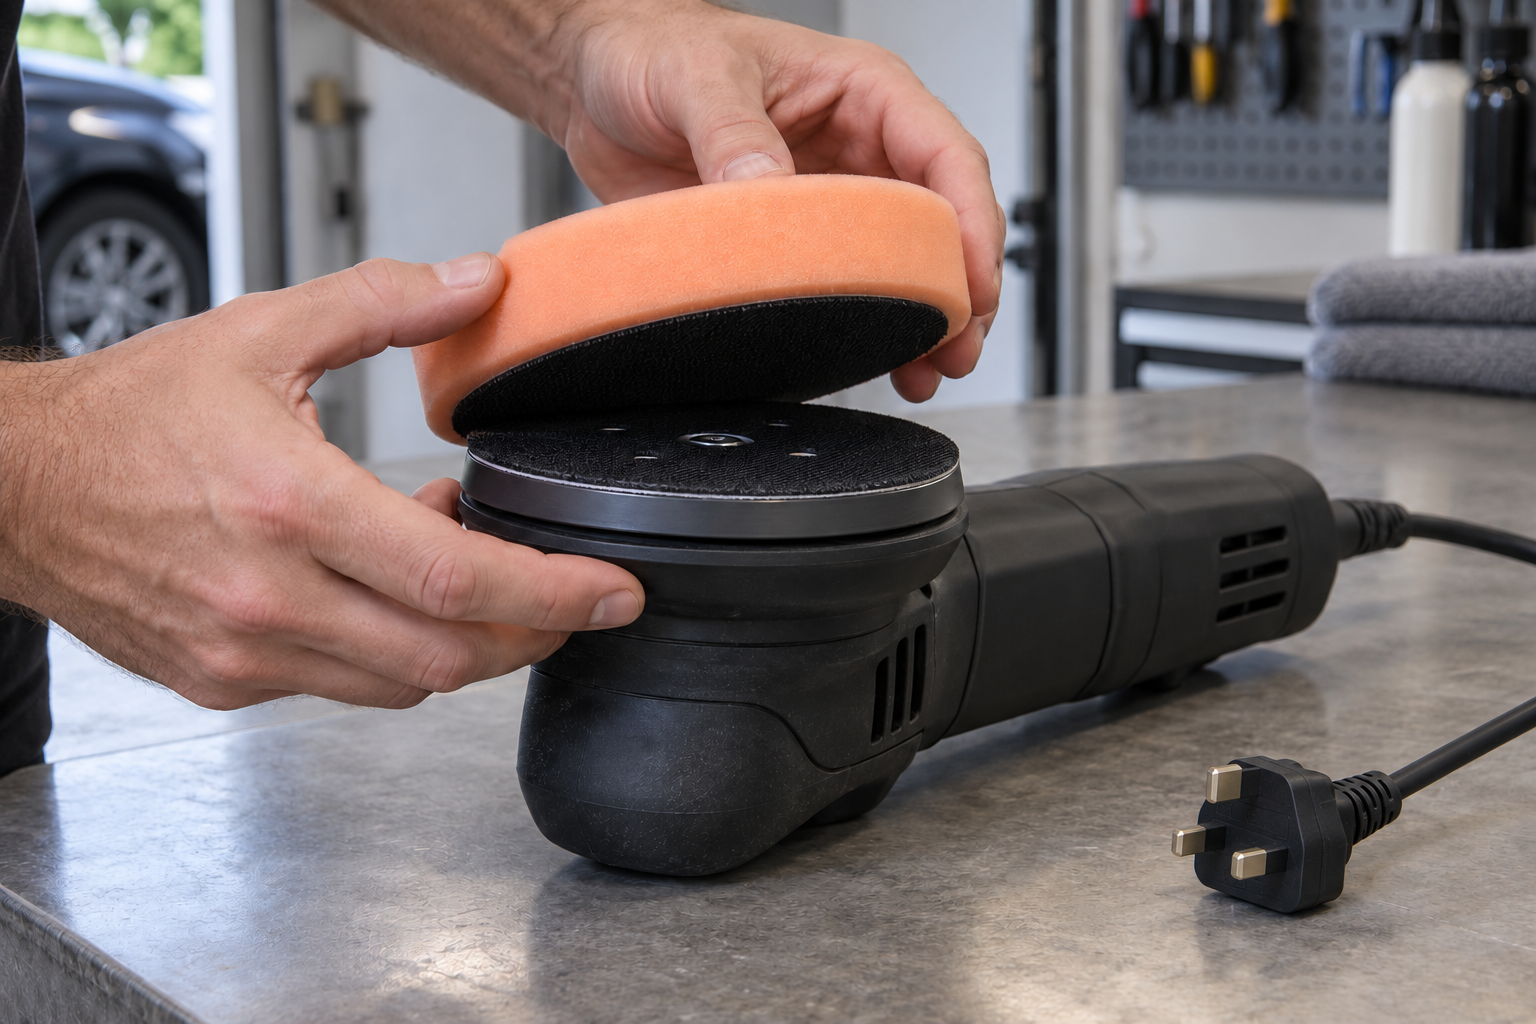
The backing plate attaches to the machine; the pad’s hook-and-loop backing sticks to the plate. The foam working face can be wider than the backing, so a 5.5-inch pad may be designed for a 5-inch plate. Check both dimensions before ordering replacements.
A 125 mm plate is a common all-round size. A 150 mm setup covers more open paint but is more awkward where the panel narrows. The pad guide explains the sizes and cutting grades.
Only fit backing-plate sizes approved for your machine. A matching thread doesn’t tell you whether the plate suits its balance or has enough clearance. Some models allow different plates; others are designed around one size.
Corded or cordless?
Corded works well when you have power nearby. Check the manual’s extension-lead requirements and keep the cable from dragging across the paint. Keep connections clear of wash water and put off outdoor polishing if rain is moving in.
Cordless removes the trailing lead, but check which battery and charger are included. Hold the machine with the battery fitted if you can: that extra weight matters when you’re polishing a vertical door. Make sure replacement batteries are available and allow for charging during a long session.
Don’t choose by wattage alone. The pad, polish and your control of the machine all affect the finish; more input power doesn’t guarantee clearer paint.
Try holding it as though you’re polishing
A machine can feel comfortable on a shop counter and quite different halfway down a door. If you can handle it before buying, try supporting it with both hands in both positions.
- Grip and balance: can you keep the pad flat without twisting your wrists or squeezing the body hard?
- Speed dial: can you reach it deliberately without knocking it as you work? A setting of “4” won’t mean the same speed on every machine.
- Trigger and lock: know how to stop the machine before you put it against paint.
- Support: check that you can get the manual, replacement plates, servicing and spare parts.
What else do you need?
Have several clean pads of your chosen grade, buffing cloths, a mild polish, inspection lighting and protection for afterwards. Five different pad colours won’t give you five replacements when the one polishing pad you need is loaded with residue. Colours don’t indicate the same cutting grade across brands either.
Use the compound and finishing-polish guide to choose a mild starting combination. Keep pads clean during the job and wash them afterwards using the pad-cleaning method. Leave sanding discs and unidentified bonnets from a mixed bundle in the box.
Your first session
Read the machine manual, check the plate and pad, then practise holding the unpowered machine flat against a sound, open panel. Wash and prepare the paint before trying a small section. The test-section method takes you through spreading, working, stopping and inspecting the polish.
A DA can still damage paint. Stop if the panel gets hot, the pad starts deteriorating or the finish becomes hazier. Check the haze guide before adding more cut, and leave a stubborn deep mark alone until you’ve worked through the scratch checks.