Some links in my articles are affiliate links. I may earn a commission when you buy through them.
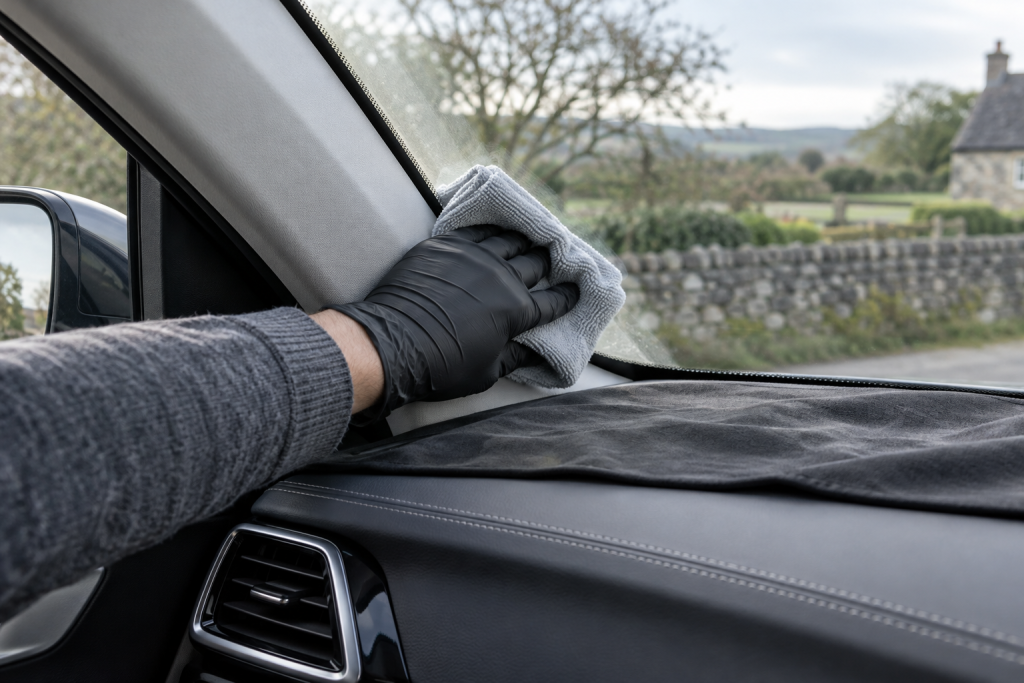
Glass has a habit of looking clean on the driveway, then showing every smear as soon as you drive towards the sun. Buying a good cleaner helps, but you also need to match it to the surface and the film you’re trying to remove.
I’d buy Autoglym Fast Glass first for routine car glass and a versatile non-abrasive cleaner. For a fragrance-free spray aimed at a clear finish, I’d choose Gtechniq G6 Perfect Glass. For persistent grime on suitable ordinary glass, Autoglym Car Glass Polish gives you a deeper cleaning step; keep that polish off aftermarket window film and plastic windows.
Best first bottle for routine glass
Fast Glass is the choice I’d make if you want a straightforward spray for interior and exterior windows, mirrors and suitable plastic glazing. Its non-abrasive formula gives it a broader useful role than a glass polish.
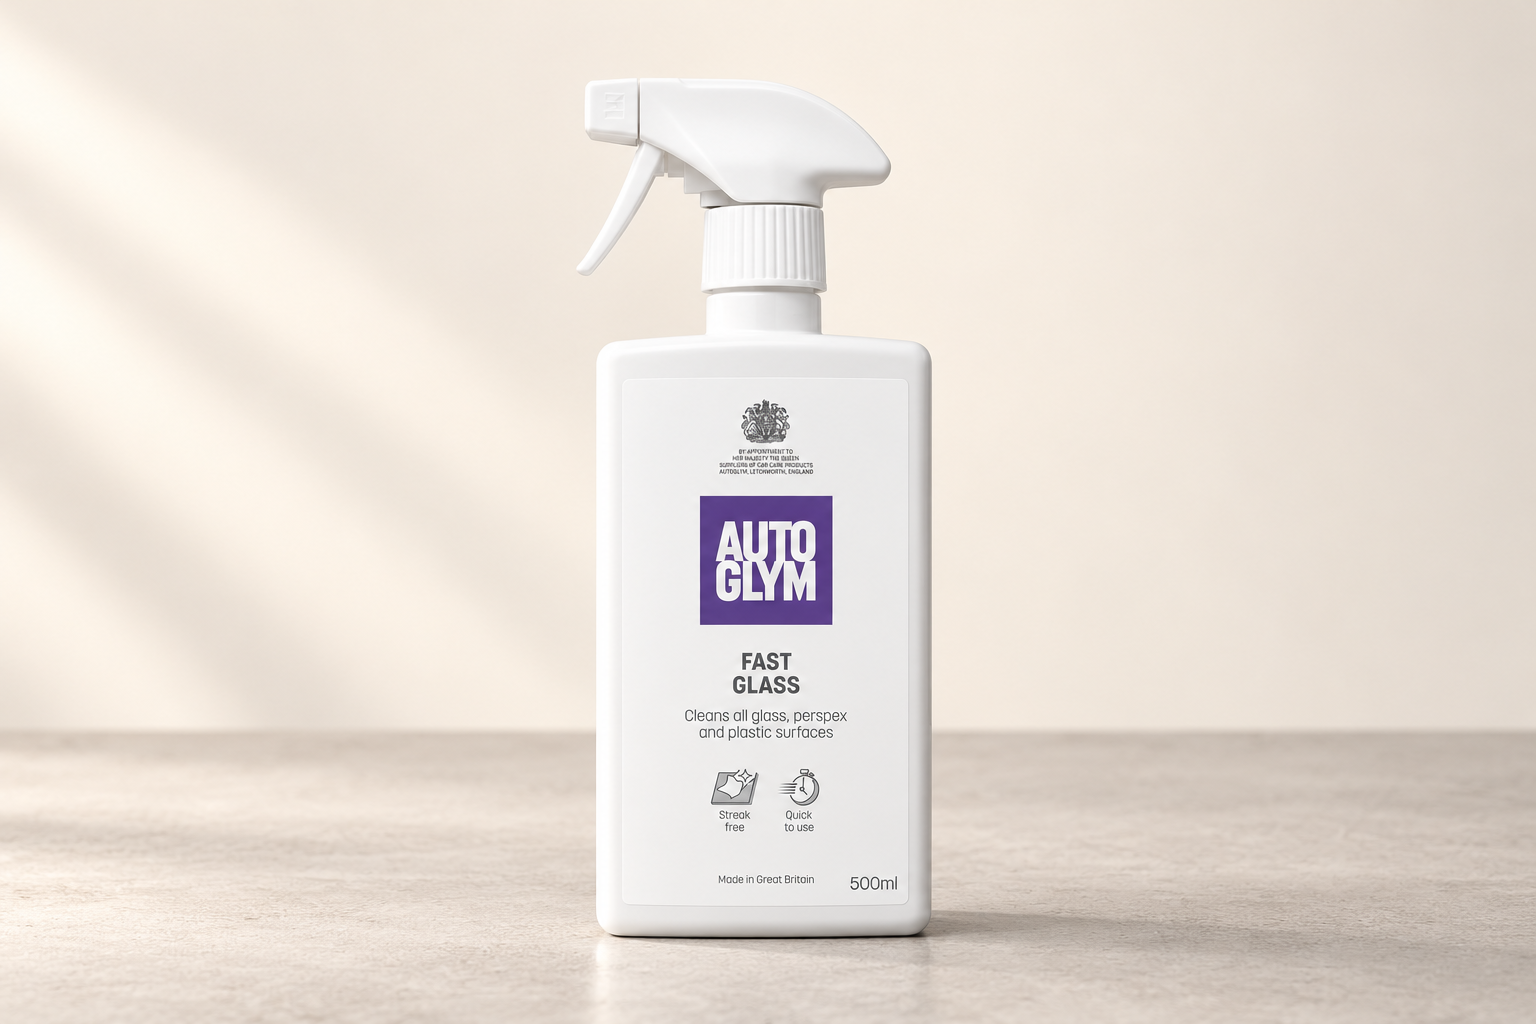
Give the edges and wiper sweep their own final wipe; these areas are easy to miss when you concentrate on the middle of the pane. Check the finish from the driving seat as well as outside.
Use a light amount and keep turning the cloth to a clean face. Inside the car, I prefer putting the cleaner on the cloth so the surrounding trim doesn’t receive the overspray. Around displays, Autoglym’s UK directions specifically say to apply sparingly to the cloth and never spray directly onto the screen.
For aftermarket window film, the distinction from Car Glass Polish matters. Autoglym’s tint-specific guidance approves the non-abrasive spray for factory and aftermarket tinted windows. Follow the film installer’s initial care and curing instructions as well; a suitable cleaner doesn’t change when newly fitted film may be cleaned.
I’d choose Fast Glass for the usual wash-day finish, and for plastic glazing where a glass polish is excluded. You still need the surface manufacturer’s approval for a specialist screen or coating.
Best when you want a fragrance-free spray
G6 suits you if a dedicated, fragrance-free glass cleaner fits your routine. Gtechniq describes its formula as avoiding ingredients that can contribute to smearing, and gives a simple clean-and-final-wipe method.
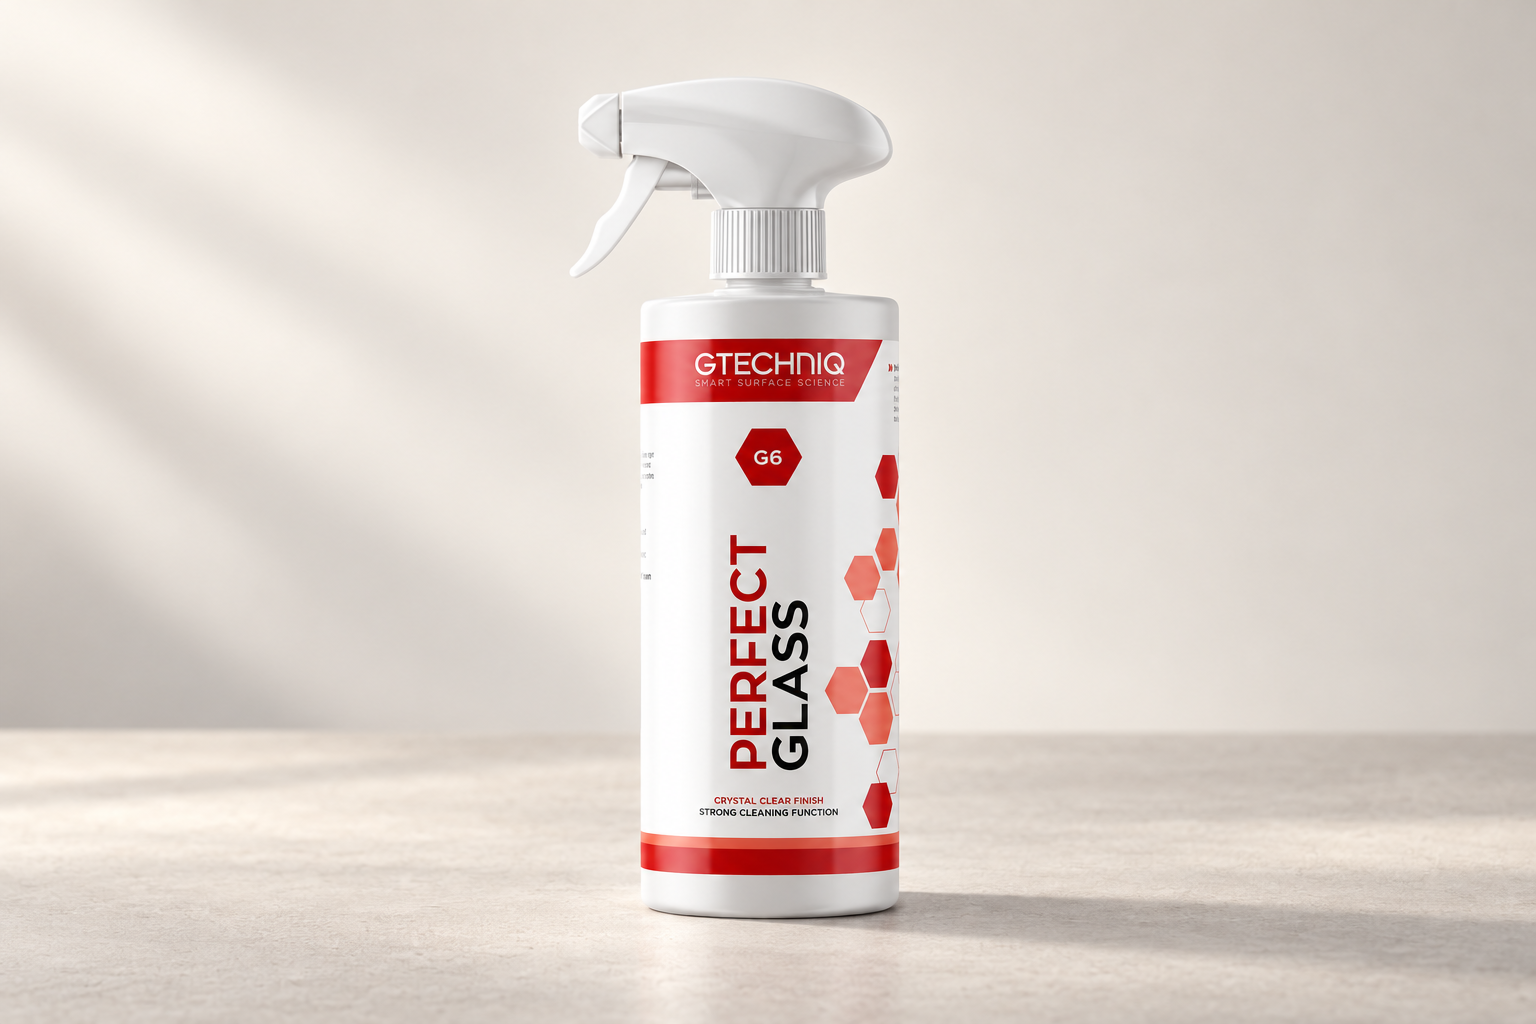
Use the final dry wipe to check for haze, then look through the pane from inside the car as well as from the driveway.
I’d pick G6 for ordinary windscreen and side-window cleaning when I want that focused spray-cleaner approach. Spray onto a clean glass cloth, wipe the pane, then remove residue with a second clean cloth. Gtechniq’s UK application instructions also specify working out of direct sunlight.
Its formulation is a useful reason to choose it if you dislike fragrance in a cleaner; it doesn’t make cloth cleanliness irrelevant. If a towel has already wiped dashboard dressing or paint protection, keep it away from the glass. Otherwise you’ll be asking the cleaner to undo the film you are putting back on.
Best for a deeper clean on suitable glass
Car Glass Polish is what I’d choose when an ordinary spray clean leaves persistent grime on uncoated, suitable glass. It is a cleaning cream you work over the pane and buff away after drying, so allow time for that extra step.
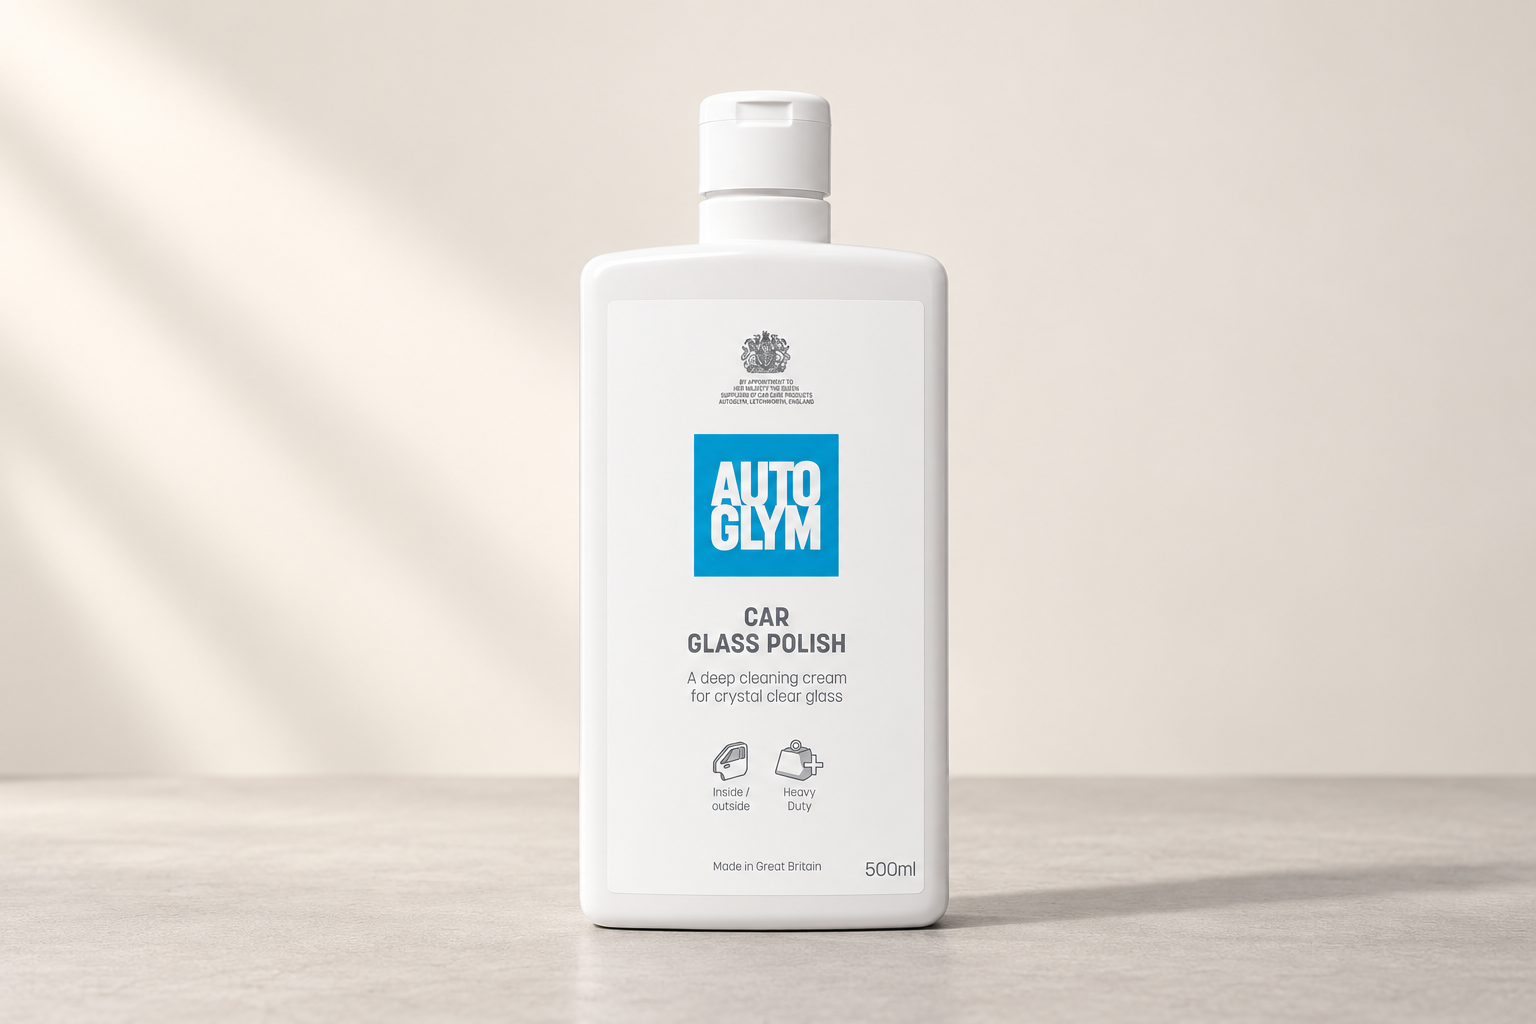
Check the edges and wiper sweep after buffing, then inspect from both sides for smears that appear only at certain angles.
Autoglym’s UK directions say to shake it, work a thin film onto the glass with a suitable cloth or applicator, let it dry and buff with clean microfibre. Keep the residue under control around seals and textured trim rather than spreading it over half the car.
The maker excludes aftermarket tinted film, Perspex, acrylic and plastic windows. Factory-tinted glass, where the glass itself is darkened, is a different surface. If you don’t know which you have, identify the film before choosing an abrasive cleaning step. On a glass coating, follow that coating’s approved cleaning method because polishing can affect the layer you’re trying to retain.
I’d buy Car Glass Polish for the deeper cleaning job, while keeping a spray cleaner for ordinary maintenance. It isn’t a windscreen scratch-repair system, and a scratch or chip needs its own decision rather than more rubbing.
Interior film and exterior dirt need different preparation
Inside the windscreen
A thin greasy film can turn every light into a distracting smear. Start with a small amount of spray cleaner on a fresh cloth and work in manageable areas. Use a dry second cloth to lift remaining residue. If the first cloth becomes dirty or greasy, change it instead of wiping the contamination around the next section.
The awkward lower corners are worth doing deliberately. Reach them with a folded cloth and a comfortable hand position; leaning over the dashboard with a soaking towel rarely makes the job easier. Clean the glass before applying any dashboard dressing, or control that dressing so it can’t land straight back on your finished pane.
Outside the glass
Remove loose grit and road dirt as part of the wash before the finishing clean. A glass cleaner isn’t a reason to scrub a dusty windscreen with a dry towel. Once the obvious dirt is gone, work on the remaining film and inspect the wiper sweep.
If you use a water-repellent glass treatment, make sure the cleaner and any deeper preparation are compatible with it. Cleaning removes the unwanted film; adding a water-repellent treatment is a separate protection step. Neither replaces sound wiper blades and clear glass.
If you are adding that protection after cleaning, the application guide separates the spray-and-wipe and roll-on routines. For a pane that has already been treated and now smears, use the after-treatment checks before applying more.
Why a good cleaner sometimes leaves streaks
Too much product
When a pane is only lightly marked, enough liquid to wet the cloth is often all you need. A saturated towel leaves more liquid to remove and makes it harder to see whether the film has gone. Add a little more only where the dirt needs it.
A cloth doing too many jobs
Separate the glass towels from those used for tyre dressing, interior protectant, wax or sealant. Fold the towel into usable clean faces. Once one face has collected the film, switch it. A second dry cloth is useful for the final residue, particularly on the inside of the windscreen.
Warm glass and direct sun
Work in shade on a cool pane so the cleaner doesn’t dry while you’re still spreading it. If one side of the car has warmed up, start on the cooler side. Trying to beat the evaporation by pouring on more product usually creates another job.
Inspecting from only one angle
Check from the driving seat and outside, then look along the pane rather than only through its centre. Cleaning inside in one direction and outside in the other can help you identify which side a remaining streak is on. Finish the edges before declaring victory; they love to save the last smear for your journey.
What if the windscreen keeps misting?
If a windscreen keeps misting, glass cleaning is one part of the job. Check the moisture source, drying and ventilation too, especially after wet upholstery or mats. The interior-cleaning guide helps you work in a sensible order. For the glass method, see cleaning car windows without streaks.
If the inside clouds over again while the car is parked, follow my condensation checks before buying another cleaner. A footwell that wets a dry towel needs proper carpet drying; once the interior is dry, you can choose a reusable moisture bag that fits your routine.