Some links in my articles are affiliate links. I may earn a commission when you buy through them.
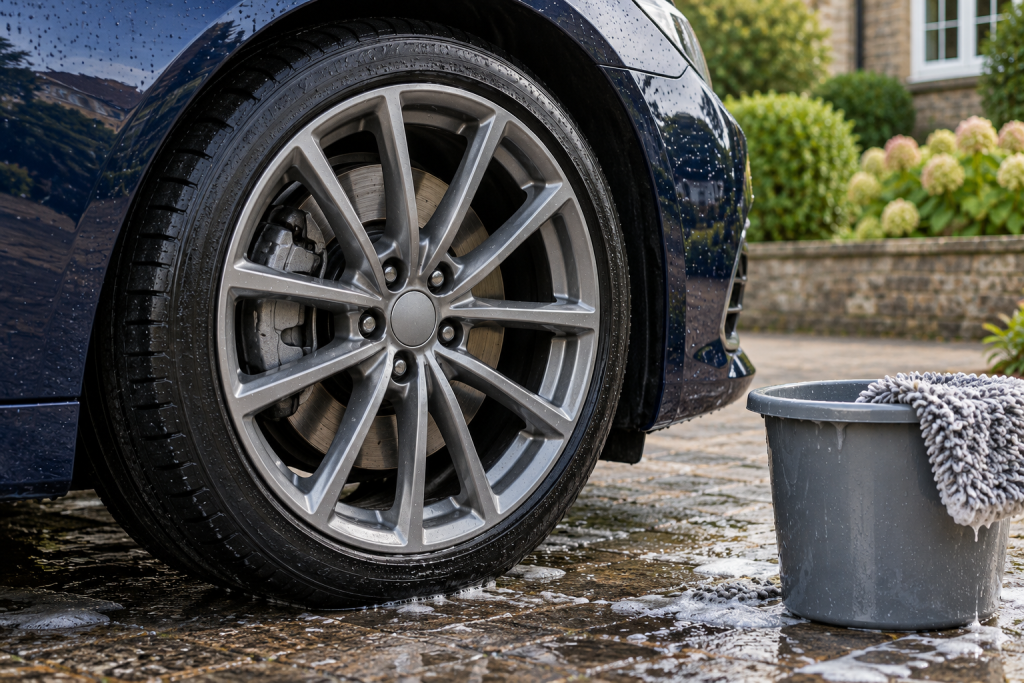
If you’ve waxed or ceramic-coated your wheels, start the next wash gently: let them cool, rinse away loose dirt, then use a compatible shampoo and clean wheel-only tools. You may find that is all the cleaning they need. Save the stronger treatment for contamination that actually remains, and check both the wheel finish and its protection before using it.
I’d also resist topping up a dirty wheel because the water no longer beads as neatly. Clean it properly first. Road film, leftover shampoo and missed dirt make it difficult to judge the finish, and another layer gives you more product to work around at the following wash.
Check whether the protection is ready for its first wash
If the coating was applied recently, find the application date and its specific first-water and first-wash restrictions. A freshly buffed surface can still need time before exposure. If a detailer did the job, use their handover instructions for the actual coating fitted.
Keep a photograph of the bottle and its instructions, or a note of the product and application date. That small record saves guesswork when you come back to the job months later. A wheel coating, a wax and a spray-on protector can have different requirements even when all three are sold as “protection”.
For an established finish, you can get on with the maintenance wash. If you’re starting from bare wheels, the wheel-protection buying guide helps you choose a routine you can keep up with.
Give shampoo and gentle contact a proper chance
Poorboy’s says its wheel sealant may allow cleaning with soap and water. Angelwax also recommends regular maintenance washing after its wheel wax. I’d use that as the starting point for a normally dirty protected wheel, while still checking that the shampoo is approved for the coating and wheel finish.
- Let the wheels and brakes cool, then rinse away loose grit. Work out of strong sun so the wash solution stays wet while you clean.
- Use the shampoo at its stated dilution with dedicated clean wheel tools. Give the spoke sides, rim edge and accessible recesses their own gentle contact.
- Rinse the tool as it picks up dirt. Avoid dragging a loaded mitt back across the clean wheel face.
- Rinse thoroughly, including the bolt recesses and spoke junctions. Check what remains after the water has drained rather than judging the wet face alone.
- Dry with clean wheel-only cloths. Inspect the finish in good light before deciding whether it needs another treatment.
If access is the problem, more cleaner won’t make an oversized brush fit. Use a tool that clears the gap and doesn’t force against the caliper. The wheel-brush guide helps you judge the narrowest opening before buying.
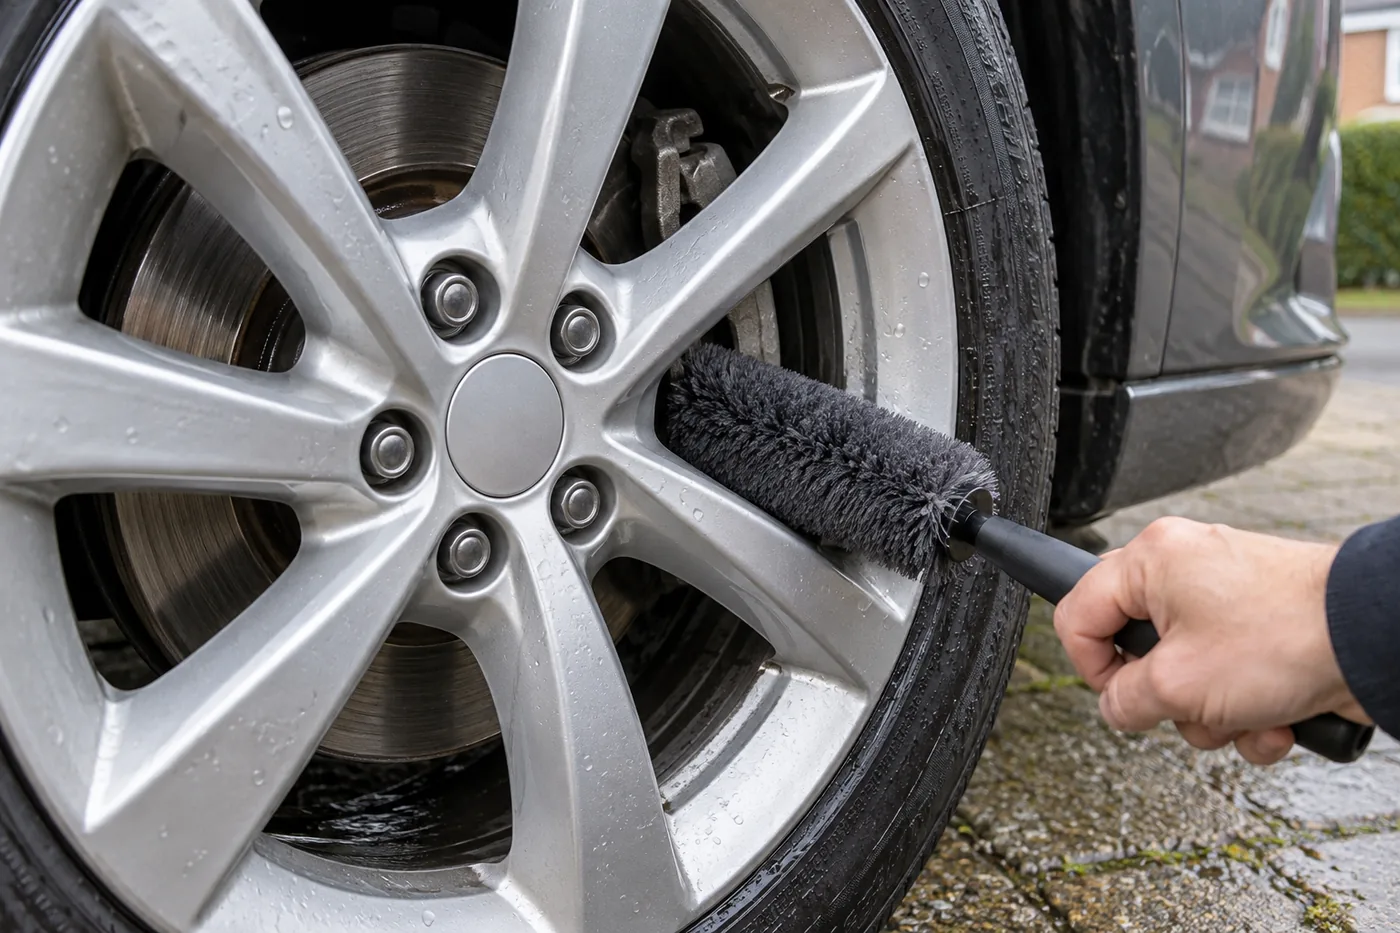
When shampoo leaves dirt behind
First check whether you actually reached the dirty area. A grey stripe behind a spoke may need better access with a clean soft tool. Repeat that small part of the wash before increasing chemical strength across all four wheels.
For persistent grime, choose a wheel cleaner approved for the exact finish and the wax or coating. “Safe for alloys” alone doesn’t establish both. Use its stated dilution and contact time, keep it wet and rinse thoroughly. Our wheel-cleaner guide explains the finish checks.
Iron fallout and tar need their own diagnosis. A colour-changing iron remover can help with compatible bonded ferrous contamination; a tar remover has a different job. Use a targeted treatment only where the wheel and protection makers permit it. Don’t mix chemicals or run a sequence simply because the bottles are already on the shelf.
If the mark remains unchanged, stop escalating. Peeling lacquer, corrosion beneath a clear coat and damage to a diamond-cut finish can resemble dirt. Examine the dry surface and ask a wheel refurbisher about the defect instead of polishing or scrubbing it blindly.
Does a change in beading mean the protection has failed?
I’d clean and rinse the wheel before drawing that conclusion. Compare the clean areas you can inspect, rather than a dirty front wheel against a freshly washed rear one. Check for leftover wash product, a missed strip around the spoke or dirt still sitting in the recesses.
Water behaviour can be useful to watch over successive washes, but it doesn’t give you a measurement of the coating’s remaining life. A new topper will also change what you see. If you keep applying one before inspecting, you lose the opportunity to judge whether the underlying routine is still doing the job you wanted.
Look at the practical result too: is ordinary dirt coming away with the normal wash, and is the clean finish even? If the wheels remain straightforward to maintain, there may be little to gain by stripping them and starting again because one patch looks less dramatic under a hose.
Top up wax when the clean wheel needs it
For a wax you can maintain by hand, clean and dry the wheel before reapplication. Angelwax Bilberry Wheel Wax is my straightforward option for glossy alloys: spread lightly, let the film haze and buff it away. The wheel-wax method covers the application and final edge checks.
There isn’t one useful calendar interval for every car. Mileage, contamination and cleaning routine vary. Angelwax’s guidance itself makes reapplication dependent on use and conditions. Review it during your wash routine instead of building layers automatically every weekend.
For a ceramic-coated wheel, first check the coating maker’s approved maintenance route. Adding an unrelated wax may alter its appearance and water behaviour, and gives you another product to remove later. If the coating has uneven residue or a high spot from application, a topper won’t correct that defect; obtain the product-specific recovery method before using polish or solvents.
Keep wheel protection and tyre dressing separate
Use different pads and cloths for the wheel and tyre. A dressing-loaded applicator can leave a greasy streak on a spoke just after you’ve cleaned it. Apply dressing carefully to the intended sidewall, keeping it off the tread, wheel and braking components.
Finish by checking the rim edge and the area around the valve for late drips or residue. Those are the spots I’d revisit before putting the kit away. Store the wheel tools clean and separate from your paintwork kit so the next wash starts with soft contact rather than yesterday’s grit.
The shampoo-first maintenance advice is supported by Poorboy’s wheel-sealant information and Angelwax’s wheel-wax guidance.