Some links in my articles are affiliate links. I may earn a commission when you buy through them.
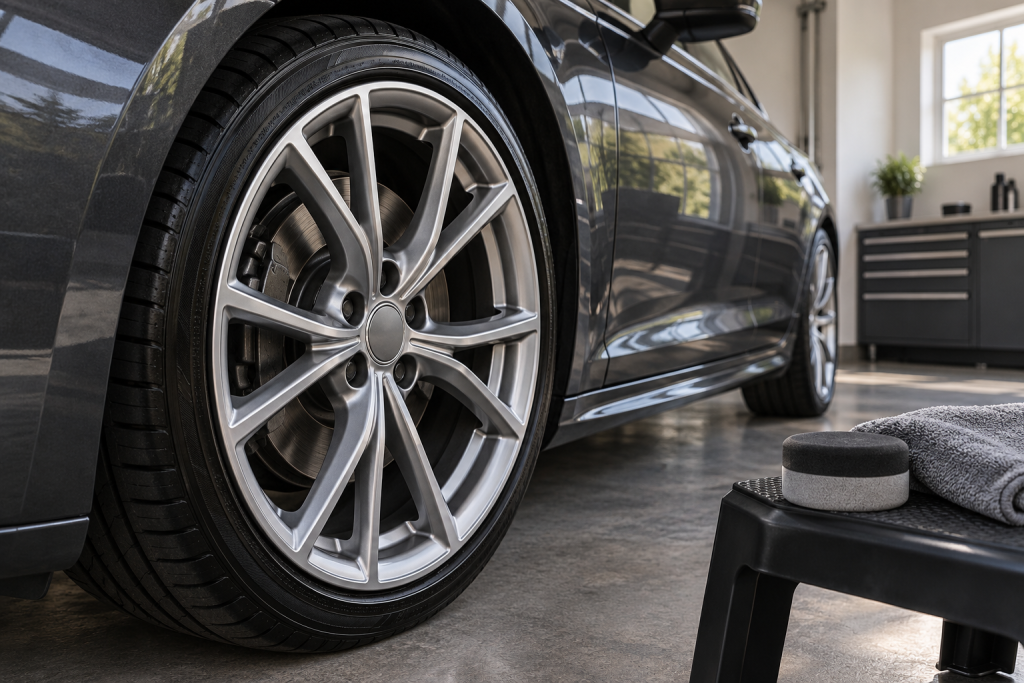
The wheels are spotless, you go for a drive, and the brake dust starts settling straight back in. A wheel wax or sealant can make the next clean less of a chore. For a straightforward hand-applied finish on sound, glossy alloys, I’d start with Angelwax Bilberry Wheel Wax. It spreads with a small pad and buffs off, so you can work around the spokes without spraying the brakes.
If you want a broader traditional sealant option, Poorboy’s Wheel Sealant is worth considering. For a planned ceramic treatment, Drexler Wheel Coat offers a different approach, with more preparation and curing arrangements to settle before you start. I’d choose around your wheel finish and where you can leave the car afterwards, rather than the biggest durability number on the bottle.
My wheel-protection shortlist
My first choice for glossy alloys
A hand-applied wheel wax for a controlled finishing job after washing and drying. Particularly appealing if you like to see and buff each part of the wheel as you go.
Before buying: It adds gloss. Keep it off matte finishes unless the wheel maker specifically approves it.
Traditional sealant alternative
A wipe-on wheel sealant with broad wheel compatibility claimed by its maker. Useful when you want a dedicated wheel product and a buffed finish.
Before buying: Confirm your exact finish, especially a repaired or specialist wheel. The brand’s broad claim doesn’t establish a matte appearance match.
For a planned ceramic treatment
A 20ml wheel-specific coating kit with applicator pads. Worth considering when you can prepare carefully and arrange the required drying and curing conditions.
Before buying: The maker promotes a shiny finish. Check the supplied wheel-coating instructions for water exposure and curing before committing to the job.
The first choice is for an ordinary home detailing session on glossy alloys. If you have a specialist finish or are booking a professional coating, settle those requirements before choosing from the shelf.
Why I’d start with a wheel wax
Most people want the wheels to look finished today and be easier to wash next time. A wax you can apply by hand suits that job well. You can reach the visible spoke edges, remove the haze and check the result without treating the whole car as a coating project.
With Bilberry Wheel Wax, the useful detail is the light application. Work a thin film into the accessible face and spoke edges, then buff it away once it hazes. A thick ring around the bolts gives you more residue to pick out. I find the final wipe around the spoke junctions more useful than adding another generous helping.
Angelwax’s current guidance specifies clean, dry, cool wheels, a small amount on an applicator, an even spread, then removal of the haze with a clean microfibre. Its stated aim is to make contamination less inclined to bond to the wheel. That makes it a good fit for someone who washes regularly and wants a manageable protection step.
The wheel-wax application guide takes you through the awkward corners, drying checks and buffing stages.
When I’d choose a traditional sealant instead
Poorboy’s sealant deserves a place on the shortlist if you prefer a dedicated wheel sealant or are checking protection for more than one wheel finish. Poorboy’s says it can be used on any type of wheel and also mentions polished metal. I’d still check a specialist finish with its manufacturer: the effect on the appearance matters as much as whether the product can adhere.
The practical appeal is straightforward hand application. Clean out the recesses first, apply sparingly to the intended wheel surface and remove the excess. Looking around the full circle after buffing helps you catch an untreated edge or a little ridge of product where two spokes meet.
I wouldn’t buy both this and the wax simply to stack them. Choose one routine you’ll maintain. The sources don’t establish that combining these particular products improves protection, and extra layers can make it harder to tell which application left a smear.
When a ceramic wheel coating earns the extra preparation
Drexler’s wheel coating is the option here for someone deliberately planning a wheel-coating job. The current kit contains 20ml and cotton applicator pads. Drexler describes application to clean, dry wheels, followed by a few minutes before wiping, and markets a longer-lived protective treatment.
Before buying, work out how you will keep the wheels in the conditions required by the supplied instructions. A driveway job interrupted by rain is a different proposition from a dry garage. Ask for the wheel-specific curing and first-wash instructions if you cannot see them before purchase; the brand’s two-stage paint-coating directions describe a different system and shouldn’t be copied onto the wheels.
I’d favour this route when you can give preparation, residue removal and curing proper attention. I’d favour the hand-applied wax when you want a simpler maintenance job. There is no need to promise yourself years between wheel washes: brake dust will still land on either surface.
For matte or satin wheels, pause before choosing any of these gloss-focused options. Drexler’s UK listing mentions matte wheels, but its own product page emphasises shine. I’d resolve that appearance question with the wheel and coating makers before applying it to a finish you want to keep flat.
Check the wheel before you buy the protection
Look for peeling lacquer, cloudy patches beneath the clear coat, corrosion around the valve and a rough or damaged rim edge. Protection can be a finishing step for a sound surface; those defects need a repair decision. Rubbing a coating over them won’t restore the missing finish.
Diamond-cut, polished, painted and powder-coated describe different surfaces. If the wheels have been refurbished, find out what finish the refurbisher actually applied. A product description that says “alloy wheels” tells you little about the layer you’re touching.
Also check access. With the wheels fitted, you may only be able to coat the face and reachable spoke edges. That is still useful, but don’t assume you have treated the barrel merely because the front looks complete. Taking wheels off introduces lifting, refitting and torque requirements; it’s sensible to arrange that work separately if you aren’t equipped for it.
What makes the next clean easier
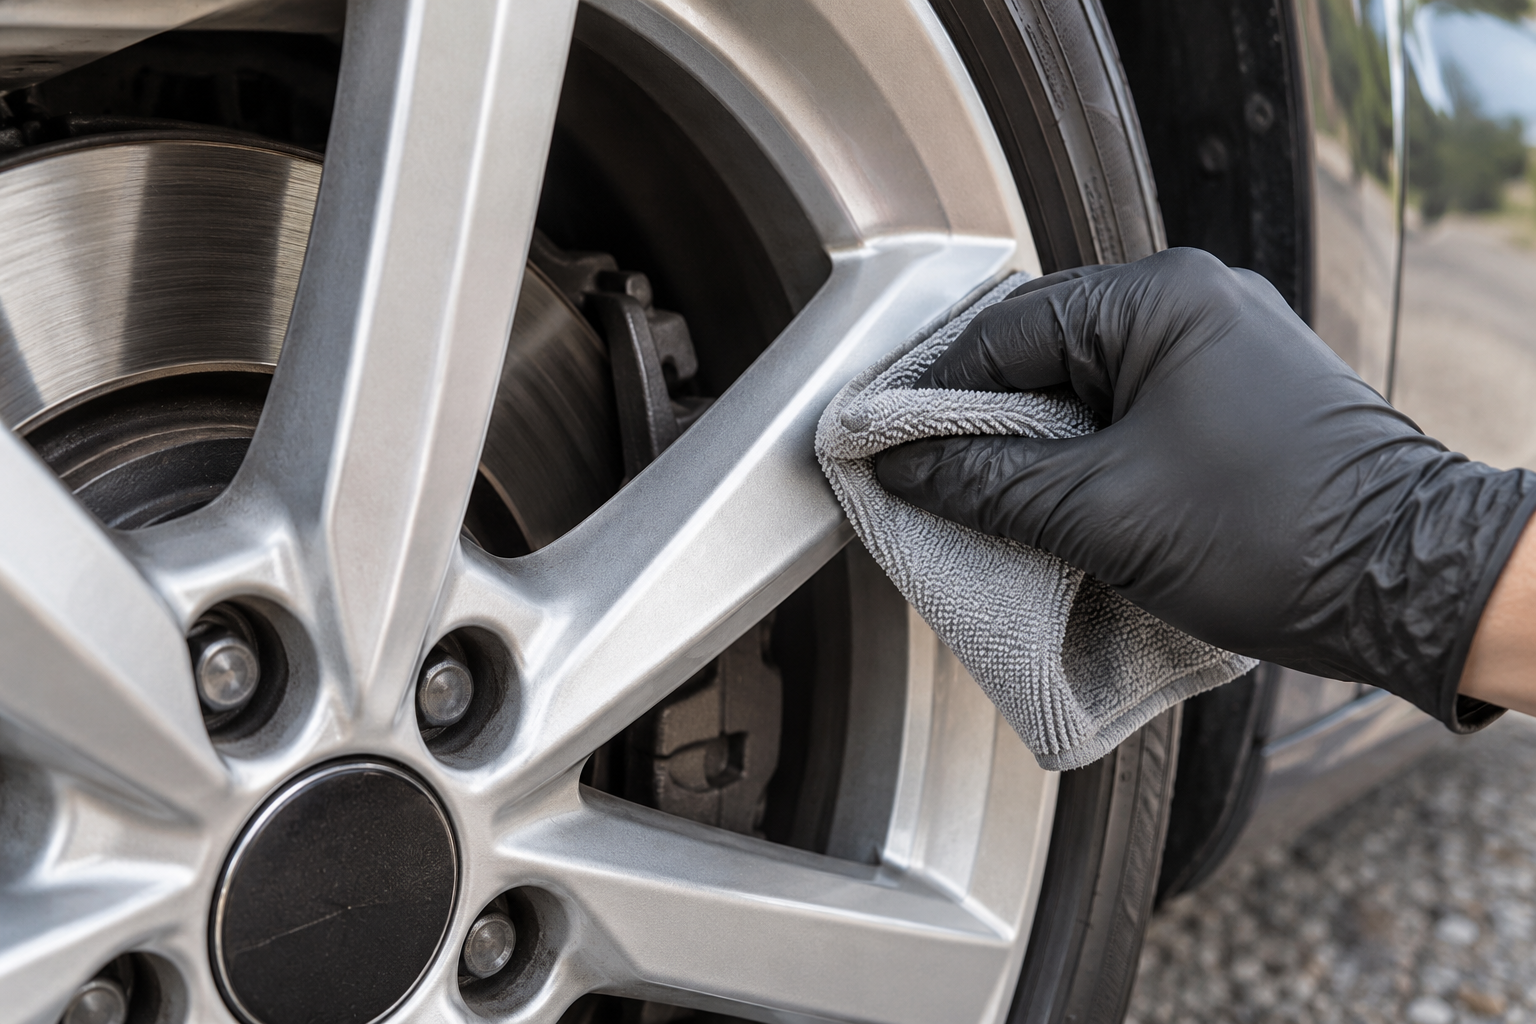
Start protection only after the dirt is gone and the wheel is dry. The alloy-wheel cleaning method covers access and rinsing; the wheel-cleaner guide helps with finish-specific cleaning choices.
Once your protection is ready for washing, begin with a compatible shampoo wash and gentle wheel-only tools. Poorboy’s says soap and water may be enough; that is a useful starting point, rather than a reason to leave heavy contamination in place. Escalate for the dirt that remains, using products approved for both the finish and its protection.
My care guide for waxed and ceramic-coated wheels explains when to clean again, when a targeted treatment helps and when topping up is worthwhile. Keep the tyre dressing as a separate finishing job, with its own applicator.
Product information behind the choices
The current Angelwax wheel-wax guidance, Poorboy’s wheel-sealant information and Drexler Wheel Coat page support the formats and methods described here. Their protection and durability claims are the manufacturers’ claims; my recommendation favours the application routine that suits the reader’s job.