Some links in my articles are affiliate links. I may earn a commission when you buy through them.
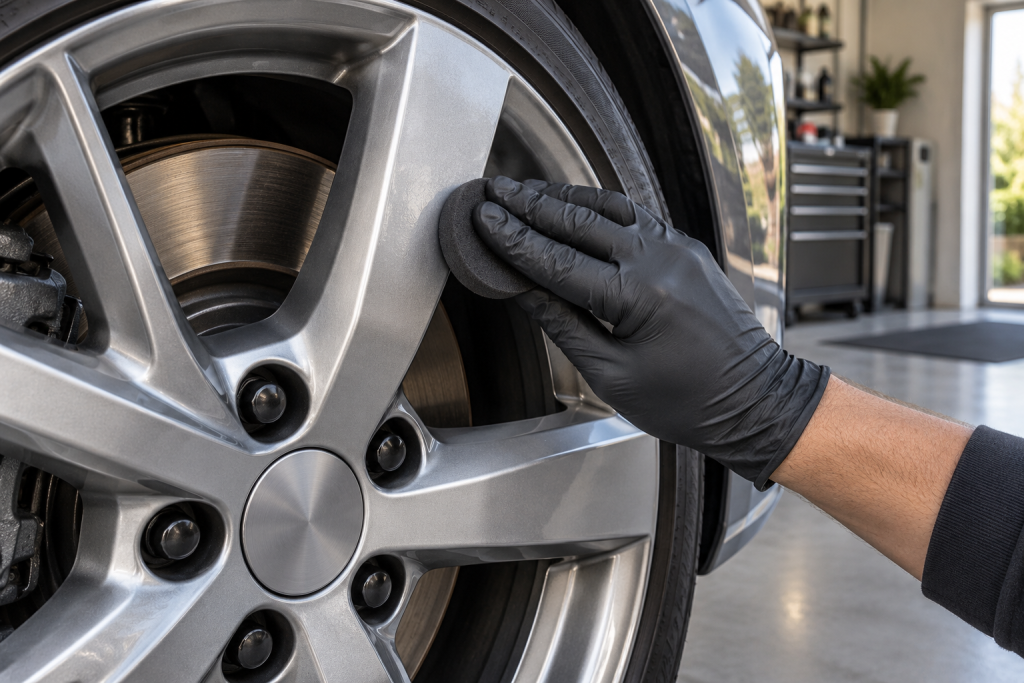
Wheel wax is easiest to apply while the wheels are still spotless from a proper wash. Get them completely dry, spread a light film over the accessible wheel surface, let it haze and buff it off. The fiddly part is checking the corners afterwards: the face may look finished while a little wax is still sitting beside a bolt or under a spoke edge.
For glossy alloys, Angelwax Bilberry Wheel Wax is a handy example of this wipe-on method. Its maker specifies clean, dry, cool wheels and a small amount on an applicator. I’ll use that routine here, with the practical checks that make the difference between an even finish and a wheel full of little white leftovers.
First, check that you’re applying a wax
A buff-off wheel wax, a spray-and-rinse protector and a ceramic coating can need different preparation, removal and curing. Use this method for the hand-applied wax described here. If you’re choosing between formats, the wheel-protection buying guide explains the options.
Confirm the wheel finish too. Angelwax describes a high-gloss result, so I wouldn’t put it straight onto matte or satin wheels. On a refurbished wheel, check the finish with the refurbisher. If lacquer is lifting or the rim is corroded, deal with that condition before adding protection.
Set out a small clean foam applicator, clean wheel-only microfibres for removal and finishing, and a light you can move around. A pad that fits between the spoke edges is more useful than a large one that keeps touching the tyre. Keep this kit separate from the cloths used on paintwork.
Get the wheel clean enough to protect
Wash one cool wheel at a time. Rinse loose dirt away, use cleaning products compatible with the finish, agitate the accessible surfaces and rinse thoroughly. Our alloy-wheel cleaning guide covers the cleaning stage in more detail.
Inspect the wheel after the water drains away. Dark dirt can remain behind a spoke, and cleaner can sit in a bolt recess even when the broad face looks ready. Remove what you can see before reaching for the wax. If you find bonded black specks or iron contamination, identify the problem and use a finish-approved treatment rather than rubbing harder with the applicator.
There’s no benefit in automatically adding every decontamination chemical to a routine clean. A clean, smooth, sound wheel may be ready once washed and dried. Some ceramic coatings require a separate degreasing stage; don’t assume the preparation for this wax replaces theirs.
Dry the places that drip late
Use dedicated clean cloths to dry the face, rim edge and reachable spoke sides. Then wait and look again around the valve, bolt recesses and centre cap. A drop that runs down a freshly waxed spoke can interrupt the film you have just spread.
Turn a dry cloth to a fresh face and dab the recesses. If water keeps emerging from behind a trim piece or a spoke junction, give it more time. Avoid trying to wax around a wet patch and hoping the final buff will sort it out.
With the wheel fitted, stay within the areas you can reach and inspect comfortably. Don’t push an applicator blindly behind the spokes towards braking components. Leave inaccessible barrel protection for a properly arranged wheels-off job.
Spread a light, even film
- Pick up a small amount of Bilberry Wheel Wax on the applicator. You want enough to spread a faint continuous film, rather than an opaque lump of paste.
- Start on one spoke and its surrounding face. Work over the accessible edges with controlled light contact, keeping the pad on the intended wheel finish.
- Spread the product already in the pad before loading it again. If it is collecting as a ridge at the spoke edge, reduce the amount and even out that section.
- Work around the wheel in a consistent direction. Use the valve as your starting and finishing reference so you can see which areas you have covered.
- Keep product away from the tyre, brake disc, pads and other braking components. Deal with an accidental touch according to the affected component and product instructions before using the car.
You shouldn’t need to force the pad into a narrow hole. A broad applicator can leave the high points coated while missing the sides, so change its angle to follow the shape. I’d rather make one careful pass that I can inspect than work faster and spend the buffing stage trying to find the gaps.
Let it haze, then remove the residue
Angelwax’s current method says to allow the wax to haze before buffing with a clean microfibre. Look for the spread film to lose its freshly wet appearance. The maker’s current online guide doesn’t give one fixed wait for every condition, so don’t import a timer from a different wax.
Begin removal with a clean cloth face and light contact. Turn the cloth as it collects residue. If a patch smears, stop spreading it over more of the wheel: check whether the film is still wet, the cloth is loaded or you have applied too much. Work on the cause and recheck that small section.
Use a separate clean face for the final wipe. Fold an edge of the cloth to reach the corners around the spokes and bolts without forcing your fingers into the wheel. A clean finish should look even from different angles, with no visible paste tucked into the junctions.
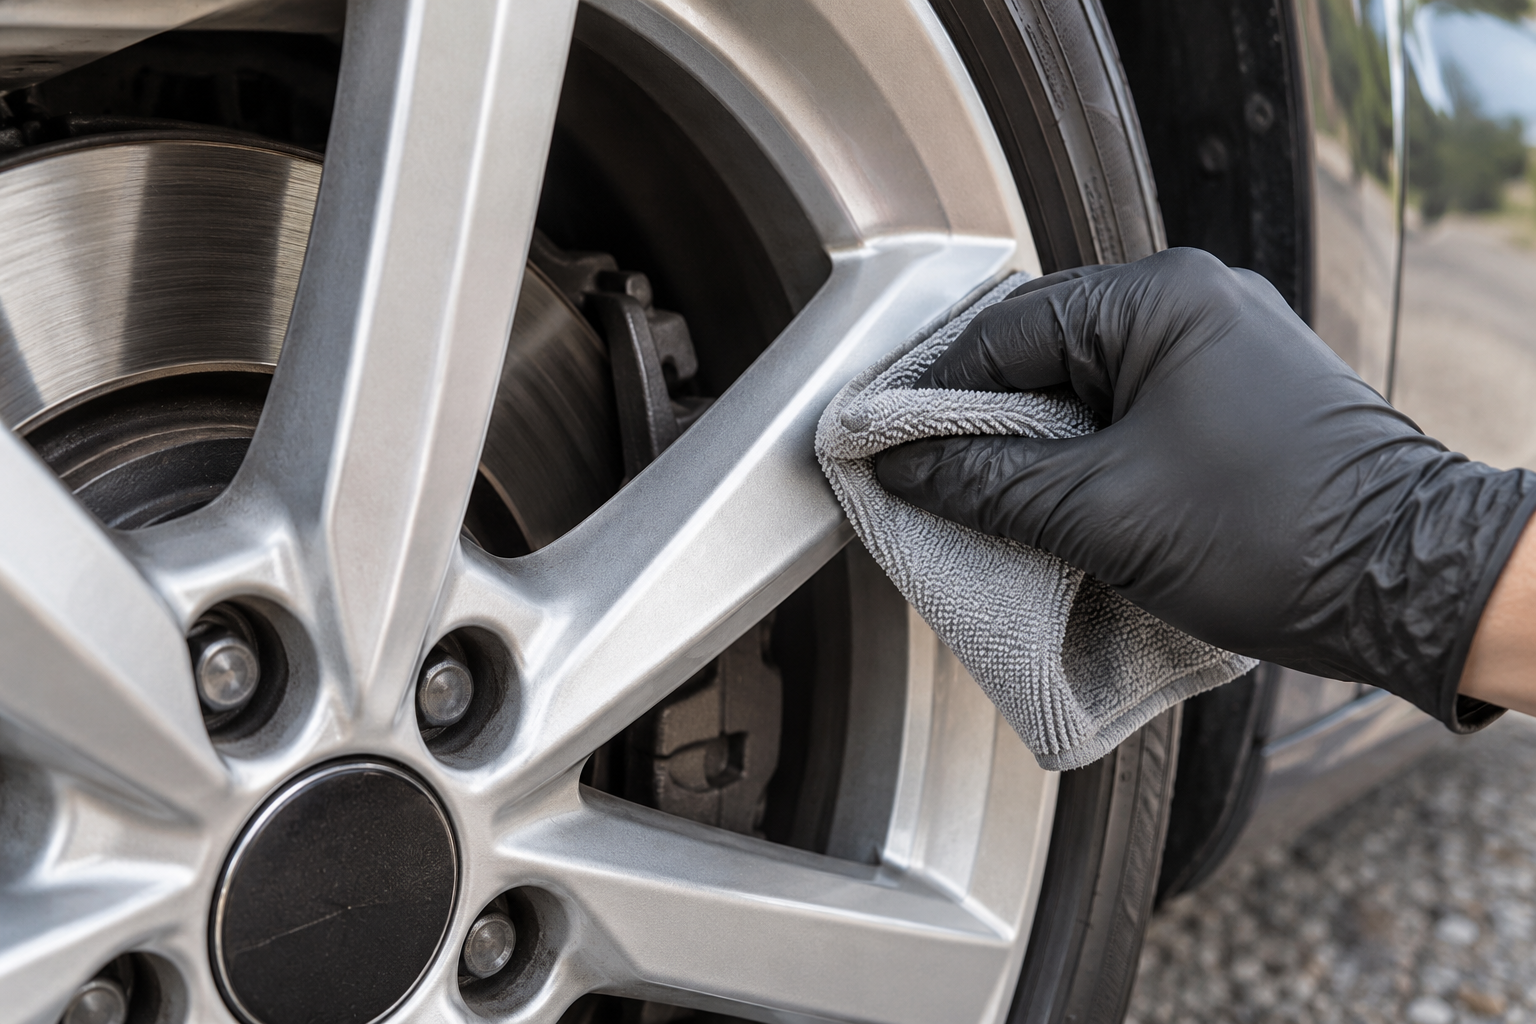
Check the whole circle before packing away
Move your light and look along the spoke sides, around the centre cap and just inside the rim lip. It’s easy to inspect only the broad front surfaces. Give those small edges their own final pass to catch the excess a broad wipe can miss.
If you find a missed patch, treat that patch using the same light application and removal method. Avoid covering a finished wheel with another heavy coat simply because one corner needs attention. There is no need to deliberately wet the wheel to demonstrate beading straight after applying the wax.
Keep application, buffing and later exposure separate in your mind. Wax that has buffed clean is not automatically evidence that every protector has completed its water-resistance or curing stage. Check the current container for any further exposure restrictions before driving into rain or washing again, especially if you have substituted another product.
Keep the finish manageable next time
Wash the applicator and removal cloths using their care instructions, and store them as wheel-only kit. Don’t put a residue-loaded cloth back in the clean pile. Finish the tyre separately if you want to dress it; a different pad makes it easier to keep dressing off the waxed wheel.
For later washes, use the protected-wheel care routine. The aim is to remove new dirt promptly and inspect the clean finish, rather than keep adding wax over whatever a quick rinse has left behind.
This method follows Angelwax’s current Bilberry application guidance, with my practical emphasis on light spreading, spoke edges and residue removal.