Some links in my articles are affiliate links. I may earn a commission when you buy through them.
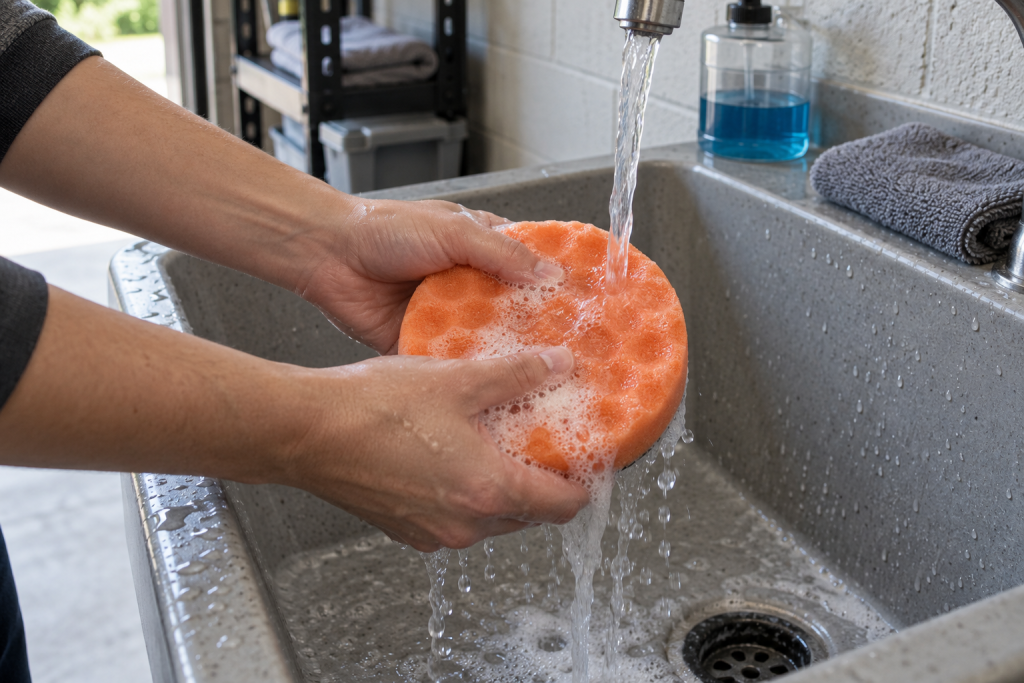
The car looks better, the machine is back on the bench—and the polishing pads are sitting there full of yesterday’s enthusiasm. It’s tempting to leave them until next time. Cleaning them while the residue is still manageable makes the next session easier, and gives you a chance to catch damage before the pad goes back on the paint.
I’d separate the pads by product, remove loose residue using the maker’s approved method, wash suitable pads gently, rinse thoroughly and let them dry fully before storage. During polishing, swap a loaded or warm pad for a clean one instead of expecting an end-of-day wash to solve every problem while you work.
Disconnect the tool before removing the pad. For washable foam pads, follow the maker’s cleaning directions; warm water and a suitable mild cleaner are common instructions. Rinse well, press out water gently and air-dry with space around the pad. Replace pads with damaged foam, separating backing or unreliable attachment, even if the working face looks fairly clean.
Cleaning during use and washing afterwards are different jobs
During polishing, you want to stop dried product and removed material accumulating on the working face. After polishing, you want to remove the remaining residue so the pad can dry and be stored properly. A quick surface clean is not the same as washing a saturated pad through.
Inspect the pad after each small working section. If it is visibly loaded, warming up or giving a less consistent result, clean it by the approved method or fit a fresh one. Don’t keep adding product just because the machine no longer seems to work as neatly as it did at the start.
With the Ginour dual action polisher, clear residue from the pad’s working surface or fit a clean pad before starting the next section. Keep the contact clean rather than pushing harder when the result becomes inconsistent.
Some systems specify a pad brush, compressed air or another cleaning tool. Use the method intended for that material, with the required protection and control of dust. Don’t improvise a metal brush on soft foam. For a straightforward home setup, swapping to a clean dry pad is often the simplest way to keep the job moving without adding another piece of equipment.
Remove the pad without pulling the backing apart
Switch off, disconnect the mains supply or remove the battery, and let the machine stop completely before changing pads. Peel the pad from the plate carefully, supporting near the attachment rather than yanking the foam face from one edge.
Check the hook-and-loop surface and the adhesive joint while it is off the tool. A pad can look respectable from the front while its backing is beginning to separate. Cleaning won’t repair that bond, and continuing to use it gives you an unpredictable attachment at polishing speed.
Keep fresh pads away from the used pile. If you are changing between a compound and finishing polish, separate those pads too. A finishing pad carrying remnants of a stronger product makes it harder to achieve and judge the final clarity.
A gentle wash for washable foam pads
Start with the pad manufacturer’s instructions. Where warm water and a mild cleaner are allowed, work the cleaner through the foam gently rather than scrubbing the face with a hard tool. Use a clean utility sink or bowl so you aren’t picking up household grit while removing polish residue.
Pay attention to the centre as well as the outer face. Product can remain inside the foam even when the surface looks better. Rinse repeatedly until cleaner and loose residue are removed; leaving detergent behind merely adds another ingredient to the next polishing session.
Avoid strong solvents unless the pad maker explicitly permits them. Foam structure and the backing adhesive are part of the pad’s performance, so a cleaner that strips residue quickly can be the wrong choice if it damages either. A dedicated pad cleaner can be useful when it is approved for the pad, but it isn’t automatically necessary for every lightly used foam applicator.
Don’t twist the foam as if you were wringing out a floor cloth. Press water out gently and support the pad’s shape. A careful wash should leave you with a serviceable pad, not a clean working face hanging from a tired adhesive joint.
Give the centre time to dry
Air-dry pads with space around them, away from grit and excessive heat. A clean rack makes it easier for air to reach more than one surface. Follow any specific orientation or drying instructions supplied with the pad.
Don’t put them straight into sealed storage because the outside feels dry. The centre can still contain moisture. Likewise, avoid resting them on a radiator or using a hot dryer to rush the process unless the maker allows it. Leave enough time that you don’t have to choose between damp pads and abandoning the next planned session.
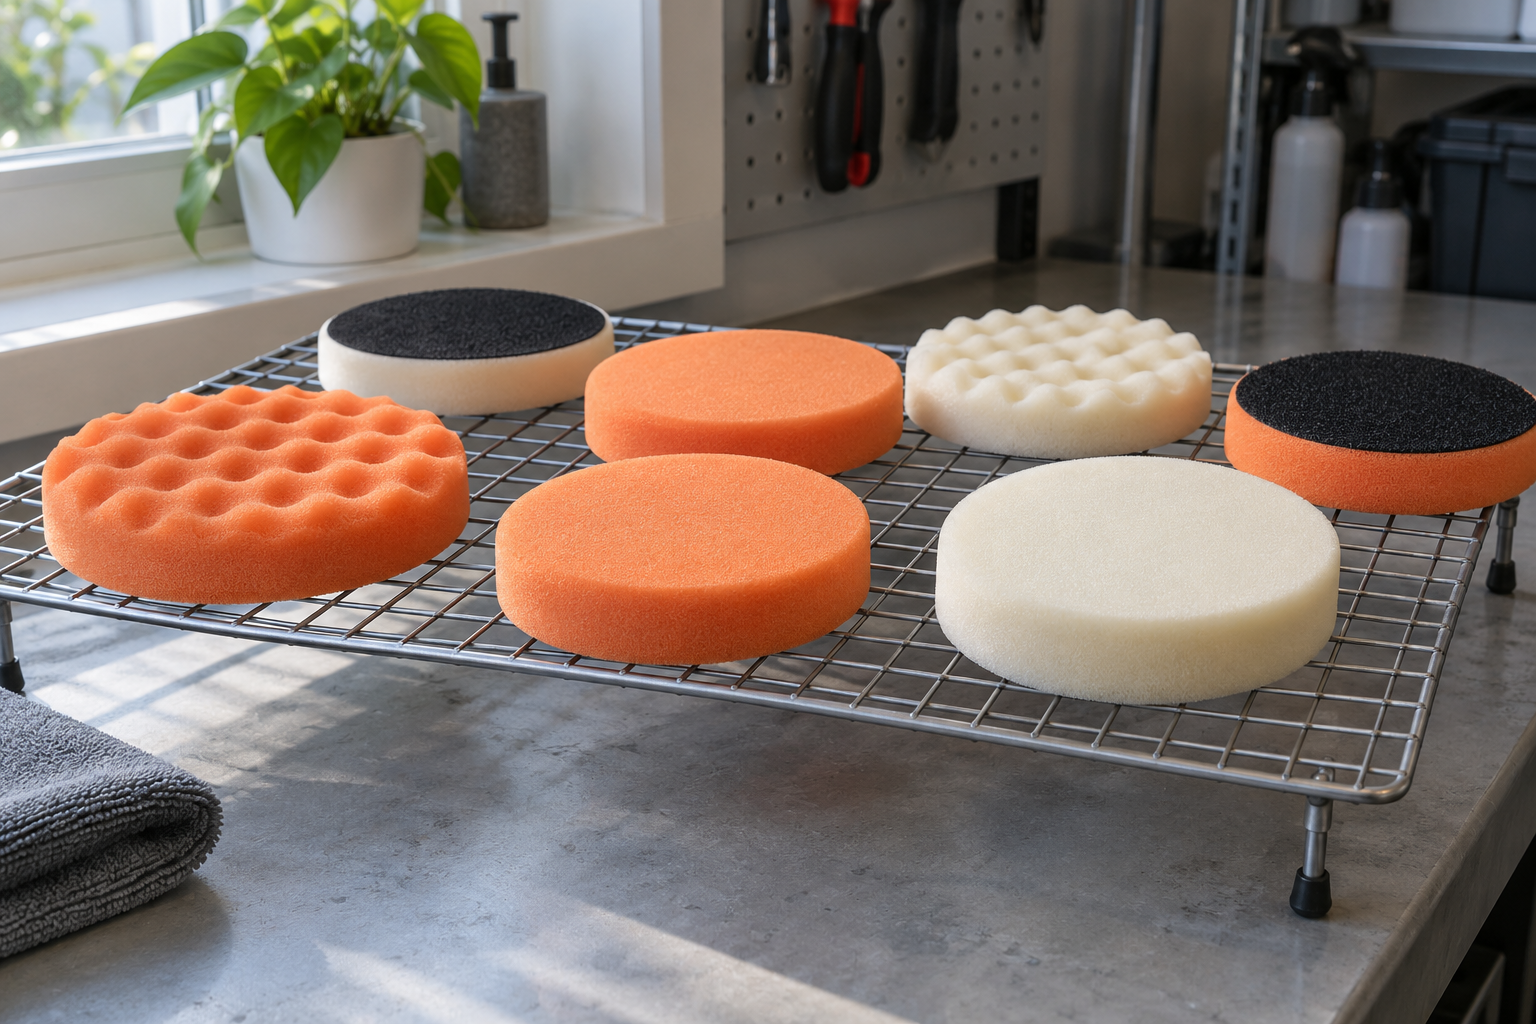
Keep drying pads separate from dusty garage work. A freshly washed face left beside sanding or sweeping is no longer reliably clean. Once dry, store them in clean containers or bags that protect the working surface without squashing the foam out of shape.
Microfibre and wool pads need their own instructions
Don’t assume the foam-pad method covers every material. Microfibre and wool systems can require specific cleaning and fibre-care steps, and the pad’s construction determines what washing and drying it can tolerate. Check the exact range rather than relying on the general word “washable”.
The same applies to hand applicators. An applicator used for a protective wax may retain different residue from a machine pad used with compound. Keep product assignments clear and follow the cleaner’s compatibility guidance. You don’t need to force every accessory through one identical wash routine.
For the microfibre towels used to remove polish, follow the separate towel-washing guide. They deserve their own inspection for hardened product, contamination and worn edges before touching the freshly refined paint again.
When a pad should be replaced
Colour staining alone does not tell you that a pad is finished. Judge the structure, attachment and ability to get it properly clean. A discoloured but sound pad and a beautifully clean pad with a loose backing are very different propositions.
- Retire foam that is splitting, crumbling or permanently misshapen at the working edge.
- Replace a pad whose backing is separating or no longer attaches securely.
- Set aside pads containing grit or hard residue you cannot confidently remove.
- Don’t reuse a pad that behaves unusually or causes imbalance after correct fitting.
If you dropped a pad onto a dirty driveway, switch to a clean replacement immediately. Washing and inspecting the dropped one can happen afterwards. Brushing off the visible bits with your fingers isn’t enough reason to put it straight back on a polished panel.
Buy spares around the pad you actually use
The useful replacement is normally another pad of the right size and grade. The SPTA mixed foam pads offer a mixed selection for a stated 125 mm plate, which can help you explore grades on a test section. Once you know the grade that works, spare copies of that grade are more useful than repeatedly buying every colour.
Confirm the selected size and plate fit before ordering; that 125 mm listing is not a direct match for a machine with a 150 mm plate. Our pad buying guide explains the difference between face diameter and backing-plate requirement, and includes a practical starting allowance for spares.
Having replacements ready also lets you stop using a pad when it needs attention. If there is only one pad in the entire plan, it becomes tempting to keep going with it. A smaller finished job with clean equipment is preferable to a whole car polished with a pad that should have been changed hours ago.
Make next time easy
Store the dry pads by grade and product role, keep the machine’s plate clean and check the attachment before the next session. You’ll be able to reproduce the combination that worked instead of wondering which pad last held which bottle.
If you are planning the full process, return to the machine-polishing guide. If the reason you’re inspecting the pads is a cloudy result, use the haze troubleshooting guide before doing more passes. Clean equipment is part of getting a consistent finish, not merely tidying up after it.