Some links in my articles are affiliate links. I may earn a commission when you buy through them.
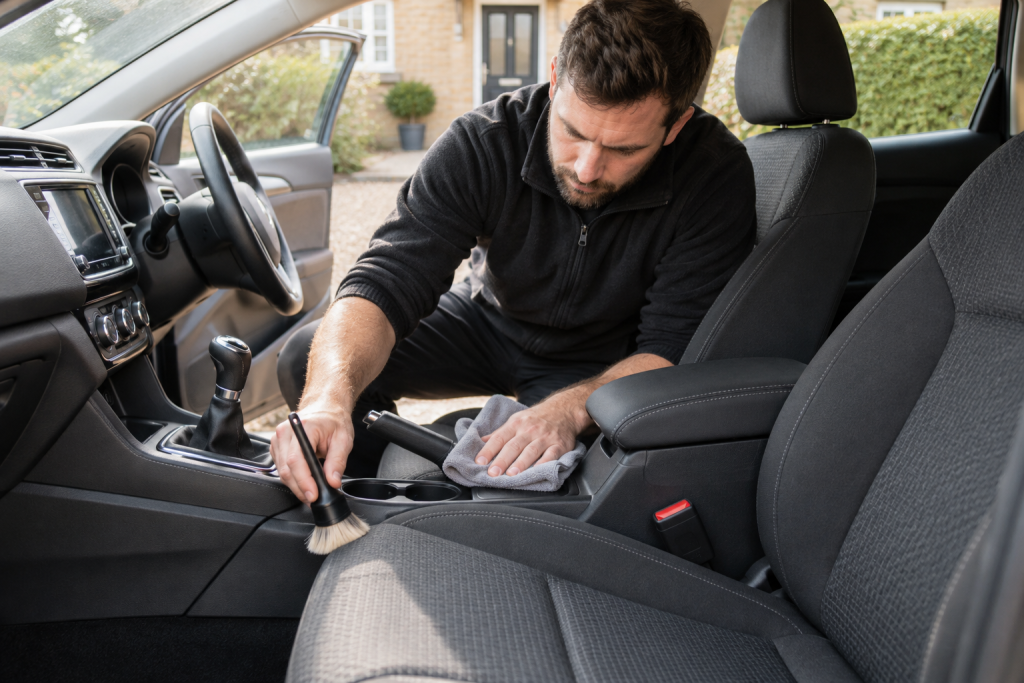
Getting cigarette smell out of a car means cleaning the residue it leaves across the cabin. An air freshener can hide the smell, but it won’t get that residue off the roof lining, trim, seats and glass.
Give yourself time to dry the car properly. An old smoke smell may take more than one careful clean, and heavily affected foam or roof backing can need specialist attention. Keep the car smoke-free while you work through it, and leave out scented products so you can judge what’s still there.
Work in this order: remove ash and rubbish, vacuum, gently clean the headlining, wipe the hard surfaces, clean seats and carpets, then do the glass. Check the vents and cabin filter, dry everything and reassess the smell.
Check the interior before getting it wet
Look up at the headlining first. If it’s sagging, loose at the edges or shedding foam, a wet clean can make it separate further. Ask a trimmer about repair before tackling the whole roof.
Check for damaged seat coatings, loose trim, damp carpets and exposed wiring. Identify the seat materials from the car’s care instructions: ordinary fabric, coated leather and suede-like upholstery need different treatment. Around screens, switches, airbag seams and seat electrics, put cleaner on the cloth rather than spraying into openings. Leave seat and pillar-trim removal to someone who knows the vehicle.
You’ll need a vacuum with soft attachments, several clean colourfast cloths, cleaners approved for the materials, separate glass cloths and somewhere you can ventilate the car securely. Wear the protection stated on the cleaner. Don’t mix chemicals or try household bleach and strong degreasers on an unfamiliar interior.
Empty it out and vacuum
Check the ashtray, door pockets, cup holders and gaps beside the seats for ash and tobacco. Take the mats out and check underneath. If the ashtray lifts out, clean it away from the car using a method safe for its material, then dry it before refitting.
Vacuum seats, seams, carpet edges, the boot and the areas you can reach below the seats. Keep the nozzle clear of connectors and mechanisms, and don’t drag a dirty attachment across delicate trim. Get loose ash out now so it doesn’t turn into a brown smear when you start wiping.
If the headlining is sound and its care instructions allow vacuuming, gently lift loose dust with a soft attachment. Avoid pulling the fabric towards the nozzle with strong suction. Stop if it lifts or sheds. The interior-cleaning guide can help organise the rest of the job.
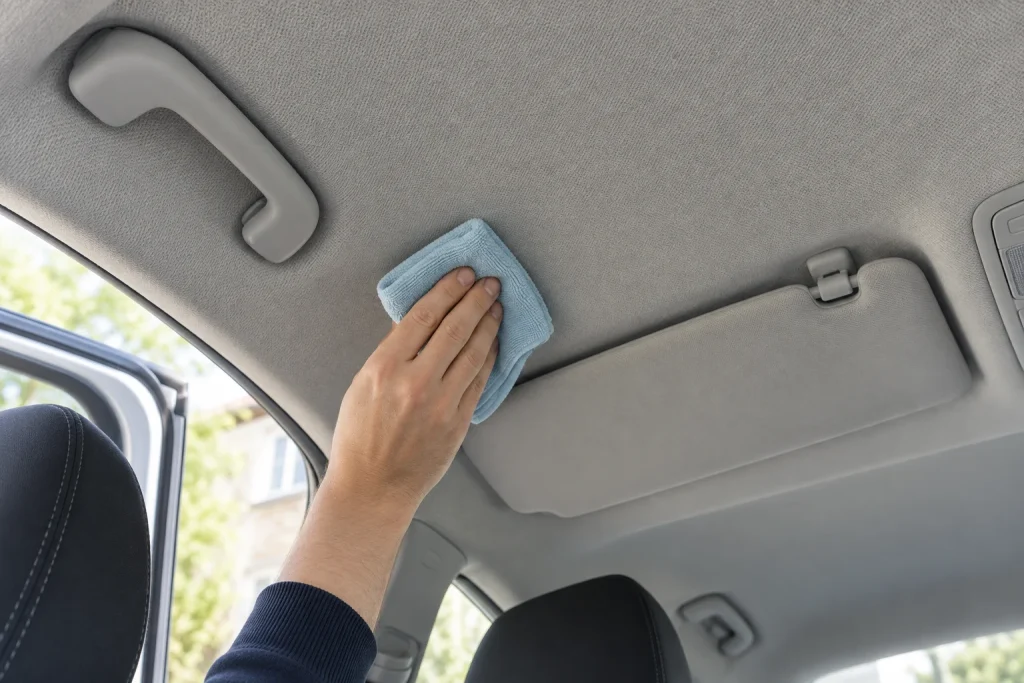
Take your time with the headlining
The roof fabric is often bonded to a foam backing. Soaking it or scrubbing hard can damage that bond and leave you with a sagging lining. Keep steam cleaners and extractors away from it for a home clean.
- Test a hidden patch. Put a little material-approved cleaner on a clean cloth. It should be damp, without dripping when you press it. Lightly blot or wipe the test patch.
- Let it dry before doing more. Look for a tide mark, dye transfer, changed texture or loose fabric. If you see any of these, stop.
- Clean small sections gently. Turn the cloth as it picks up residue, keeping the pressure light. Replace it when the clean faces are used up.
- Remove cleaner residue as instructed. If it needs a damp wipe, use a separate well-wrung cloth and then blot with a dry one. Let the surface dry before considering another pass.
Don’t keep wetting a brown-stained roof until the cloth comes away white. Deep staining may remain even after you’ve removed what the fabric can safely give up. The headlining guide covers the material checks and gentler method in more detail.
Wipe the trim, including the bits you don’t usually touch
Work over the dashboard, door cards, console, accessible seat trim, visors and handles with a cloth lightly dampened with interior cleaner. Turn it frequently so you lift the residue rather than spread it. Remove any remaining cleaner using the product’s stated wipe-down method.
Include the upper door frames and sides of the centre console. Keep spray away from roof controls, instruments and screens. On glossy trim, lift loose dust before wiping; the piano-black trim method helps avoid adding scratches.
For an even finish, use the dashboard-cleaning method and leave off greasy dressing. Clean the steering wheel with the method for its material, keeping slippery dressings off the rim.
Clean the seats, carpets and mats
Test your cleaner on a hidden area of ordinary fabric first. Work the cleaner gently and lift the loosened soil out; don’t just brush foam into the seat and leave it there.
If the upholstery permits extraction, control how much liquid you put in and make recovery passes to lift it back out. Avoid soaking foam, airbag areas and seat electrics. A wet-and-dry vacuum can recover liquid, but it doesn’t spray and rinse like an extractor. Read the fabric-seat method and steam-versus-extraction guide before choosing equipment.
For leather, use the leather-cleaning routine and a cleaner approved for its finish. Don’t carry the fabric-seat shampoo straight over to it.
Clean removable mats outside the car and dry them before putting them back. Check below the carpet surface too: the top can feel dry while the underlay is still holding water. The wet-carpet drying guide explains how to deal with that.
Get the film off the glass
Clean the inside of the windscreen and windows, right to the edges. Put glass cleaner on a cloth to avoid spraying the dashboard, then buff with a separate clean cloth. If the first pass leaves greasy streaks, change cloth faces and go over it again.
Check the film maker’s cleaner restrictions on tinted windows. The glass-cleaning method covers cloth choice and checking the result from another angle.
Check the vents and cabin filter
Clean the accessible vent faces with a soft brush and cloth, keeping liquid out of the ducts and controls. The vent-cleaning guide covers the awkward slats. You won’t reach the rest of the ventilation system through those openings.
Look up the cabin-filter replacement instructions for your car and check its condition. A dirty, odorous filter may need changing, although it won’t deal with residue elsewhere in the cabin. Access varies by model; don’t start pulling trim apart on the assumption it’s behind the glovebox.
After cleaning, check whether the smell is stronger when the fan runs. If it is, ask a garage or interior-cleaning specialist to assess the system. Don’t pour household cleaner into the ducts or use a fogger without checking vehicle and product compatibility.
Let it dry, then check it again
Ventilate in secure, dry conditions. Keep damp mats out and check lower carpets and seat seams as they dry. Never run the engine in an enclosed garage to warm the cabin. If you can’t dry the whole interior in the weather you have, clean a smaller area or arrange sheltered drying first.
Once everything is dry, close the car normally and check it later without adding fragrance. Check again after the cabin has warmed naturally in daylight. If the smell remains, find where it’s strongest: a seat seam, a mat, the roof or the vents. Go back to that area rather than soaking the whole cabin again.
Old contamination can remain in foam, roof backing and inaccessible spaces. A specialist may need to clean deeper, remove trim or replace affected material. Explain what you’ve already cleaned and ask what their treatment can remove.
Should you use an ozone machine?
I wouldn’t use one for a home clean. Ozone irritates the lungs, and the US Environmental Protection Agency warns about harmful concentrations. You can’t judge safe re-entry by smell or a generic airing time. Stick with removing the residue and get specialist advice if cleaning hasn’t resolved it.
A less smelly cabin also doesn’t prove all tobacco residue has gone. If that’s a concern for a sensitive occupant, discuss the remaining contamination with a qualified specialist rather than judging it by fragrance or smell alone.
Further reading
- Ford’s seat and headliner care instructions (vehicle-specific instructions; check your own car’s handbook).