Some links in my articles are affiliate links. I may earn a commission when you buy through them.

The headlights looked better after polishing, then a cloudy patch caught your eye again. Before you reach for the compound, wash the lens, inspect it dry and check where the haze sits. Leftover product, an unevenly finished border and moisture inside the lamp do not call for the same remedy.
I would also check what the last job actually included. A polishing compound and a kit with a separate sealant are different treatments. Repeating the abrasive stage without knowing what is already on the lens can leave you chasing the same symptom.
Work out when the cloudiness appeared
If you noticed it as soon as the product was removed, start with residue and coverage. Look at the cloth: is it lifting the remaining film, or is it now loaded and spreading it? Check the narrow outline beside the paint and the curved outer corner before treating the whole lamp again.
If the lens looked clearer only while it was wet, assess it after it is fully dry. Keep the comparison fair by looking at both lamps in the same daylight, from straight on and from the side. A reflection can disguise a patch just as easily as it can reveal one.
If the change appeared later, write down the system used and whether its finishing stage was completed. Include any other cleaners, waxes or coatings added afterwards. Having the names and sequence is more useful than deciding that the first product “didn’t work”.
A lamp that becomes misty behind the outer lens needs a different investigation. An exterior cloth cannot remove water from inside the unit. The original cloudy-headlight guide covers the initial distinction between exterior haze, internal moisture and damage.
Clear leftover film before adding more product
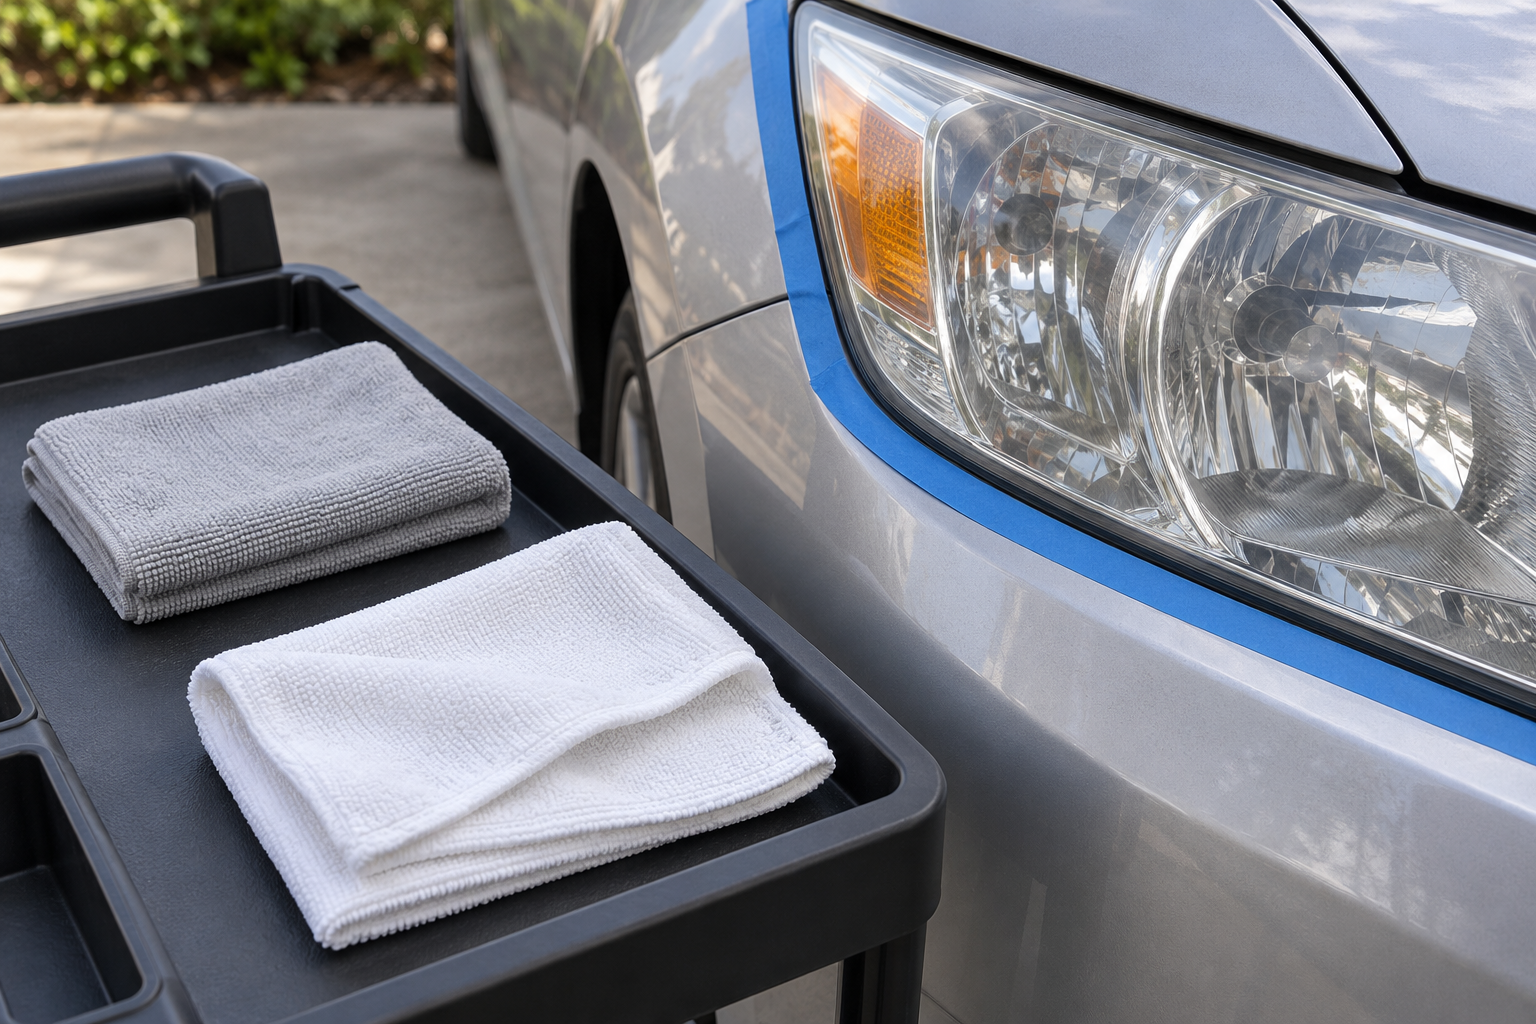
With T-Cut Headlight Polishing Compound, the maker’s hand method uses two microfibres: one to work the compound in circles and another to remove the excess. Using the application cloth for the last wipe can put a fresh film back onto the area you were trying to inspect.
Take a clean removal cloth and lift the remaining product from the accessible exterior surface. Turn to clean faces, including around the border. If a patch remains unchanged, don’t keep adding compound to make the surface look wet again. You need a clear view of the defect before choosing another treatment.
Rain-X X-treme Clean & Headlight Restorer has a different finish. Rain-X’s UK instructions call for a water rinse after working the cleaner, followed by drying with paper towel or a clean, soft cotton cloth. If you used that product, complete its rinse-and-dry sequence rather than treating it as T-Cut’s wipe-off compound.
Check what was meant to protect the finish
Find the label or order details for the product you used. Was it a standalone polish, a cleaner, a sanding system or a compound-and-sealant kit? A similar brand name does not make their finishing stages interchangeable.
The T-Cut Headlight Restoration Kit is one example with a separate restorer sealant. T-Cut describes that finish as protection against sunlight, rain and bird lime. The compound-only purchase does not include the separate sealant bottle. If your job was based on the kit’s complete process, check that you actually completed both stages.
That does not mean every cloudy headlight needs this kit, or that its sealant repairs a damaged original coating. If the previous process removed or reworked a protective surface, identify the complete approved restoration system and its required finish. Avoid topping an unknown layer with whichever paint wax or ceramic coating happens to be close by.
For a new purchase, the headlight-restorer guide explains the practical differences between the compound, the kit and the rinse-off cleaner. Choose the whole job you need rather than another bottle with “restorer” on the front.
If you are completing the T-Cut kit’s sealant stage
First confirm that the lens and job fit the kit’s stated uncoated-clear-plastic use. This sequence describes its dedicated sealant; it is not a recipe for applying any clear coating over any old finish.
- Remove all headlight-polishing compound residue before applying the sealant.
- Set out two clean, dry microfibres, keeping them separate from the compound cloths.
- Shake the sealant bottle, then put a small amount on the first cloth.
- Wipe over the whole lens in circular motions, reaching the borders as well as the centre.
- Use the second cloth to wipe away excess liquid, then inspect the lens from another angle.
The T-Cut kit directions describe that wipe-on, wipe-off sequence. Keep the leaflet from your pack for any additional conditions; the online directions do not specify a fixed water-exposure interval. A paint coating’s overnight cure is not a useful substitute.
Look for product collected around the tape line or lower edge before packing away. Keep the finishing cloths clean through the second lamp rather than automatically using the same loaded face from the first.
When another polishing pass is the wrong next step
Stop if you see cracks, a lifting surface layer or a defect apparently within the lens or unit. More rubbing around a fixed mark can leave the surrounding area looking different while the original problem remains.
The same applies when cleaning and proper residue removal leave an unchanged patch. Check the previous product’s instructions and the lens condition before moving to a more aggressive process. A sanding kit needs its own abrasive sequence and finishing system; it is not the automatic next step whenever a cloth does not clear a mark.
Visible clarity and the lamp’s lighting performance are separate things to assess. If the headlights still seem poor after the exterior is clean, investigate the lamp rather than assuming another layer of detailing product will settle it.
Make the next inspection easier
Keep a note of the product, finishing stage and date, with a photograph of both lamps dry in similar light. This gives you something fairer to compare than a freshly wet surface against a dusty lens weeks later.
Wash off ordinary dirt before judging whether the finish has deteriorated. If a broad face still looks even but a narrow border catches your eye, inspect that local area first. The hand-polishing guide shows how to keep track of the lens edge during application and removal.