Some links in my articles are affiliate links. I may earn a commission when you buy through them.
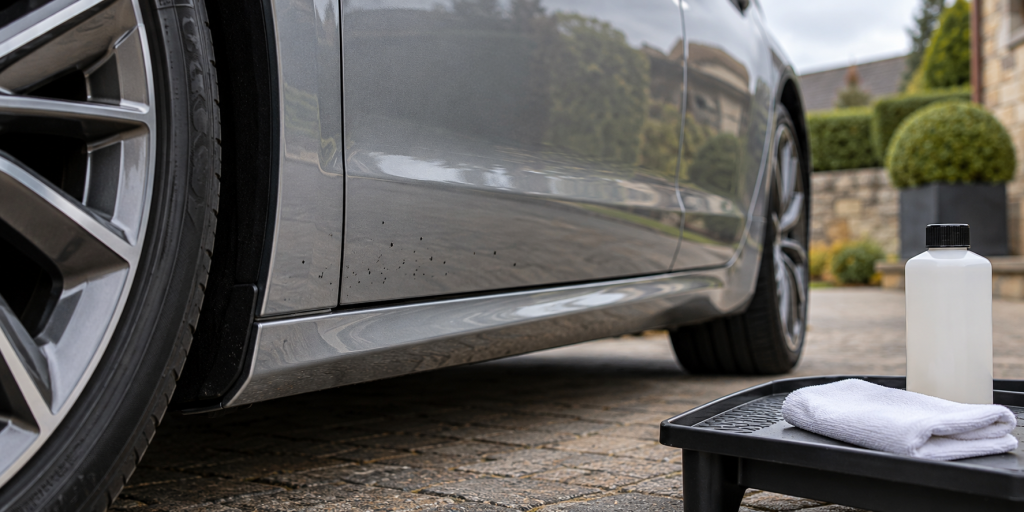
You’ve washed the car, dried the lower doors and there they are: little black specks that seem quite happy to stay put. For ordinary tar spots on compatible exterior paint, I’d start with Autoglym Intensive Tar Remover. Its controlled cloth application makes sense for a handful of deposits. On Gtechniq-coated paint, Gtechniq W7 Tar and Glue Remover is my alternative when you want the coating maker’s own tar-removal product.
My first pick for targeted exterior tar spots
A cloth-applied treatment with a visible softening cue and a 1–2-minute contact stage. Useful around ordinary lower-door deposits, with manufacturer permission for named exterior textured plastics as well as paint.
Before buying: Choose the 500ml bottle. Exterior-plastic permission does not establish suitability for wraps, PPF or every repaired finish.
My pick for Gtechniq-coated paint
A solvent remover expressly compatible with Gtechniq coatings. Apply it to a cloth, test an inconspicuous patch and work on the affected paint.
Before buying: Choose the 500ml bottle. Keep it off plastic, rubber and vinyl; it is unsuitable for PPF, smart repairs and wrapped vehicles.
Why I’d start with Autoglym for scattered spots
Intensive Tar Remover is a useful first bottle when the ordinary wash has left sticky deposits behind the wheels or along the lower doors. A cloth lets you keep the treatment on a particular mark and see whether it softens. You can finish the small job without turning it into a full-car preparation session.
Autoglym’s exterior directions specify a clean cotton cloth, 1–2 minutes of contact and then wiping or washing off. The useful cue is the deposit starting to dissolve and run. Lift that softened material away with a clean part of the cloth instead of carrying the same sticky face along the door.
The wider named exterior permissions also help with awkward boundaries: the maker includes exterior textured plastic mouldings, alloys and tyres. Identify the actual material first, especially if it has been painted, repaired or covered in film. Keep the job on the affected spots rather than applying a solvent indiscriminately to the surrounding trim.
When Gtechniq W7 is the better fit
W7 is the option I’d choose for a compatible Gtechniq-coated painted panel. The maker expressly supports that coating range, so you have a clear maintenance route for the protection already on the car. It also treats suitable uncoated paint.
Gtechniq’s instructions call for shaking the bottle, applying to a microfibre cloth and gently testing a hidden area before treating the visible spots. Wipe away the remaining residue with a clean cloth. Work with gloves, ventilation and shade, keeping the treatment on the spots rather than spraying the whole lower side of the car.
The main buying check is what surrounds the paint. Plastic trim, rubber seals and vinyl must be kept clear; PPF, wraps and smart repairs are excluded. A tar spot beside a black trim strip needs accurate placement of the cloth. If you cannot keep the product on the permitted surface, choose a treatment approved for that particular material.
Check the surface before choosing the bottle
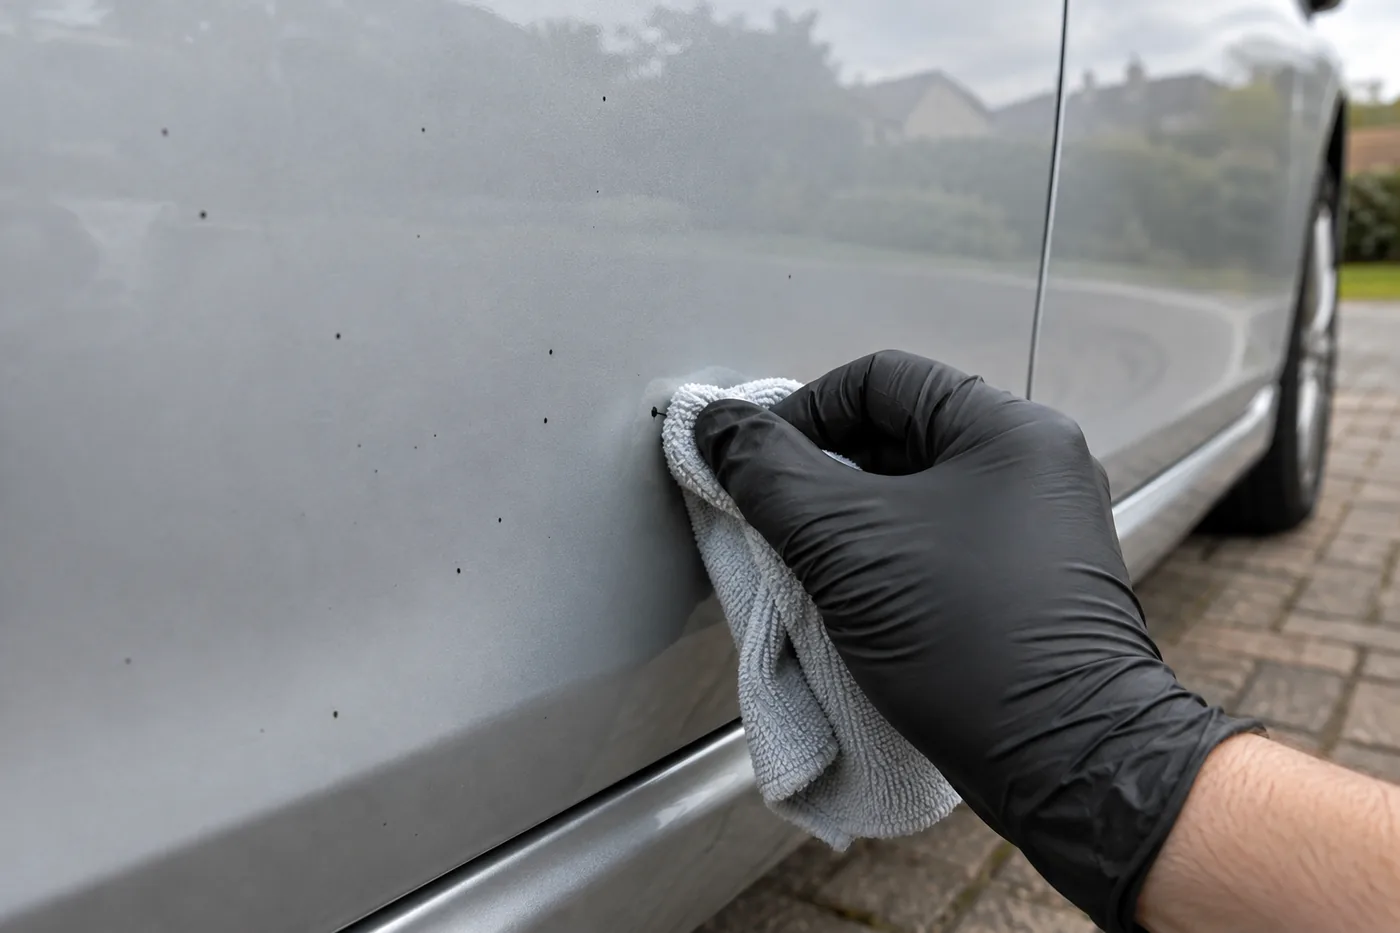
Look closely at the area you intend to treat, not just the car’s paint colour. A clear protective film can be easy to miss at first glance. Check for film edges, repaired paint and decorative vinyl around the lower panels before deciding which product belongs there.
For original, sound paint, use the remover’s compatibility test on a discreet spot and inspect it before extending the treatment. A manufacturer’s approval for its own coating system does not automatically cover a different coating, paint-protection film or a repaired bumper.
Wrapped cars and uncertain repairs need an expressly approved route. Neither of these recommendations is a reason to experiment on a finish you cannot identify. The coating-preparation guide helps if this is part of a larger protection job and you need to decide which preparation stages are actually necessary.
What I’d have ready alongside the remover
Start with clean cloths, a place to put used ones and the water or washing setup needed to finish the treatment. Keep the tar cloth separate from clean drying towels: once it has collected sticky material, it should not be doing the final wipe across the bonnet.
For the first recommendation, follow its clean-cotton-cloth method. For the coating-focused alternative, use the specified microfibre method. Have a second clean cloth available so you can remove remaining residue without working with a face already loaded with softened tar.
Both linked bottles are 500ml. A few isolated spots and a heavily contaminated lower side use very different amounts, so think about the job in front of you rather than expecting a fixed number of treatments from a bottle. For occasional spots, clean cloths and accurate application matter more than buying the biggest container.
Make sure the remaining specks really are tar
A dark chip will still be a dark chip after tar remover. After washing, look for a deposit sitting on the surface and start with one identifiable spot. If it softens, you have useful feedback before treating more of the panel. If it remains unchanged, look again before increasing contact time or pressure.
Tiny orange-brown specks or iron deposits are a different buying decision. Use the iron fallout remover choices for those; there is little benefit in repeatedly treating them as sticky tar. The iron-removal method explains where that stage belongs.
If roughness remains after the appropriate chemical treatment, the clay-bar guide helps you decide whether another preparation step is justified. You don’t have to clay every panel because a few tar spots needed attention.
Finish the small job properly
After removal, complete the required wipe or wash, dry the patch and inspect it in daylight. I concentrate on what happened to the original deposit. A wet panel can hide the small trace you still need to lift, while a freshly washed reflection can make the whole area appear improved.
Think about the protection on that patch too. Autoglym names wax among the residues its tar remover can remove. If you are maintaining a waxed finish, plan to restore the affected protection after cleanup; a coating has its own maintenance requirements. You can compare the hand-applied waxes if that is the finish you are using.
For the working sequence, follow how to remove tar spots.