How to Clean Car Mats: Carpet and Rubber Methods
Some links in my articles are affiliate links. I may earn a commission when you buy through them.
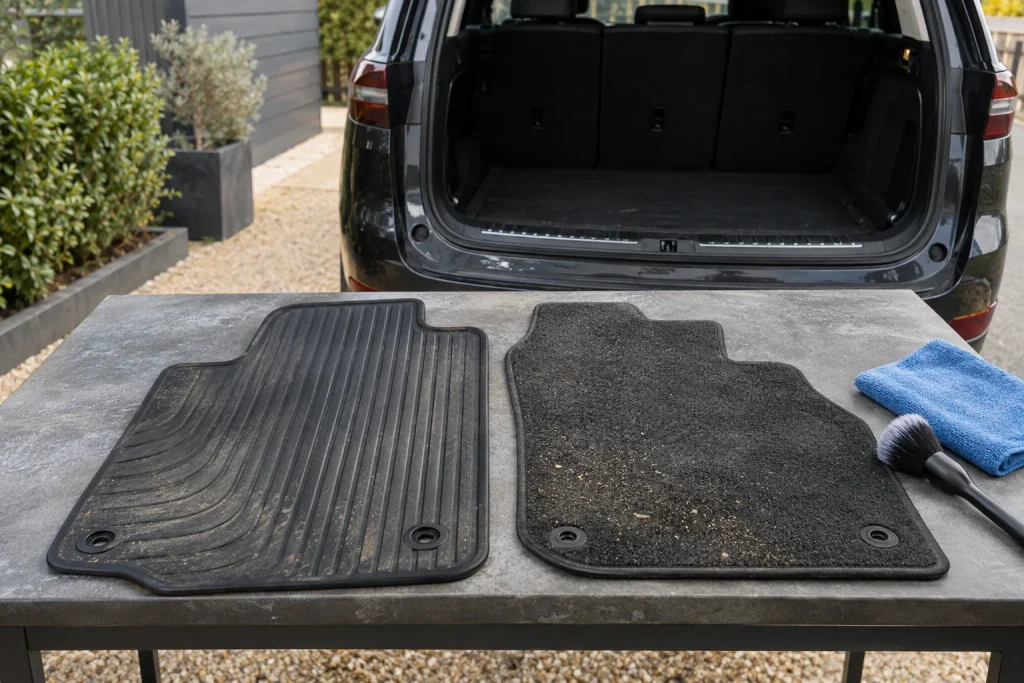
Take the mats out early and the rest of the interior clean gets easier. You can reach the grit underneath, and any wet-cleaned mats have time to dry while you work inside. Choose the method by the mat’s construction: absorbent carpet and rinseable liners need different treatment.
Remove them without spreading the dirt
Release the proper retention fittings and lift the mats carefully out of the car. Keep loose grit contained and set them somewhere suitable for cleaning. Don’t stack a dirty mat on the seat while organising the rest.
Inspect the underside, binding and fixing holes. Separate removable carpet from rubber or moulded liners, and check the mat maker’s care requirements before introducing water.
Vacuum carpet on both sides
Work the pile in deliberate passes, then vacuum the backing and edges where appropriate. Loose grit underneath will otherwise go straight back into the freshly cleaned footwell.
For embedded hair, use the dog-hair removal method on compatible carpet before wet cleaning. Removing dry debris first gives the cleaner a more useful job to do.
Clean carpet with controlled moisture
Interior Shampoo is an option for supported carpet and mats. Keep the fabric lightly damp and judge the result after drying. Match the application to the mat’s construction and current product method.
Test discreetly, work manageable sections and collect soil and residue with clean cloth faces. For a deeper washable clean, suitable extraction can help, provided the backing and material support it. The equipment guide explains the machine choice.
Avoid soaking an unfamiliar backing or chasing a mark with repeated uncontrolled sprays. Inspect the dry result before deciding whether another pass is useful.
Wash rinseable liners in their channels
Remove loose dirt, rinse where permitted and clean with a compatible product and tool. Give grooves, corners and fixing holes their own attention. Rinse away cleaner fully, then inspect where dirty water tends to collect.
Keep the final surface appropriate for footwear grip. Oily dressings and a deliberately slippery shine do not belong on a driver’s mat.
Give both sides air while they dry
Support mats so air can reach the back as well as the visible face. Check seams and thicker edges before bringing them into the car. A dry-looking top can hide moisture underneath.
Use the drying time to vacuum the exposed footwells, including the edges beside the seats. Clean accessible retention points without damaging their mechanism.
Refit and check the driver’s mat
Return only the correct mat to each position, engage its proper fittings and check it lies flat. Make sure the driver’s pedals move freely without contact. Keep a single correctly fitted mat in that space rather than stacking extras underneath or on top.
If dampness quickly returns beneath a clean mat, investigate the cause rather than repeatedly drying the visible surface. For the rest of the job, follow the interior-cleaning order so the clean mats go back into a finished cabin.