Some links in my articles are affiliate links. I may earn a commission when you buy through them.
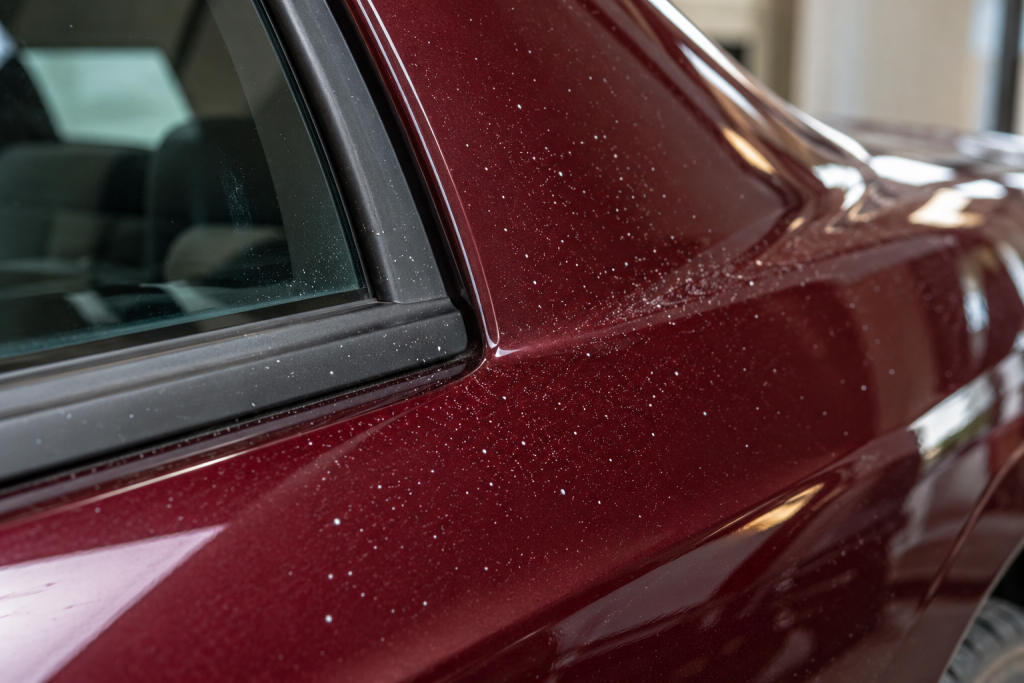
Fine paint mist can leave a car feeling gritty even when the colour looks almost normal from a few steps away. If this appeared after nearby spraying or a repair, I’d document it and try one carefully controlled cleaning patch before thinking about polishing the whole car.
On sound conventional gloss paint, a properly lubricated clay bar is a reasonable first trial for suitable bonded overspray. Wash first, test a small area with light contact, then wipe and inspect the dry paint. If the specks do not release readily, or the finish starts marking, stop. Thick paint splashes, textured trim, fresh repairs and protective films can need a different approach.
For an occasional owner’s trial, Autoglym Clay Detailing Complete Kit provides a matched clay and lubricant; Autoglym identifies paint overspray among the contaminants its clay can remove. That establishes an intended use, not a promise that every unknown paint mist will come off the same way.
- Record the affected surfaces, then wash and inspect a representative gloss-paint patch.
- Use a matched clay and lubricant with light contact on that small area.
- Inspect the dry result and continue only if the deposit releases and the finish remains satisfactory.
Establish what happened before trying a remover
Ask yourself when the gritty feeling began. Was the car near fence spraying, building work or a paint repair? Is the mist concentrated on exposed panels, or did it appear across the car with no obvious event? Ordinary bonded contamination can also feel rough. Use the deposit checks if the cause is unclear.
Photograph the affected areas before altering them, including paint, glass, seals and trim. Include a wider shot showing the distribution and a close-up that makes the specks visible. If another business is already investigating an incident, preserve that record before experimenting with a larger section.
Distinguish a fine mist from thick splashes or road-marking material. A clay trial suitable for fine bonded specks does not establish a removal recipe for a thick unknown coating. If the car has fresh paint or an uncertain repair history, get the repairer’s guidance on when and how it can be treated.
Map the surfaces instead of treating the whole side alike
A single wing can meet clear film, a plastic lamp, rubber trim and painted metal within a few centimetres. Check each surface. A gloss-paint clay instruction does not automatically authorise rubbing textured plastic or a coated lamp with it.
On matte or satin paint, do not use a gloss-paint correction routine to make a test patch look shiny. On vinyl and PPF, use the film maker’s approved method. With fresh repairs, the coating system and curing condition matter more than the fact that the rest of the car is safe to wash.
Glass needs a glass-compatible product and a separate clean working piece. I would not take a paint-loaded piece straight onto a windscreen, nor improvise with a blade because glass feels hard. Windscreen coatings, trim edges and sensors make a careless shortcut expensive.
Wash the area and inspect it dry
Rinse loose dirt away and complete a proper wash. Dry a small representative patch. You need to see the overspray without ordinary dust and wet reflections making the result difficult to judge.
Look across the paint in angled light. Fine specks may cast a tiny highlight or be easier to feel than see. Touch lightly with a clean fingertip; do not pick at individual particles with a nail. If you can identify only a vague haze, first establish whether it is contamination or an existing finishing defect.
Choose a test patch on a broad, accessible, sound gloss area, away from a sharp edge or doubtful repair. Keep an adjacent area untreated for comparison. You are looking for a useful change from a small amount of work, not trying to prove that a whole-car correction is necessary.
Try the matched clay and lubricant
With the Autoglym clay kit, prepare a small working piece and use the supplied lubricant on the clay and cool paint. Glide lightly in straight passes while keeping the area wet. Do not substitute a household solvent for the lubricant.
Check the working face frequently and fold to expose a clean surface as material collects. I find the dry surface check more revealing than the wet shine. Keep watching the clay face especially closely when you are lifting a visible coloured deposit.
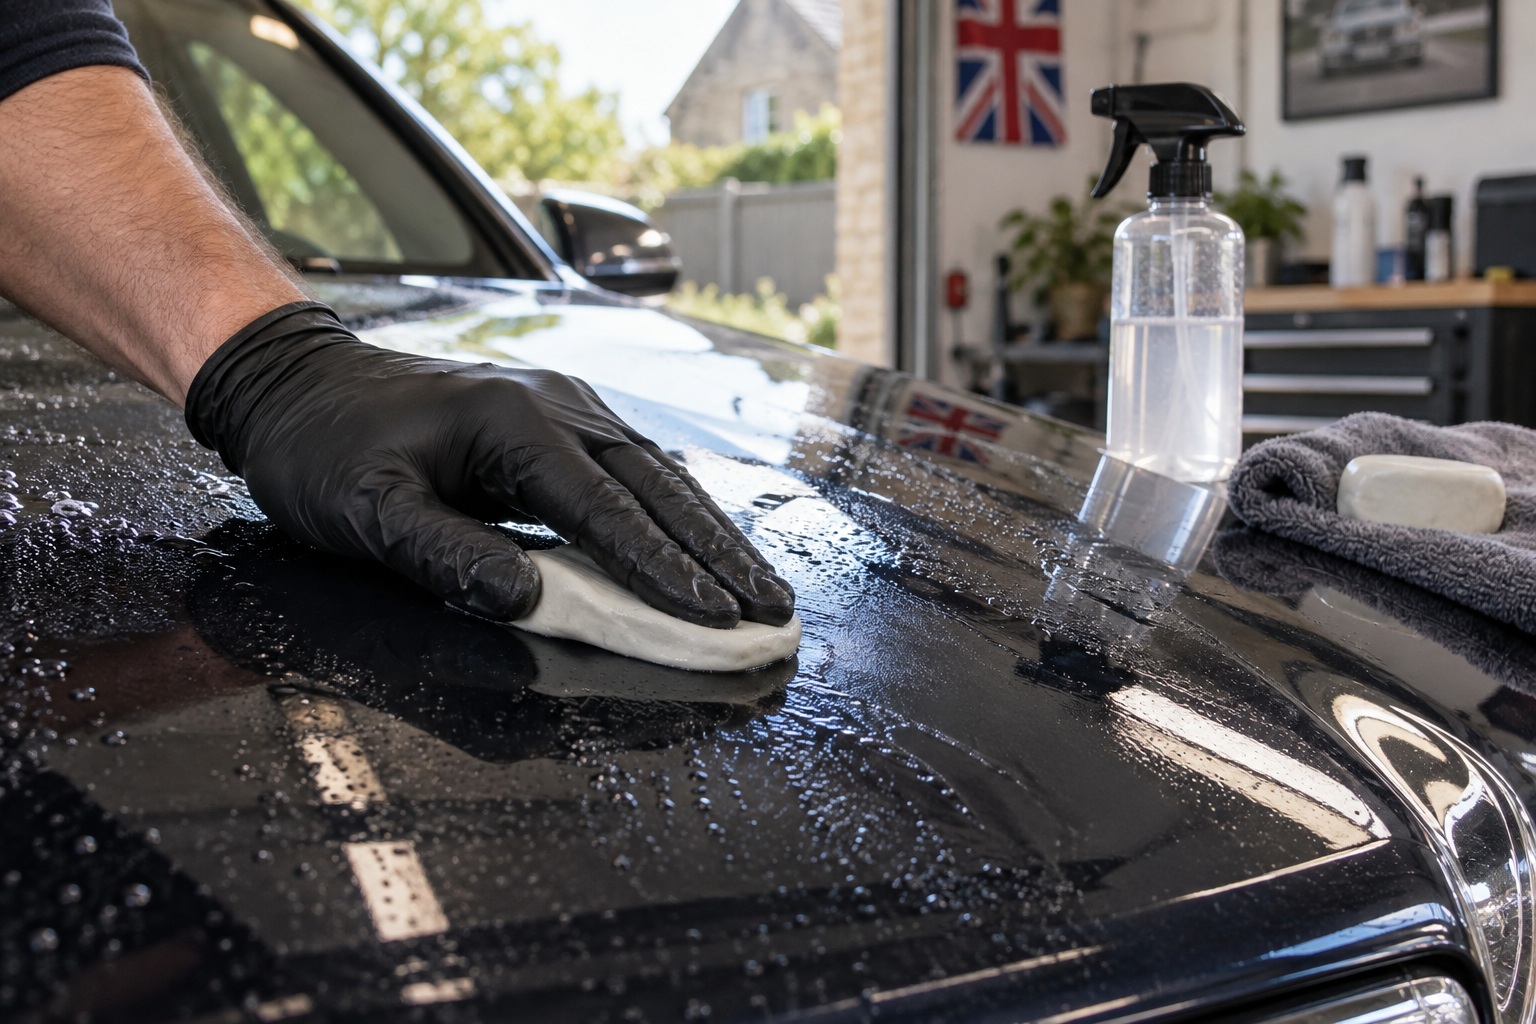
After a short trial, remove the lubricant residue and inspect the dry patch. Has the number of specks reduced? Does it feel smoother? Does the reflection still look satisfactory? A smooth surface with new hazing needs a different decision from a clean-looking patch that still has hard raised dots.
The clay-bar method gives the handling sequence. The lubricant choices explain why a spray that works with one bar or mitt is not automatically a substitute for another system’s bottle.
Let the patch decide how far you continue
If the deposit releases with light work and the dry finish remains satisfactory, continue in small sections using the same controlled process. Check your cloth and clay face as you go. Replace contaminated material rather than carrying it across each new panel.
Stop if progress requires increasing pressure, the clay keeps snagging, or marks remain unchanged. Changing to a more aggressive clay is a finishing decision with possible correction work afterwards; it is not a harmless way to rescue an uncertain diagnosis.
If the trial removes the raised specks but exposes swirls already in the paint, assess those separately. Polish selection can help with appropriate finishing work on sound gloss paint. Do not compound the whole car simply because it has been contaminated in a few places.
The point where specialist assessment saves paint
I would seek an experienced detailer or bodyshop’s assessment for thick splashes, stubborn unknown paint, extensive contamination across different materials, fresh repairs or any finish that reacts during the trial. Take the photographs and explain what has already been applied. That gives them a much clearer starting point than a panel treated with several unidentified chemicals.
Avoid a generic thinner, acetone, abrasive pad or sanding recipe borrowed from a different overspray job. Different paint materials and underlying finishes do not share one reliable solvent or abrasive treatment. Leave those choices to someone assessing the actual surface and available paint thickness.
Once the contamination and any necessary finishing work are resolved, complete the cleanup and restore compatible protection. Keep the working cloths and remaining clay separate from your routine wash kit until they have been dealt with appropriately; a contaminated piece should not quietly return to the next wash.