Some links in my articles are affiliate links. I may earn a commission when you buy through them.
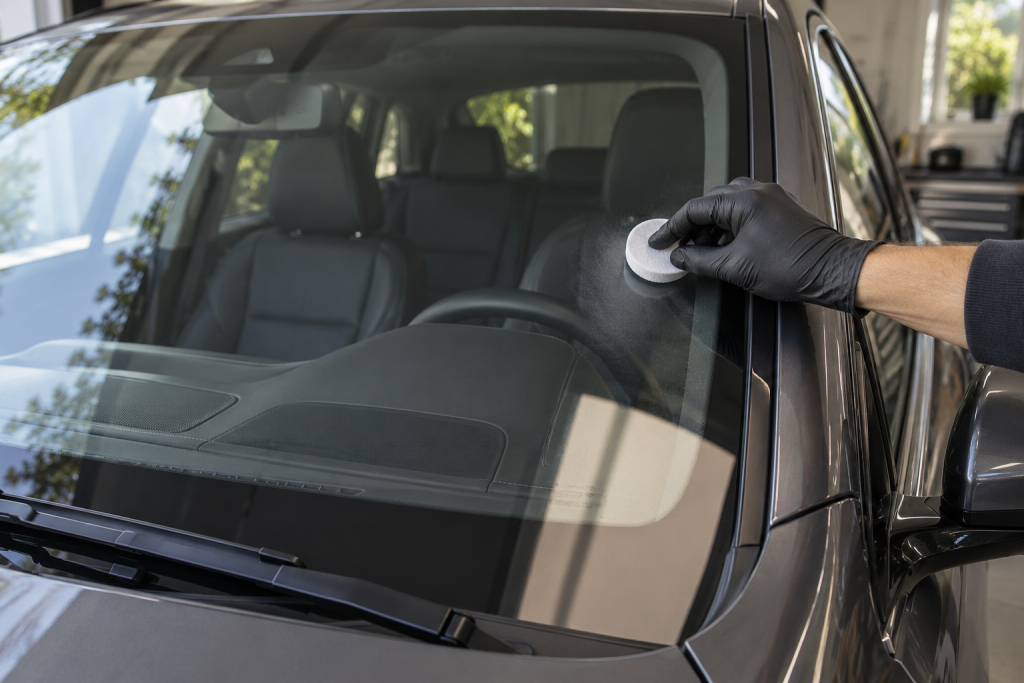
The awkward part of a windscreen treatment is often the last wipe: most of the glass looks clear, but a pale edge or a streak across the wiper sweep remains. I’d separate preparation, application and final inspection from the start. Set out the right cloths, identify the exact bottle and finish its removal stage before testing the result.
The two products below have different methods. Rain-X 2-in-1 Glass Cleaner + Rain Repellent is a spray-and-dry-wipe route. SOFT99 Glaco Roll On Large goes onto prepared dry glass, waits five to ten minutes, then needs a slightly damp removal wipe followed by a clean dry finish. If you are still choosing, the rain-repellent buying guide explains which routine fits.
- Confirm the treatment is permitted on your exterior glass and identify any existing coating or film.
- Wash away loose dirt, complete the product’s preparation and set out separate clean cloths.
- Apply the exact formula using its own method; keep preparation and coating bottles separate.
- Complete removal, inspect the dry pane from both sides and check the wet wiper sweep while parked.
Get the glass and working position ready
Park safely and work on cool glass with enough shelter to complete the job. Keep chemicals away from heat and ignition sources, and use the protective equipment on the label. A wet or dusty windscreen needs washing before you begin wiping it with an applicator.
Check how the vehicle allows you to access its wipers. Some cars need a service position before the arms can be lifted clear of the bonnet. Use that model’s procedure rather than pulling the arms up against an edge. Keep the arms under control whenever the blades are away from the glass.
Work from each side of the car if that gives you an easy reach. Reaching beyond your comfortable range can leave a broad untouched strip in the middle or drag a sleeve through the finish. Put a small step or working platform on firm ground if needed; don’t climb onto a wet tyre to gain the last few inches.
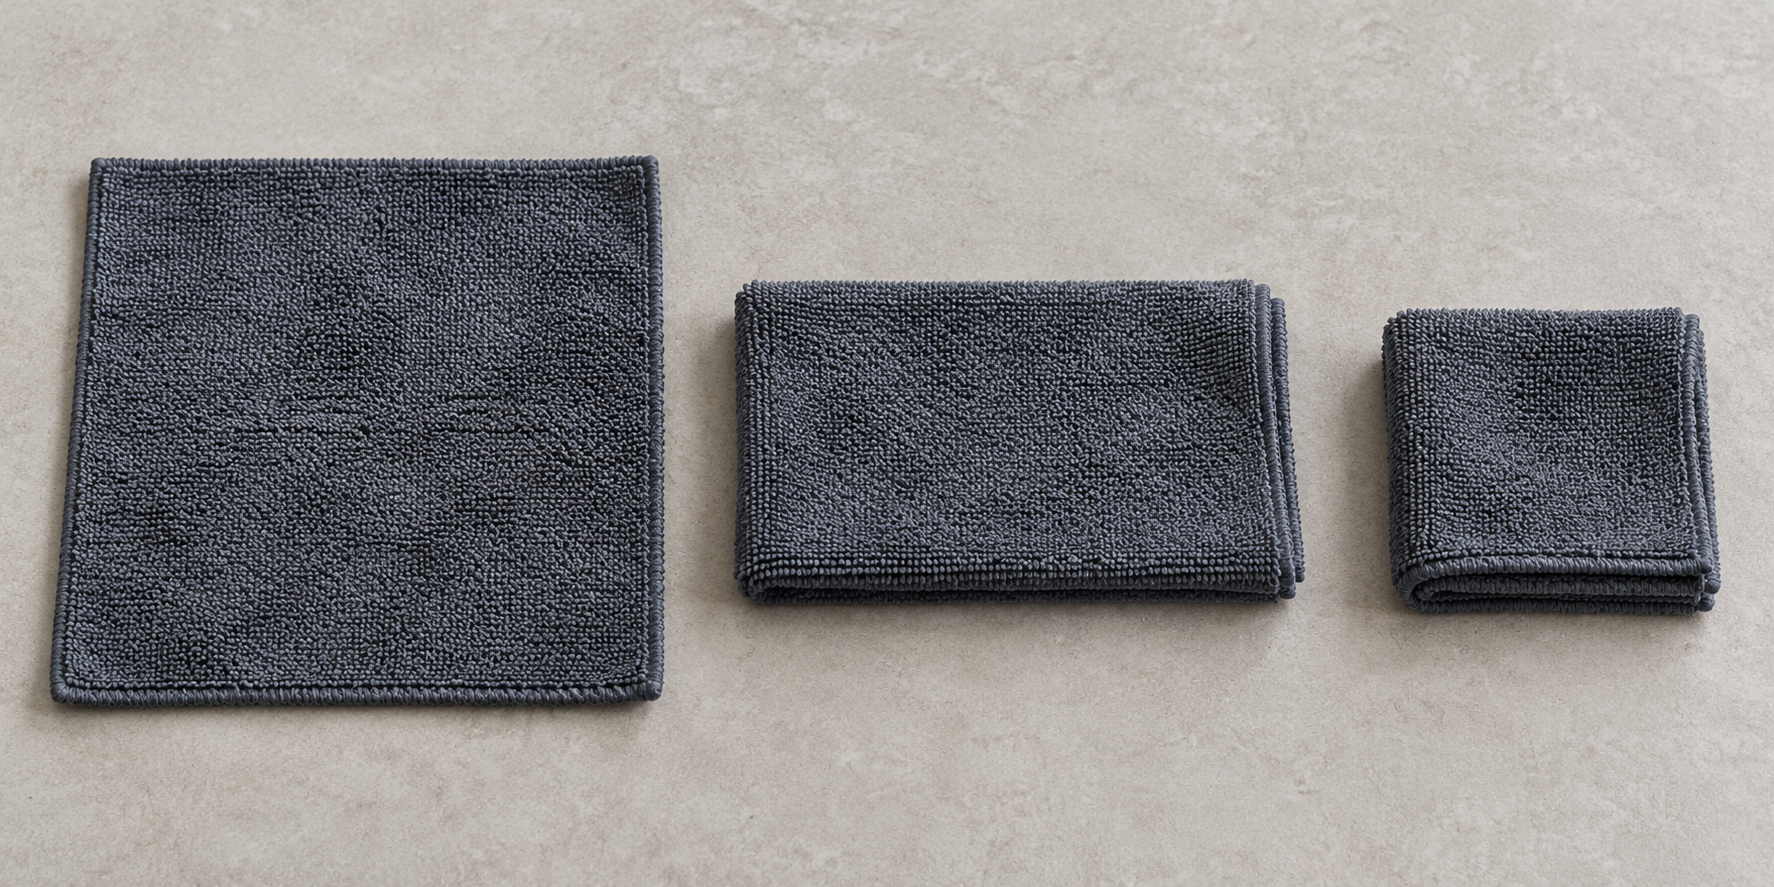
Lay out a preparation cloth, a removal cloth and a clean dry finishing cloth where the chosen method needs them. Keep them clear of wax, sealant and interior dressing. The ordinary glass-cleaning routine covers grit removal and the inside pane separately.
Prepare dry glass for the roll-on coating
Soft99 specifies dedicated glass preparation before its roll-on repellent. Glaco Glass Compound Roll On is one named option for compatible glass. Because it is abrasive and intended to remove deposits or earlier layers, confirm that you are allowed to use it on the actual surface before treating a specialist coating or film.
Its current method starts with washing using a pH-neutral shampoo and shaking the bottle. The glass may be lightly dampened to help the work. Gently squeeze product into the felt applicator, work across the glass and keep the compound from drying completely. Wipe accidental contact off non-glass surfaces promptly.
Rinse the compound thoroughly, including the edges where it collects. Then dry the glass before moving to the protective coating. The preparation product’s optional damp surface and the coating product’s dry surface are different stages; keeping the two bottles apart helps prevent an easy mix-up.
Look for a trapped drip at a seal before you begin coating. If water runs back into the working area, dry it and the source you can safely reach.
Apply the combined spray and wipe it clear
For Rain-X 2-in-1, the UK instructions allow spraying onto the vehicle window or onto the cloth. Wipe with a dry paper towel, cotton cloth or microfibre, repeating where the surface remains dirty. I prefer controlled cloth application near seals so there is less overspray to collect from neighbouring trim.
Start with a reachable section and spread it evenly. When the cloth face becomes wet or picks up film, turn it or replace it. Finish with a fresh dry face so you can see whether a moving smear is product residue rather than keep spreading it across the next area.
There is no five-to-ten-minute waiting stage in this spray’s published method. Don’t borrow the roll-on coating’s sequence just because both products repel water. Complete one pane, check it and continue with clean cloth faces.
At the windscreen edges, fold the cloth so you can follow the visible glass border without rubbing product into the rubber surround. Keep any cleaner off adjacent surfaces it is not intended for, and deal with an accidental splash while it is still accessible.
Apply Glaco Roll On Large and finish its two wipes
Use Glaco Roll On Large on the prepared, dry windscreen. Remove the cap, place the integrated applicator against the glass and gently squeeze to release product. Work it across the pane with controlled contact, watching the area you have covered rather than repeatedly squeezing more liquid onto the same patch.
Soft99 specifies a five-to-ten-minute wait after application. Have a timer and the removal cloth ready, and follow the directions on the exact supplied bottle if its version differs. This is Roll On Large 120ml; another Glaco variant can have a different finishing routine.
Remove all remaining residue with a slightly damp towel or microfibre, then finish with a separate clean dry one. Wring the damp cloth so it can collect the film without leaving a trail of drips. If one face becomes loaded, change it before moving to the next section.
Work deliberately round the edge and the wiper sweep before putting the bottle away. The five-to-ten-minute removal interval is not a general water-exposure or curing rule for every glass coating; retain any additional final protection instructions supplied with your particular product.
Inspect the finished pane before driving
Step back and look across the dry glass, then sit in your normal driving position and look through it. The upper edge and the wiper sweep are the places I check closely. Shift your head a little: an angle that flatters the finish can hide a thin remaining film.
Keep inside and outside separate if you spot a mark. Cleaning the inside in one direction and finishing outside in another can help identify the side that needs attention. Use the cloth intended for that face rather than carrying exterior treatment residue into the cabin.
Once the product’s water-exposure directions allow it, check the wet wiper sweep while parked. Use the vehicle’s normal washer-and-wiper controls and look for a clear swept view. Don’t run the blades dry to see whether a fresh coating feels slippery.
If haze remains or the blades smear or jump, stop adding treatment and use the after-application diagnosis. Resolve an obscured view before driving. Record the bottle and the steps you completed so you can correct the right stage rather than start over with another formula.