Some links in my articles are affiliate links. I may earn a commission when you buy through them.
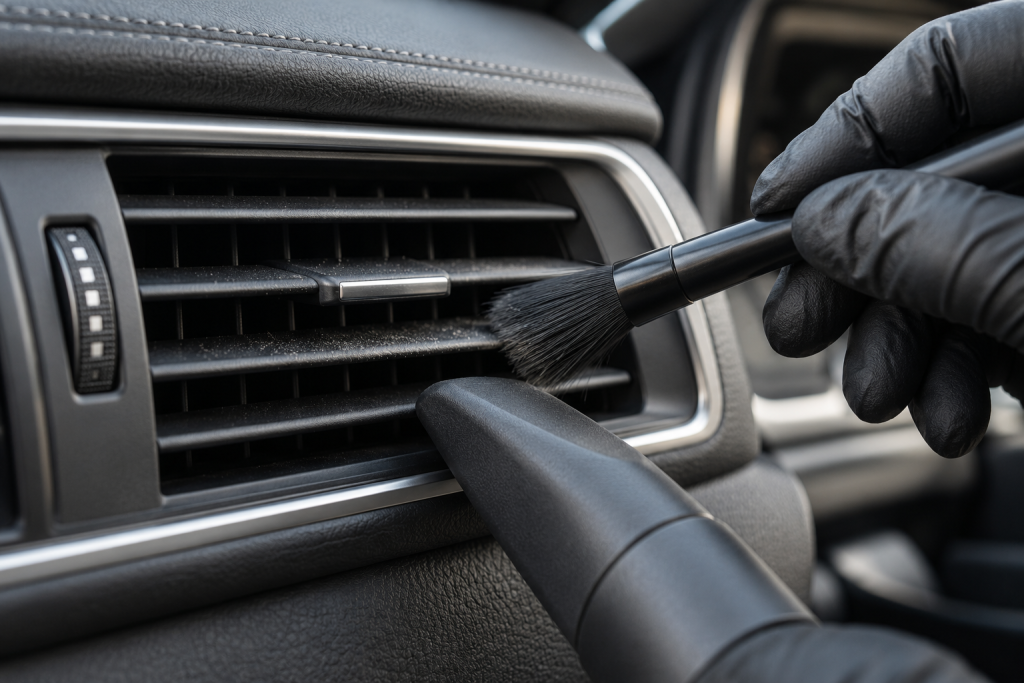
You brush a dusty air vent, wipe the dashboard, and then notice the dust has simply moved somewhere else. I’d put a collection point beside the vent before disturbing it. A soft clean brush, a nearby vacuum nozzle and a lightly damp cloth can deal with the accessible face without filling the opening with cleaner.
This is a method for the visible grille, louvres and surround. It does not clean the whole ventilation system or solve a persistent smell from inside the ducts. For the ordinary dusty vent, start dry and bring the dust towards the nozzle. Add a controlled wipe only where a compatible surface needs it.
- Switch off the car and ventilation, then check how the vent adjusts normally.
- Hold the vacuum nozzle close without touching the trim and loosen dust from the visible face.
- Reposition the louvres gently to reach their exposed edges, collecting as you go.
- Wipe any remaining surface film with a controlled cloth, dry it and check normal adjustment.
Inspect the mechanism before choosing the tool
Look closely at the vent when the car is parked. Find the adjustment tab, the opening-and-closing control and any delicate decorative edge. Some louvres move together; others have separate directions. Move them only through their ordinary range so you understand what is accessible without forcing anything.
Check for a loose tab, cracked vane or missing piece before starting. A brush can catch a damaged edge that would otherwise look harmless. If something is already loose, keep the cleaning to the surrounding face and arrange a proper repair rather than pushing the part back into place with a tool.
A broad dusting brush can skim the front, while a smaller soft brush gives more control near corners. Choose one with a collar you can keep away from the plastic. The detailing-brush guide helps you judge access rather than buying a set purely by its piece count.
Avoid choosing a tool because it reaches furthest inside. You need to see where the bristles or cloth are making contact. A narrow wire or rigid stick disappearing into the duct is a different job from cleaning a visible louvre.
Put the vacuum where the dust can reach it
Use an attachment you can hold steadily beside the vent without knocking it against the dashboard. A small brush attachment may suit some layouts; a narrow nozzle held slightly away can leave room for a separate brush. Support your hand so an awkward reach does not turn into a scrape.
With the ventilation off, use light strokes on the exposed front edges and bring the loosened dust out towards the collection point. Start at the top so material falling from an upper vane does not settle on one you have already finished. Clear the brush when its working surface becomes dusty.
Check the edge of the nozzle as well as the bristles. A dirty vacuum attachment belongs near the dirt being collected, not against a glossy surround. Keep a clean cloth over the adjacent work area if it helps catch a little falling dust without covering controls or pushing anything into the opening.
If the brush is flicking dust across the cabin, use shorter strokes and move the nozzle nearer the visible working area. Pressing the brush deeper or switching on the fan does not give the loosened dust a better collection route.
Turn the louvres to expose their edges
Adjust the vent gently in its normal directions. Clean the newly exposed top and bottom edges rather than forcing a thick cloth between vanes that are close together. Work around the adjustment tab with the brush tips and keep its base out of the mechanism.
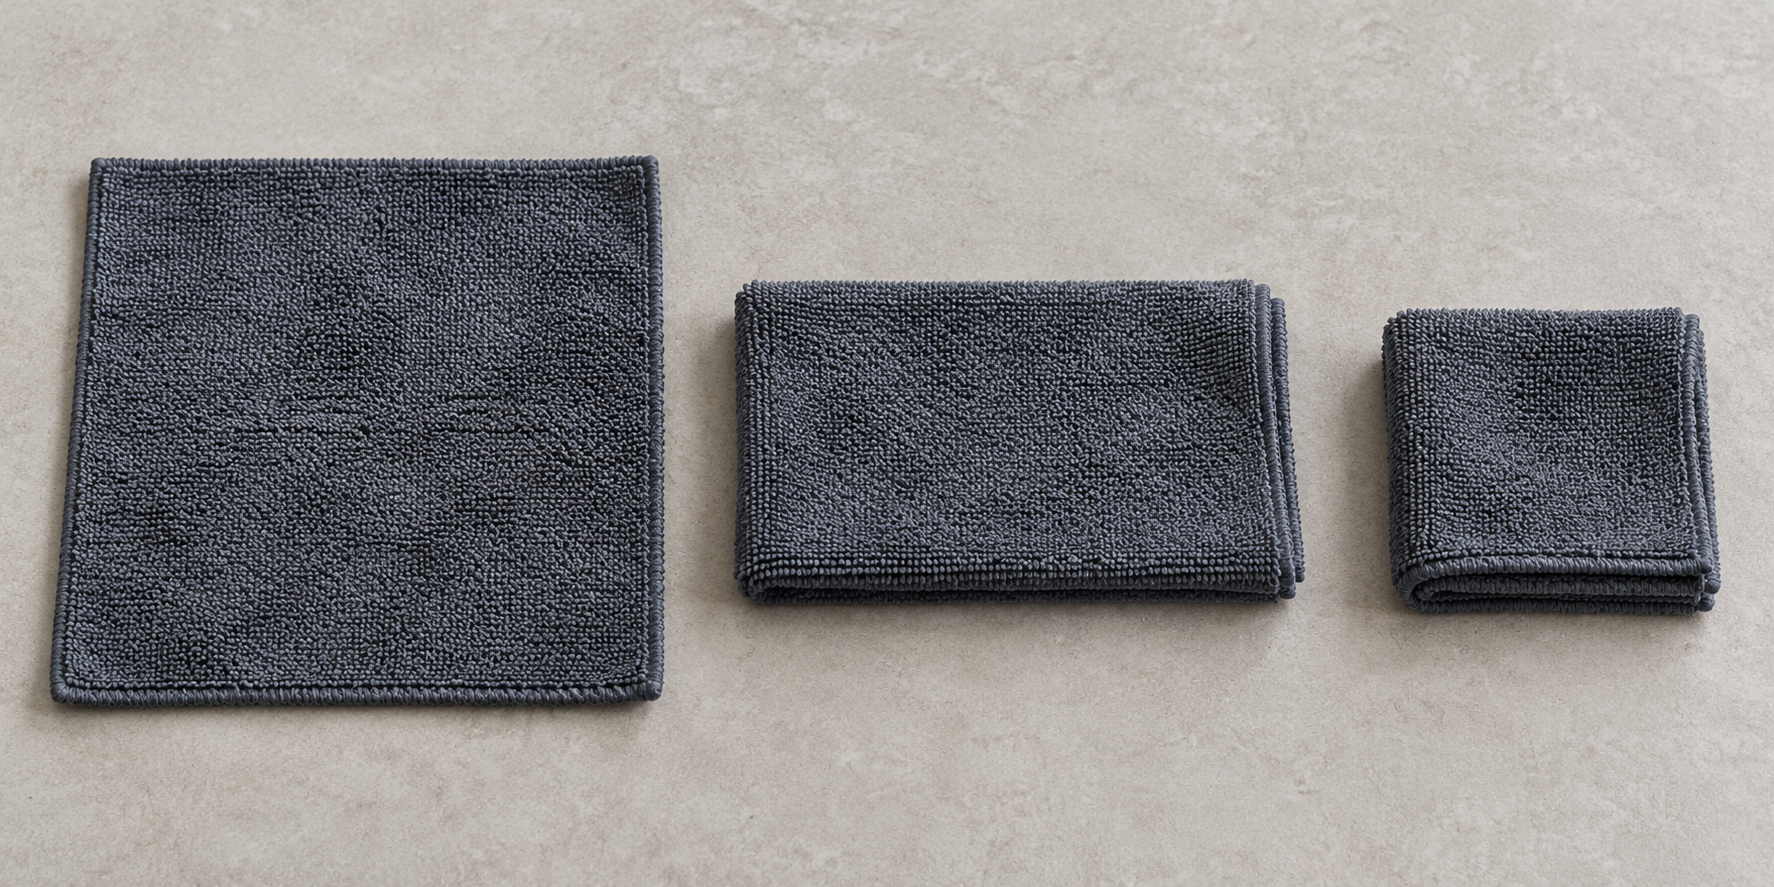
A narrow fold of clean microfibre can suit an accessible broad vane. Use only what fits without spreading the gap. Keep the cloth under control so it cannot snag and pull a linked louvre when you draw it back.
The last awkward corner may need a different hand position rather than another tool. Look from the passenger side or move the seat to improve the reach. If you cannot see the contact point, leave the hidden area for a model-specific access method instead of probing it blind.
Wipe surface film without sending liquid into the vent
If dust collection leaves a greasy handling mark on compatible plastic, lightly dampen a clean cloth using the car’s approved method. For permitted routine trim cleaning, Meguiar’s Quik Interior Detailer is one product to consider; use it through the cloth and finish with a dry face. The interior-cleaner choices explain when a maintenance spray fits.
Keep the cleaner on the exposed surface. Do not spray into the vent, pour solution onto a brush or use a cloth wet enough to drip when squeezed. A product intended to clean a dashboard does not become a duct-cleaning treatment because the nozzle can reach inside.
Take extra care with a gloss-black surround. Reserve a clean cloth face for it after collecting the loose dust. Avoid carrying grit off the louvres and straight across the reflective edge.
Once the face is dry, move the controls through their normal range again. Check for an overlooked dusty edge and leave the vent in your preferred position. Wipe the adjacent dashboard afterwards, then give the nearby seats and floor a final vacuum.
Recognise a ventilation problem that cleaning the face cannot fix
A persistent musty smell, weak airflow or liquid contamination inside the opening needs a different investigation. Check the vehicle’s cabin-filter service instructions and have the system assessed where appropriate. A clean-looking vent face does not establish the condition of a hidden filter, drain or evaporator.
Do not pull a vent assembly out using the louvres. Access clips, wiring and removal directions vary by model. If visible debris cannot be collected without disassembly, use a verified model-specific method or someone equipped to do that work.
For the next ordinary tidy-up, collect the accessible dust before wet-cleaning the cabin. Keep that small vent brush clean and separate from the tools used on wheels, door shuts and other much dirtier areas.