Some links in my articles are affiliate links. I may earn a commission when you buy through them.
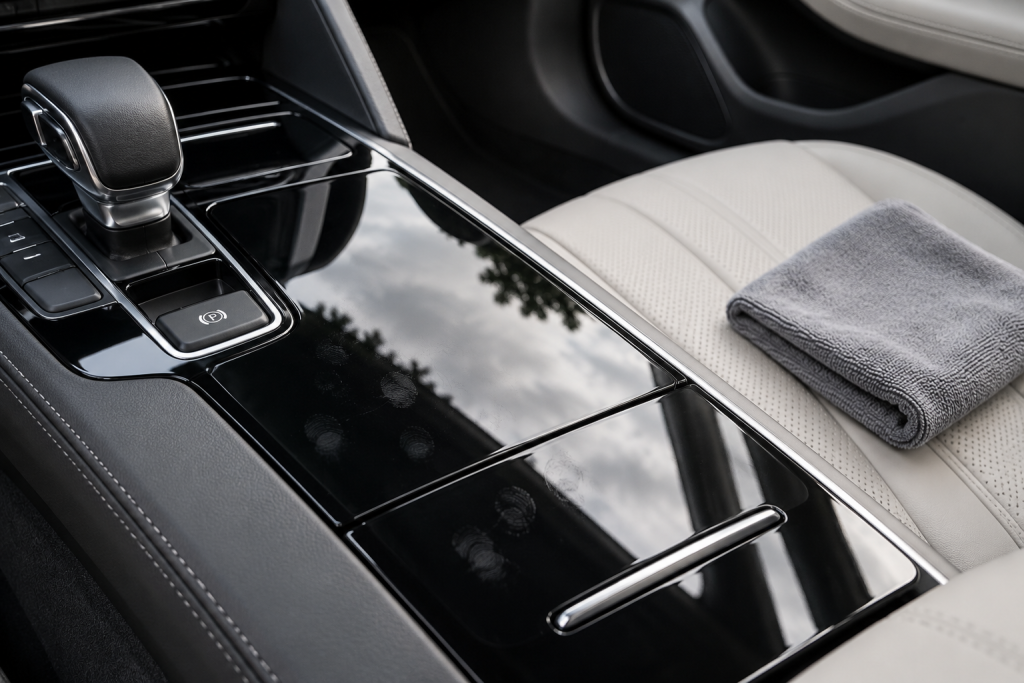
Piano-black trim has a knack for showing the one fingerprint you missed, then showing the little marks left by an enthusiastic wipe. I’d start with a genuinely clean cloth and the car’s approved gentle method. Remove loose dirt, work with light contact and inspect the dry reflection before deciding that a cleaner or polish is needed.
For a vehicle that specifies water and microfibre, use that route. Volvo’s instructions for high-gloss interior trim are one example: a clean microfibre, with a little clean water if needed. An interior spray such as Meguiar’s Quik Interior Detailer is an option only where the vehicle’s finish instructions permit it. A general “interior-safe” description does not establish every coated panel or display as the same surface.
- Identify the glossy trim separately from the display and clear instrument lens.
- Lift loose dust without dragging grit across the panel.
- Use a clean cloth and the permitted light cleaning method, controlling moisture near openings.
- Finish dry and inspect the reflection for residue or remaining scratches.
A glossy console is not necessarily the same as the screen
Look at the borders before cleaning. A touchscreen, clear instrument cover, painted gloss insert and protective film can meet within a few centimetres. Even when the whole area looks like one black panel, it may have several different surface coatings.
Check the vehicle care instructions for the actual model and finish. Volvo’s high-gloss trim guidance specifies very gentle cloth cleaning and notes that the finish scratches easily. Use your own car’s equivalent instructions rather than importing a polishing recipe from a different panel.
For the display itself, follow the touchscreen-cleaning method and its material checks. Switch the system off or use its cleaning mode where provided, so a wipe does not turn into a sequence of unwanted button presses.
If the panel has a fitted protective film, identify it before applying a chemical. Check the film’s approved cleaning method and keep a wet cloth from working under a lifting edge.
Prepare the cloth before touching the trim
Choose a clean soft microfibre with an edge you can keep away from the panel. Inspect the working face for grit, a stiff patch or trapped debris. A cloth that just wiped a cupholder or door pocket should not go straight onto the glossy console.
Fold it so you have several fresh faces available. Keep a second clean dry cloth nearby for the finishing pass. I would rather change cloths halfway through a console than keep wiping with the same face because it still looks vaguely clean.
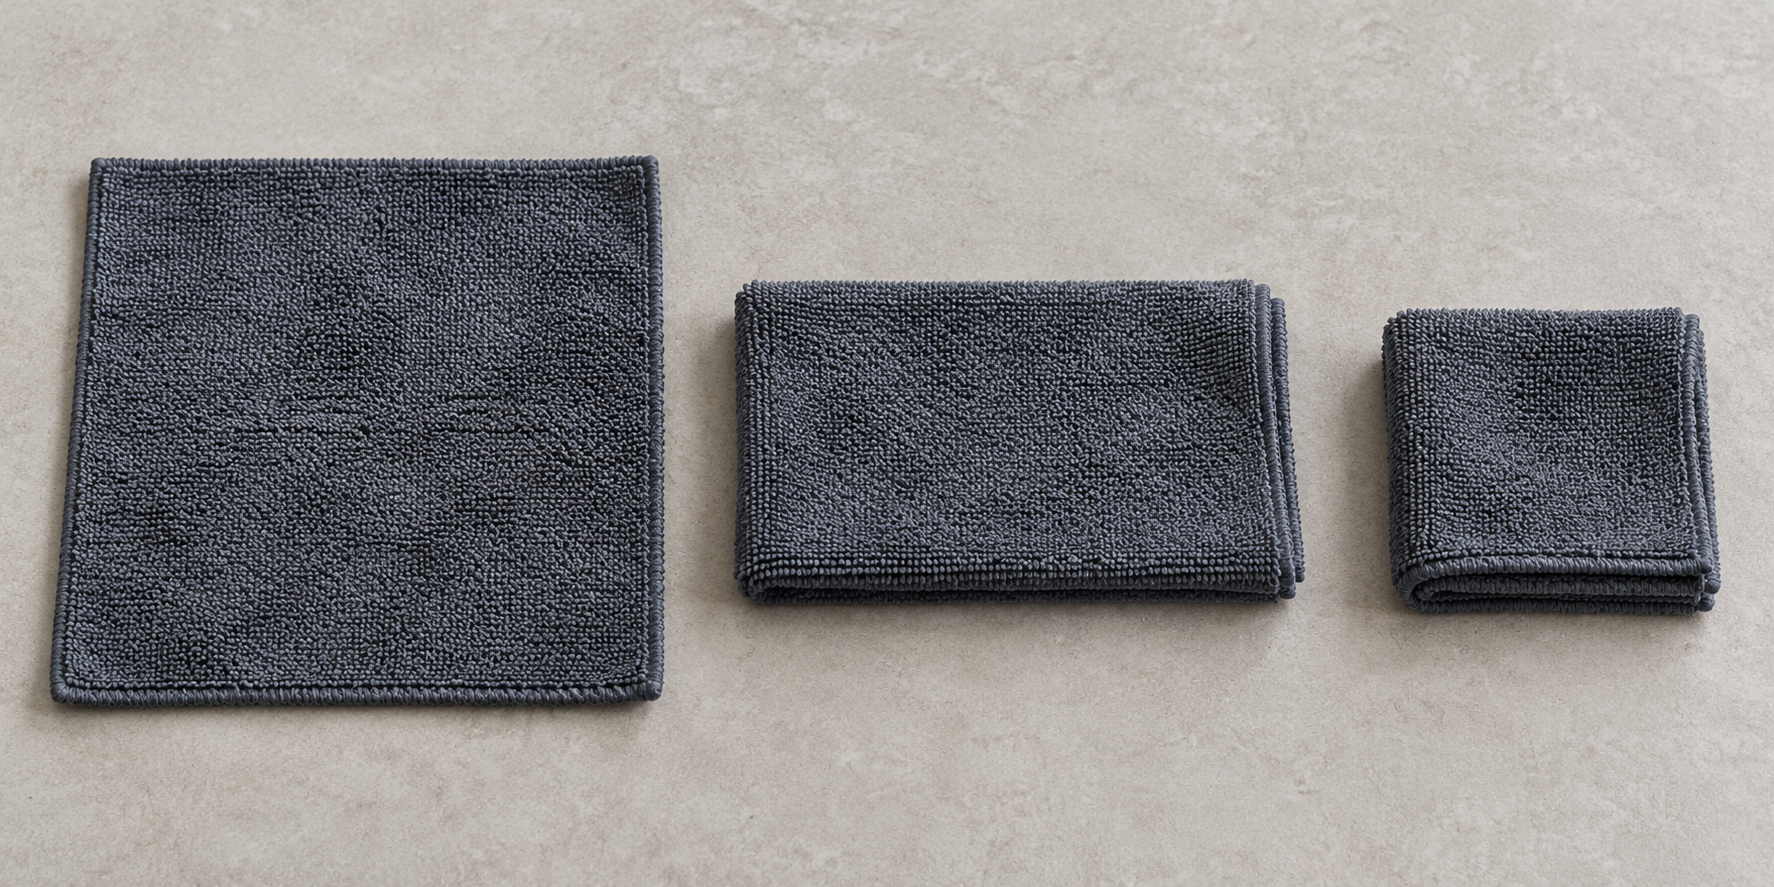
Collect loose crumbs around the panel first, keeping a vacuum nozzle clear of the surface. Do not brush a gritty heap from a cupholder straight across the gloss insert. Where dust needs lifting, keep contact light and the working face clean.
Take off rings or a watch that could meet the trim as you reach across. A zip on a cuff or the hard collar of a brush is easy to overlook while concentrating on the cloth itself.
Work one small panel and finish it dry
Start with the method your vehicle allows. Where the instructions specify water and microfibre, lightly dampen a clean working face and keep the contact gentle. The cloth should pick up the fingerprint film without leaving liquid collecting at the panel’s edges.
If the particular finish permits Quik Interior Detailer, use a light controlled application and wipe the residue away with a fresh dry face. Its natural-looking interior finish can suit maintenance cleaning, but the cleaner buying guide explains why compatibility comes before choosing the bottle.
Apply through the cloth near buttons, the gear selector and console joints. There should be no puddle moving towards a switch or liquid squeezing from the cloth when your fingers change position. Work the broad area first, then use a clean folded edge on the visible border.
Finish the whole small section before moving on. Inspect the dry reflection in daylight from more than one angle. A wet panel can hide both smearing and fine marks, so judging it during the first pass is an easy way to miss what remains.
Smears and scratches need different next steps
A smear that shifts or changes shape with a fresh wipe points towards residue. Change the cloth and complete the permitted removal stage. If the second cloth picks up product from an earlier dashboard dressing, keep it out of the gloss-trim pile afterwards.
A fine line that stays in the same position may be a scratch. Do not keep rubbing it to see whether it will disappear. First establish the actual finish and whether the car maker permits any correction process. A product intended for clear exterior headlight plastic is not automatically appropriate for a painted console insert.
Avoid improvising with a household abrasive, solvent or a paint compound. Some gloss parts have printed markings, coated edges or a finish that is difficult to correct evenly without removal. A detailer assessing the actual part can explain whether a useful improvement is realistic.
If a cleaned patch changes colour, becomes cloudy or feels soft, stop and record what was used. Keep the bottle name and a photograph so any later assessment starts with a clear account rather than a guess.
Keep the next clean simpler
Finish dusty jobs such as the air vents before the glossy console. Then use a separate cloth for the textured dashboard so residue from one finish does not become the next panel’s problem.
Put the gloss cloth somewhere clean between uses. A towel left loose in a door pocket can collect exactly the grit you spent time removing. Wash it with the appropriate microfibre routine before returning it to delicate work.
Once fingerprints and residue are gone, leave the panel alone. Extra buffing for a brighter reflection creates more contact without giving you a cleaner surface.