Some links in my articles are affiliate links. I may earn a commission when you buy through them.
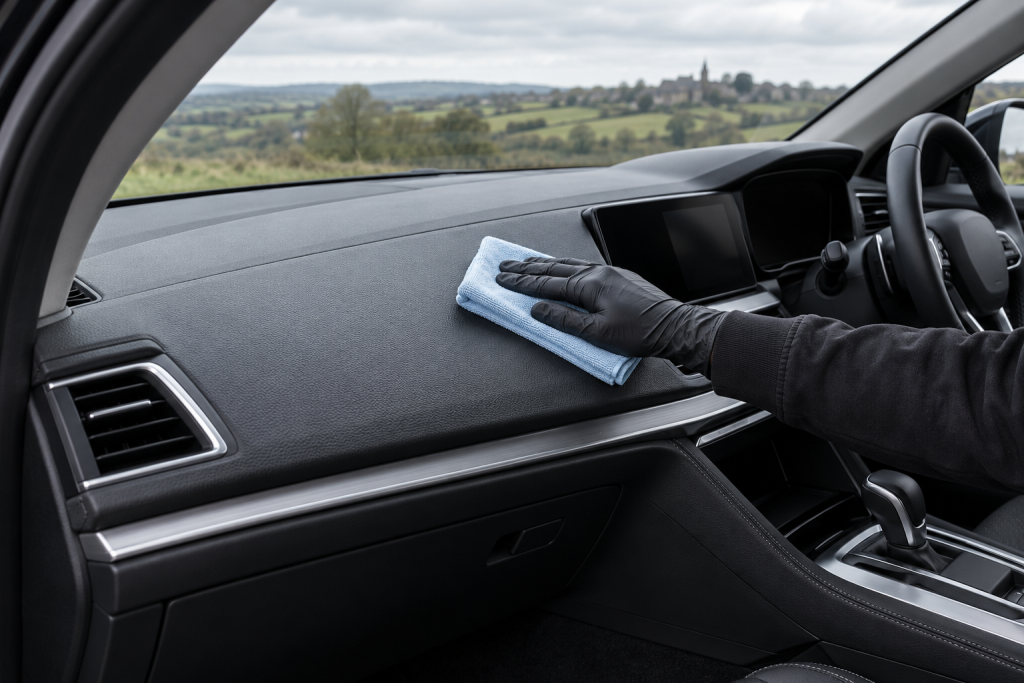
A dashboard can look worse after cleaning if the dust has gone but a shiny smear has taken its place. I’d aim for a dry, even finish that looks right from the driver’s seat. Collect the loose dust first, clean a small area with a compatible product, then remove the residue before deciding whether anything else is needed.
For an ordinary plastic dashboard with handling marks, Meguiar’s Quik Interior Detailer is the maintenance option I’d consider first. For more built-up dirt on suitable textured trim, Autoglym Interior Shampoo is another useful route. Keep screens, instrument lenses, leather-covered sections and glossy inserts on their own material instructions rather than treating the dashboard as one big plastic shelf.
- Park in the shade, switch the car off and identify the different dashboard materials.
- Collect loose dust, including accessible vent edges, before wet cleaning.
- Clean one small section, collect the residue and finish with a clean dry cloth.
- Inspect from the driving seat for smears, sheen and windscreen reflections.
Start at the windscreen edge and work towards yourself
Move anything sitting on the dashboard and let a hot panel cool. A cleaner drying at the far edge while you reach for another cloth is awkward to put right, particularly where the windscreen leaves little room for your hand. Set the cloths within reach before beginning.
Look for separate materials and openings. A stitched dashboard may be leather or another covered finish; a dark insert may be gloss-coated plastic; a speaker grille and an airbag seam need controlled surface cleaning. Use the car’s care instructions to establish those boundaries before spraying anything.
Collect accessible loose grit with a soft, clean brush and a nearby vacuum attachment, keeping the nozzle off the surface. Work the exposed vent faces before wiping the broad panel, following the air-vent method. Avoid a blast that simply sends the dust across the seats and glass you have already cleaned.
For the narrow windscreen edge, fold the cloth into a shape you can control without pressing your knuckles or jewellery against the glass. Don’t force a rigid tool into a gap just because the last centimetre is difficult to reach.
Choose cleaning for the surface in front of you
On suitable everyday plastic and vinyl, Quik Interior Detailer fits routine upkeep with a natural-looking finish. Put product on the cloth near controls, spread it across the intended section and turn to a clean dry face for removal. Keep the cloth damp enough to work without leaving a bead running towards a switch.
For marked textured plastic, Interior Shampoo offers a more thorough cleaning option. Its UK instructions permit hard-surface cleaning but exclude display and infotainment systems. Keep it on the trim you mean to treat and collect the lifted film with a fresh cloth face. Do not transfer the fabric-scrubbing method onto a delicate dashboard coating.
A shiny black panel beside the display needs the piano-black routine. The screen itself needs the touchscreen route. Even when a cleaner lists audio/visual equipment, your car’s specific coating instructions still matter.
If you are buying rather than using an existing bottle, the interior-cleaner choices explain the maintenance-versus-cleaning distinction. There is no need to buy an additional dressing simply to complete the clean.
Give texture and joins a controlled second pass
Work from one recognisable section to the next, such as the passenger-side panel, centre surround and driver’s side. That makes it easier to notice a missed edge without repeatedly wiping the whole dashboard. Turn the cloth as its face becomes dirty rather than pressing harder with the same loaded patch.
A shallow grain can hold dirt below the high spots. Where the material and cleaner permit it, use very light contact with a clean soft interior brush to loosen that dirt, then immediately collect it with the cloth. The brush should reach the texture without its hard collar contacting the panel.
At a switch surround, use a folded cloth edge for the visible border. Do not push a wet cloth into the switch mechanism or try to dig residue out with a fingernail. If a control already has damaged markings or a peeling coating, pause the cleaning there; repeated friction can remove more than dirt.
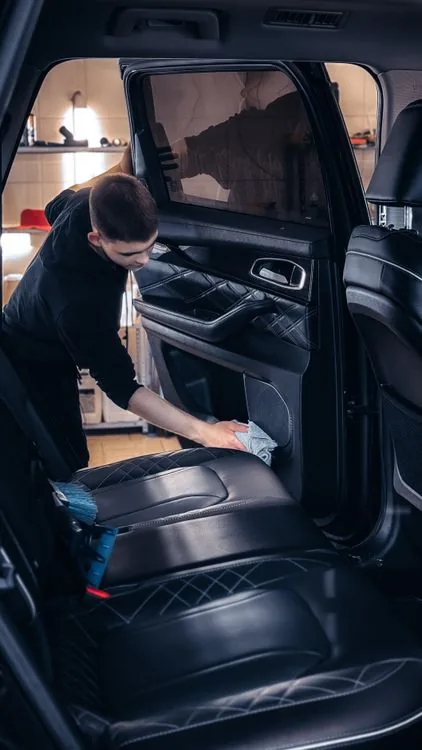
Check cupholder lips, the side of the console and the door handle after finishing the broad dashboard. These are the small contact points I return to during a cabin clean, because a tidy top surface can hide a grubby edge just below it.
Read a smear before adding more product
If a damp streak moves when you wipe it, change to a clean dry cloth and finish the removal stage. A cloth that has already spread cleaner across several panels may be too loaded to leave a clear finish. Reusing a dressing cloth can also put unwanted product back onto the dashboard.
For a greasy-looking patch, try the approved cleaning method on a small representative section and inspect it after drying. If that improves the patch, continue in manageable sections. Do not invent an alcohol, household degreaser or abrasive-pad treatment for an unknown coating.
A flat pale mark that remains unchanged may be wear, staining or damage rather than removable residue. Compare it in normal light with a less-handled area of the same material. Stop if the colour transfers, the surface changes sheen or the coating becomes soft. A photograph helps you track what changed without keeping on rubbing.
Finish from the position you drive in
Sit normally and look across the dry dashboard, down the centre surround and into the windscreen reflection. I often find little remnants around the controls from this position that were easy to miss at the doorway. Move a clean cloth to that specific spot rather than reapplying product across everything.
Ford’s instrument-panel guidance is a useful example of why stronger solvents and extra dashboard gloss are poor defaults. Use the instructions for your own vehicle, especially around its airbag covers and display lenses.
Clean the inside glass after the dusty and trim-cleaning work, using a separate cloth. Then leave a dry, even dashboard alone. At the next tidy-up, collect the light dust before it becomes another full cleaning session.