How to Clean a Car Headlining With Very Little Moisture
Some links in my articles are affiliate links. I may earn a commission when you buy through them.
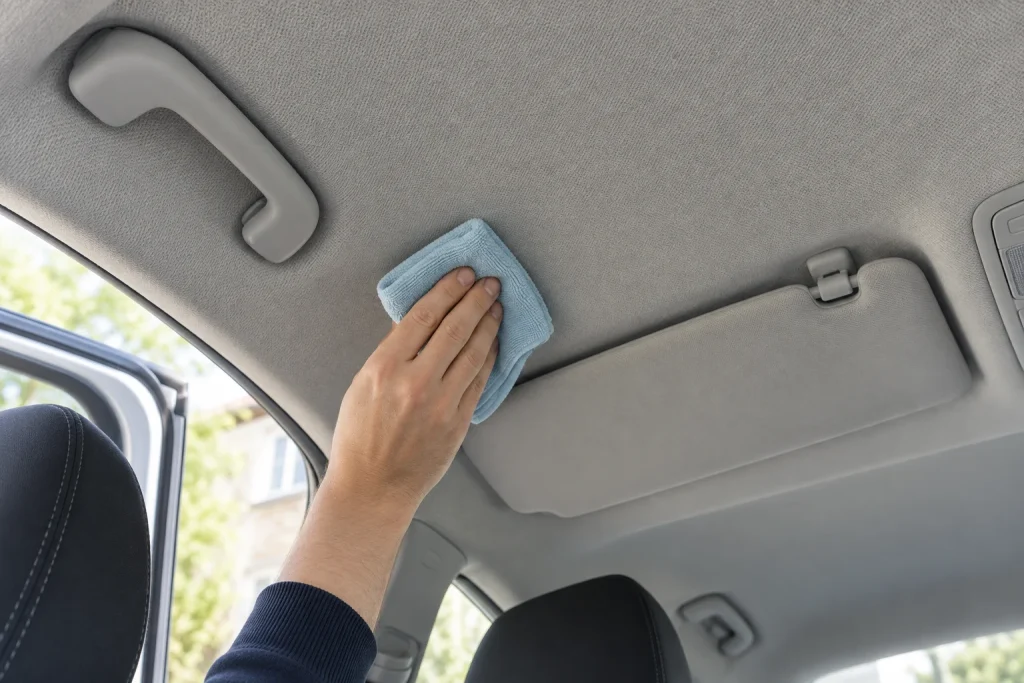
A small mark above the sun visor is particularly annoying because you see it every time you get in. On a sound, dry headlining, a controlled cloth clean may be enough. I’d first inspect the fabric and its support, then work on the smallest useful area.
Decide whether the lining is ready to clean
Open the door and look across the roof in good light. Check around the mark as well as the mark itself, including nearby seams, handles and the windscreen edge.
| What you find | Useful next step |
|---|---|
| Small surface mark on flat, supported fabric | Try a discreet compatibility test and minimal-moisture clean |
| Bubbling, sagging or loose material | Have the lining’s construction assessed before cleaning |
| Dampness or a ring returning after rain | Investigate the moisture source first |
| Unfamiliar textile or widespread discolouration | Identify the material and suitable treatment |
A headlining includes more than the visible fabric. Its backing and attachment can react differently from a removable mat, so keep the method specific to the roof.
Choose a cleaner with relevant instructions
For the light cloth method below, I’d start with Auto Finesse Total when it suits the vehicle’s material: its maker explains applying cleaner to the cloth for overhead work. If you already use Interior Shampoo, its maker also lists headlining among supported uses; follow that product’s own application method.
For a small mark, I’d choose one compatible cleaner and several soft, clean cloths. A pale cloth makes transferred dirt or colour easier to see. Put a towel over the seat below and keep the work away from lights, microphones and switches.
Test with the same method you intend to use
Choose a discreet area and make a light application using the product’s headlining instructions. Let it dry before assessing colour, texture and support. An acceptable wet appearance is not the final test.
If the material changes, sheds or transfers dye, stop the cosmetic clean and identify the cause. That early check is particularly valuable on older or unfamiliar trim.
Keep the moisture at the cloth
For the cloth-first method supported by Total’s instructions, lightly dampen a clean face of the cloth. It should not drip. Use short, gentle passes to lift the mark, turning to a fresh face as dirt transfers.
Keep pressure light so you are working at the surface rather than pushing liquid into the backing. Collect residue by the chosen product’s method, using only the moisture needed. Finish with a dry clean face where appropriate.
Allow the area to dry naturally in a securely ventilated vehicle, then look from the same position and in similar light. A damp patch may appear darker and tempt you to repeat the clean too soon.
If the mark remains
Distinguish soil from discolouration and the lining’s condition. A returning water ring needs its cause resolved. A persistent mark on a delicate area may need a trim specialist rather than a stronger household stain remover.
Avoid extending the wet patch repeatedly to chase its edge. A small, controlled pass should give you information about the response; if it doesn’t, revise the approach before adding more moisture.
Leave extraction and steam to the right job
Seat-extraction instructions introduce liquid and suction for compatible upholstery. They are not automatically a roof-cleaning method. Steam likewise needs material judgement and an appropriate professional process rather than being the default next step for a stubborn ceiling mark.
For a sound lining with light surface soil, keep the job modest: a suitable cleaner, clean cloths, a dry inspection and a clear stopping point. Use the interior routine for the rest of the cabin without transferring its wetter stages overhead.