Some links in my articles are affiliate links. I may earn a commission when you buy through them.
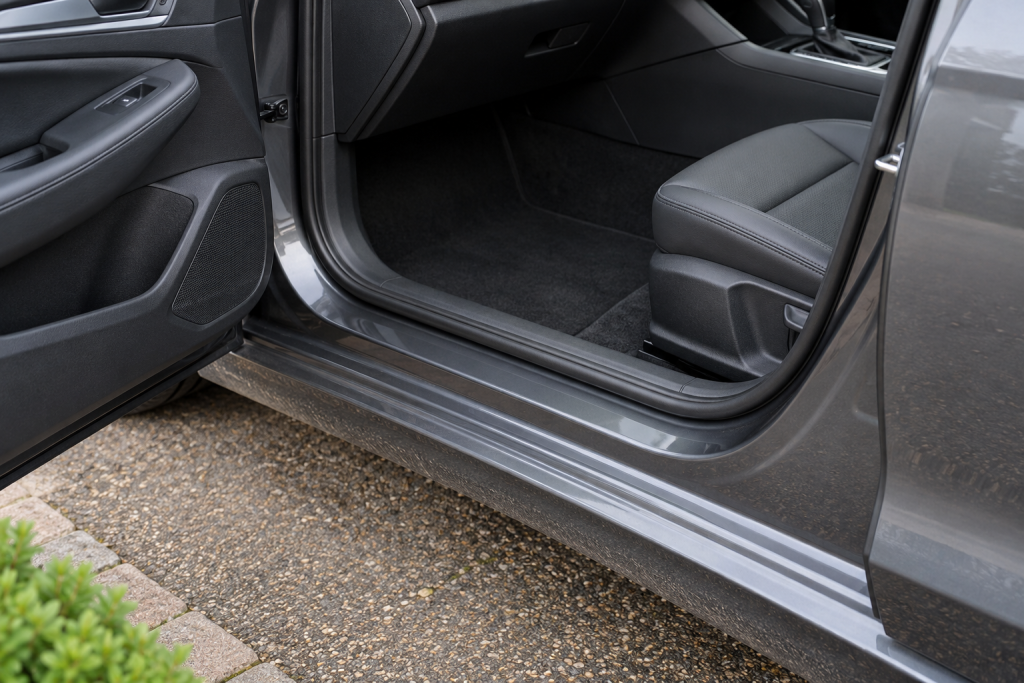
You’ve washed the car, dried it and stood back to admire it. Then you open the door and there’s a muddy ledge waiting to brush against your trousers. Door shuts are easy to miss, and cleaning them can feel awkward when the carpet is only inches away.
I’d tackle them with a small collection of cloths and controlled amounts of water. You can clean the painted edges properly without turning the footwell into part of the wash bay.
The short answer: remove loose dirt first, clean the painted door frame from the top down with correctly diluted car shampoo, remove the wash solution with repeated clean-water wipes, then dry the frame and seals. Keep the door open for the hand-cleaning stage and keep the pressure washer away from the opening.
Start by separating three different surfaces
“Door shuts” means the edges and recesses hidden when the door is closed. You’ll also see “door jambs” used for much the same job. The area includes painted metal, rubber seals and interior trim, so it pays to look before spraying anything.
- Painted frame and sill: treat sound glossy paint as paintwork. Soften grit before wiping and use a clean cloth face.
- Rubber seal: start with a soft, water-dampened cloth. Leave the seal seated in its channel rather than pulling it off to clean underneath.
- Plastic step trim and carpet edge: clean these as interior surfaces. Keep dirty wash water on the outside of the seal.
Hinges, the door check strap and the latch are a fourth consideration: their lubricant has a job to do. A greasy hinge doesn’t need to be scrubbed shiny for the surrounding paint to look good.
What I’d use for a normal maintenance clean
My first choice for ordinary dirt on sound glossy painted shuts is Autoglym Bodywork Shampoo Conditioner. It cleans ordinary road dirt without hard scrubbing. Here, its low-foaming formula is useful because you’re working in a confined area and need to see what you’re wiping.
There’s no need to buy a separate bottle if you already have a suitable shampoo. Set aside some clean, correctly mixed solution before the main wash, plus clean rinse water, several soft microfibre cloths and a separate drying cloth. Keep this little supply away from the bucket that has just collected all the dirt from the car.
The current manufacturer’s directions specify two capfuls in 10 litres of water, a cool surface, no drying on the paint and thorough rinsing. Don’t pour concentrate onto a cloth to make it “work harder”. For a smaller batch, use a measured dilution from your bottle’s instructions rather than guessing a fraction of a cap.
For matte paint, wraps or unusual trim, choose the cleaner approved for that finish; the shampoo guide explains the choices. Heavy oily deposits may need a compatible automotive degreaser, but that’s a targeted second step after you’ve seen what a normal wash removes. Don’t blanket-spray it over seals, labels and lubricated parts.
Clean the shuts without carrying dirt into the cabin
1. Deal with loose debris before adding cleaner
Park somewhere you can keep the door securely open, out of strong wind. Lift away leaves by hand and vacuum loose grit from the dry inner step, keeping the nozzle off the painted edge. For dried mud on the outer ledge, wet it gently and let it soften before lifting it away. Rubbing a dry cloth across it just turns the cloth into a grit carrier.
If you’re washing the whole car, rinse the exterior with the doors closed first. Then clean the shuts by hand before the final exterior wash and dry, so any dirty drips on the outside get washed away. My full wash routine covers the surrounding stages.
2. Work from the upper frame down to the sill
Wet a soft cloth with the diluted wash solution and squeeze out enough that it won’t stream into the cabin. Clean a small section of painted frame with light passes, then unfold to a fresh face. Move downwards and leave the dirtier lower ledge until last.
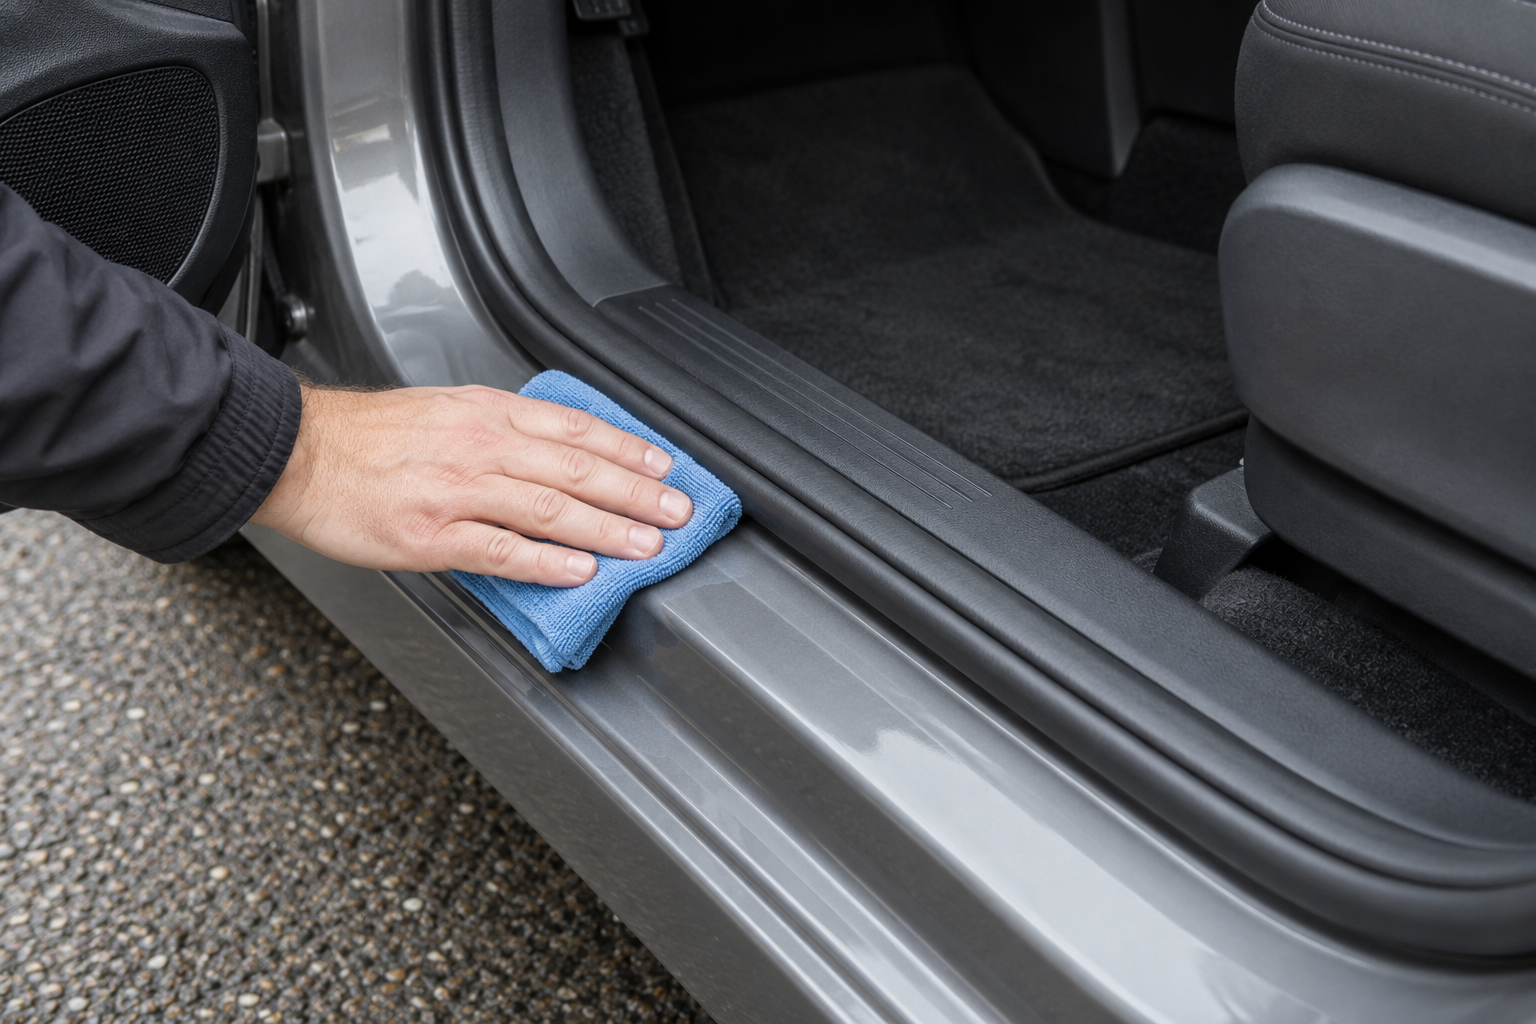
Wrap the cloth around a fingertip for shallow recesses. Where a soft detailing brush genuinely helps, keep its hard collar away from the paint and use only light agitation. Leave hinges, electrical connectors and the rubber wiring sleeve alone; this is a surface clean, not a reason to dismantle the door.
3. Remove the cleaner before moving on
Use a different cloth soaked in clean water and wrung enough to control drips. Wipe the cleaned section, rinse the cloth thoroughly and repeat until the cleaner and lifted dirt are gone. Change cloudy rinse water. One increasingly dirty cloth will simply redistribute what you’ve loosened.
Keep each section small enough to finish before it dries. If you can’t remove a cleaner properly with controlled rinsing, don’t use it in that recess. The answer isn’t to point a pressure washer through an open door.
4. Dry the edges you can’t see from above
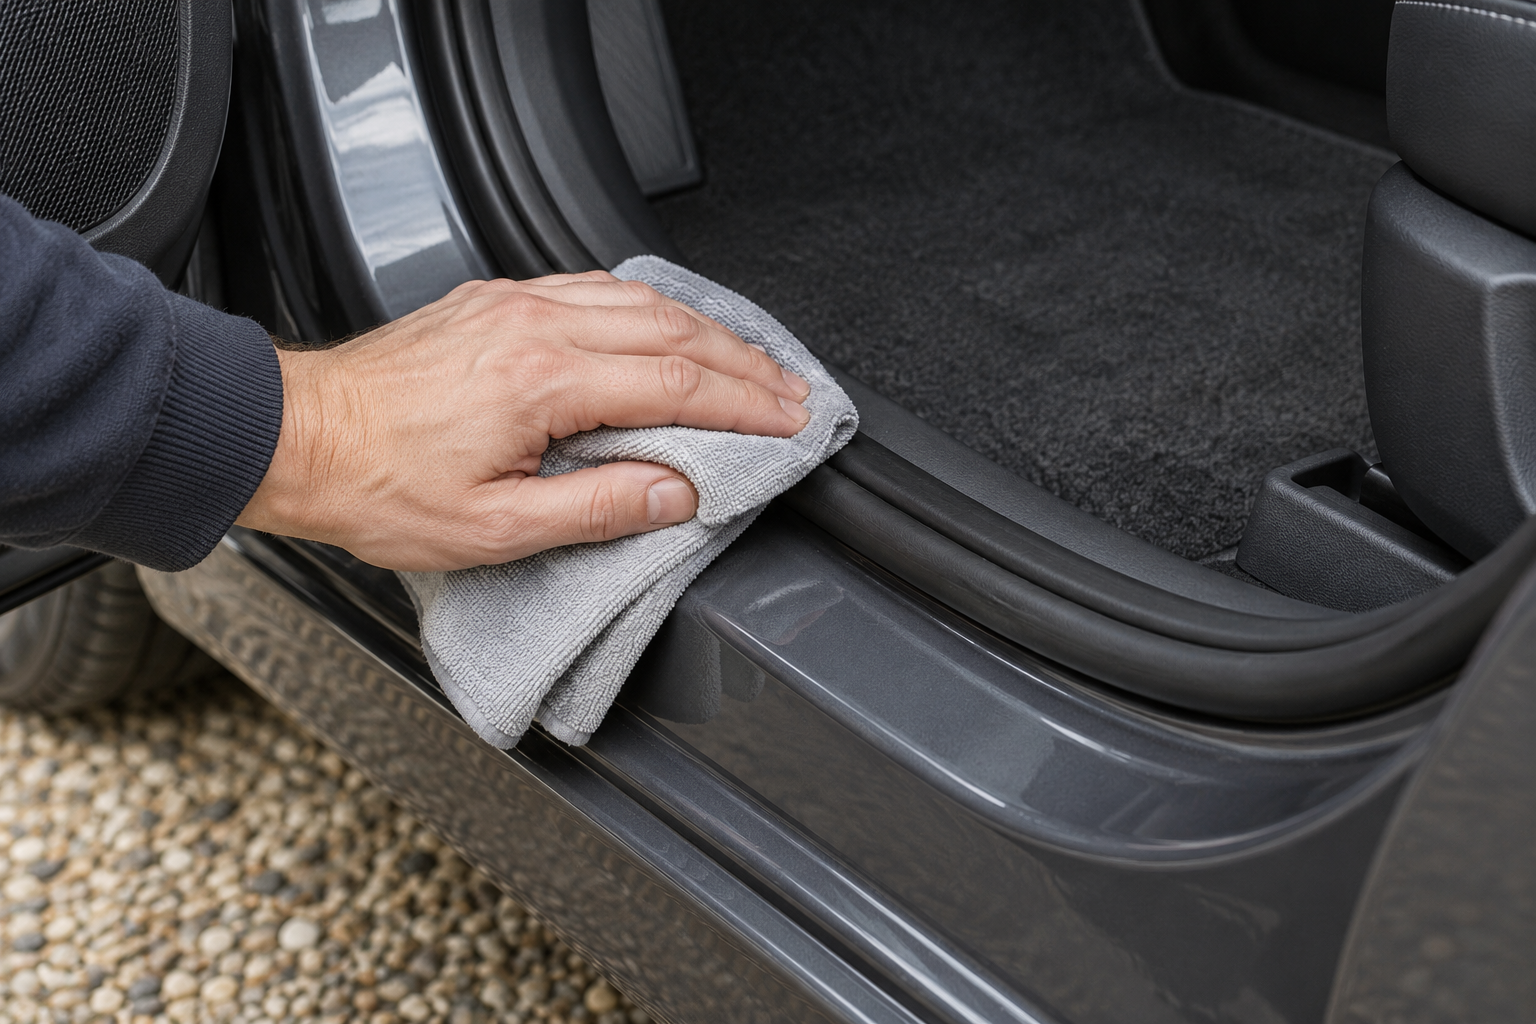
Follow with a clean, dry cloth. Check the underside of the door, the curved corners of the aperture and the lower lip beside the seal. Those are easy places to leave a little dirty water even when the broad sill looks finished.
Wipe the rubber gently with a separate water-dampened cloth, then dry it without stretching it. Look for water sitting against the carpet edge before closing the door. On a cool autumn day, finishing this bit matters more than adding another shiny product.
When a mark needs something other than more scrubbing
A greasy smear beside a hinge: lift the stray smear from the surrounding painted surface carefully, keeping the working lubricant in place. If lubrication has been washed away, use the maintenance instructions for your vehicle to put it right; there isn’t one lubricant that belongs on every hinge, latch and seal.
A scuff that remains on the plastic step: inspect it once clean and dry. A pale scratch in the plastic won’t wash off. Increasing the cleaner strength or rubbing harder can leave a larger uneven patch around it.
Flaking paint, bubbling or rusty seams: stop treating that spot as stubborn dirt. Clean gently around it and investigate the damage. Likewise, leave drain openings clear rather than filling them with dressing or poking blindly inside.
Keep the next clean small
Once the shuts are clean, open each door after a normal wash and use a dedicated cloth to remove fresh water and light dirt before it dries. Keep that cloth separate from the one you use across the bonnet; the lower door edge can hide grit surprisingly well.
I’d finish with clean, dry surfaces rather than a glossy dressing on the step. You get the result you wanted when you opened the door: tidy paint, clean seals and somewhere your trousers can pass without collecting half the journey home.