Cloudy Headlights: Choosing the Right Restoration Approach
Some links in my articles are affiliate links. I may earn a commission when you buy through them.
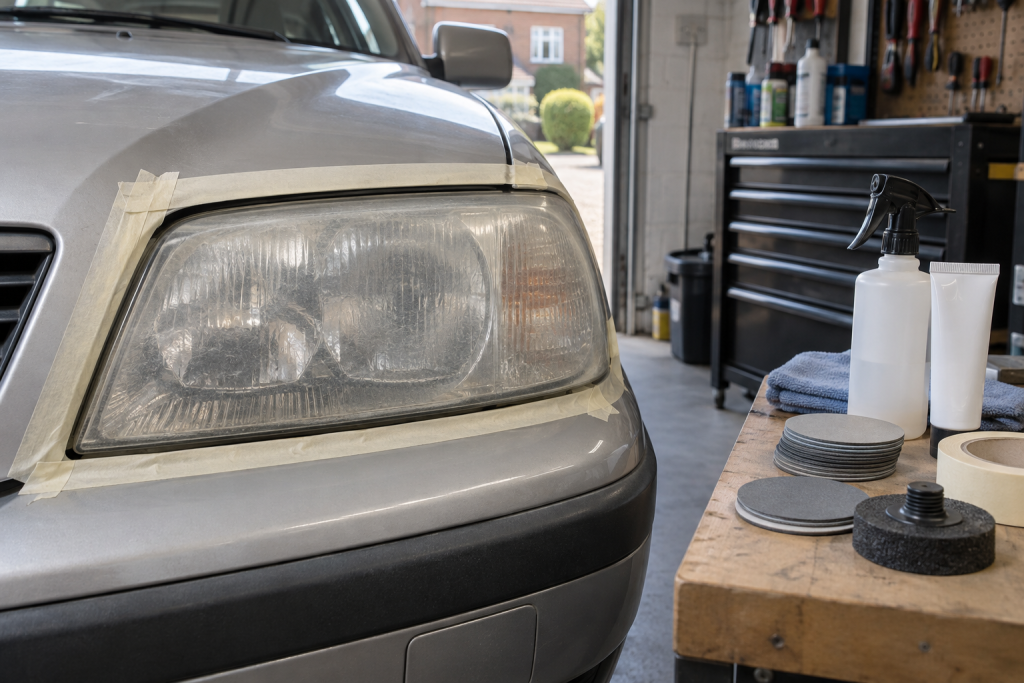
A cloudy headlight can make the whole front of the car look tired. First check where the haze is. Light clouding on the outside of a sound lens may respond to polishing; moisture inside the lamp or a damaged lens needs a different fix.
Make the diagnosis before buying a kit
Clean the lamp and inspect it dry in daylight. Look across the surface and around the edges, then compare both lights in the same conditions. Try to distinguish exterior haze from internal condensation, cracks or coating failure.
That distinction changes what a product can achieve. A polishing compound works on an accessible surface; it cannot reach the inside of a sealed lamp.
My option for light exterior haze
T-Cut Headlight Polishing Compound is a useful choice for the polishing stage. Work the narrow border beside the trim as carefully as the cloudy centre so the edge does not retain a different finish.
Choose it for compatible exterior lens polishing and check the complete product method. A compound and a restoration kit containing additional finishing stages are different purchases.
Plan the whole restoration, including protection
| Condition and approach | What to plan |
|---|---|
| Light exterior haze on a suitable lens | Controlled polishing and assessment |
| A system involving sanding or coating removal | The exact abrasive sequence and specified replacement protection |
| Internal moisture, cracking or physical damage | Diagnosis or repair of the lamp itself |
If the chosen process removes or disturbs a protective layer, include the required compatible protective finish. Don’t assume it is supplied simply because the retailer calls the purchase a “kit”. Allow time for that finish to dry or cure before use.
Work evenly across the lens
Protect neighbouring paint and trim as directed. Use the specified applicator and a manageable amount of product, working evenly rather than concentrating every pass on the cloudiest point.
Remove residue and inspect before repeating. Check the lens border, the area beside the indicator section and any tight curves. Compare the two lamps in the same light so changing reflections don’t flatter one result.
Know what the finished check includes
An improvement in visible clarity is useful. Lighting performance, beam alignment and internal moisture are separate things to assess if the headlights still seem poor. Exterior polish should solve the exterior problem it was chosen for.
Keep notes of the complete system used so future maintenance matches its protection stage. For suitable light haze, T-Cut is the polishing option I’d consider; choose a fuller restoration route only when the condition calls for it and you can complete every stage.
For nearby paintwork, use the separate hand-polishing guide. The lamp lens and bodywork may be adjacent, but their finishing systems need their own decisions.