How to Polish a Car by Hand for a Clearer Finish
Some links in my articles are affiliate links. I may earn a commission when you buy through them.
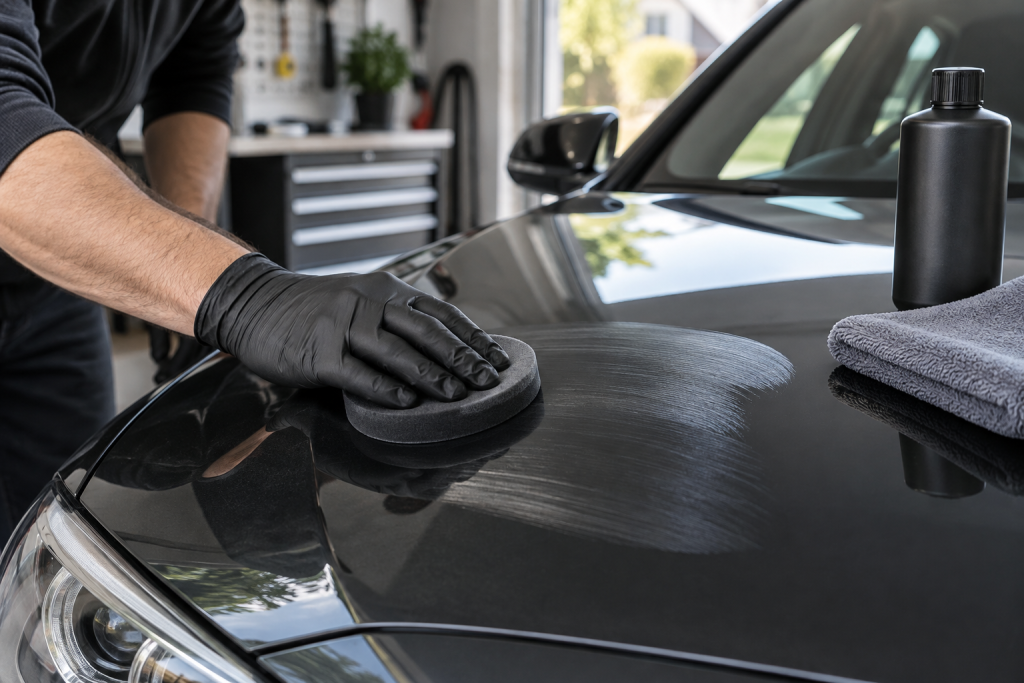
Hand polishing can tidy light dullness and minor marks without turning the job into a major project. Start with one clean section and inspect it before committing to the whole car. That first result tells you what is achievable and how much work the rest deserves.
Prepare the paint you’re going to inspect
Wash and dry the car, then deal with relevant bonded deposits using suitable targeted methods. Polishing over dirt makes it harder to judge the finish and can move contamination under the applicator.
Work on cool, sound gloss paint in suitable light. Keep conventional gloss-polishing methods away from matte finishes, and identify any damaged or repaired areas before beginning.
My choice for a straightforward hand polish
Super Resin Polish gives a clearer-looking finish after a controlled hand pass. Buff away residue, then inspect from more than one angle. Its filling action can improve the look of minor marks as well as its other polishing effects.
Set out the correct applicator and separate clean buffing cloths. Keep them away from unpainted trim and gritty lower areas, and protect neighbouring materials as the product requires.
Let a small section set the routine
Apply a thin, even amount using the product’s method. Work a manageable area with controlled pressure, then remove residue at the specified stage. Use a fresh cloth face for the final inspection.
Look at the section in both direct and softer light where possible. A flattering reflection from one angle can hide a mark that is still obvious from another. Decide whether the improvement meets your aim before repeating the process elsewhere.
If removal is awkward, review the amount applied and working conditions before coating another panel. A heavy layer can create more residue to remove without making the result better.
Keep the rest consistent
Work panel by panel, maintaining the same modest application and clean-tool routine. Use smaller sections around curves and edges. Check badges, panel gaps and textured trim where residue can collect.
Keep the applicator’s job separate from the finishing cloth’s. Change loaded cloths promptly. On a larger car, you may need several clean changes to finish without smearing old residue across the last panel.
Know when the pass is finished
Once the appearance is even and the useful improvement has been achieved, move on. A deeper scratch that remains deserves a different assessment. Repeated pressure on one small mark can turn a modest polishing job into something more involved.
This is particularly relevant when preparing customer work: inspect and agree the achievable finish before treating every panel, and leave room in the schedule for the final check.
Choose the finishing stage
Follow the polish and protection system’s requirements. Super Resin Polish already includes protective wax; if you want an additional finish, choose a compatible route and its preparation method. The protection comparison explains the main options.
Take one final walk around the dry car in changing light. The neat edges and residue-free finish are part of the result, not an optional cleanup after the interesting bit.