Some links in my articles are affiliate links. I may earn a commission when you buy through them.
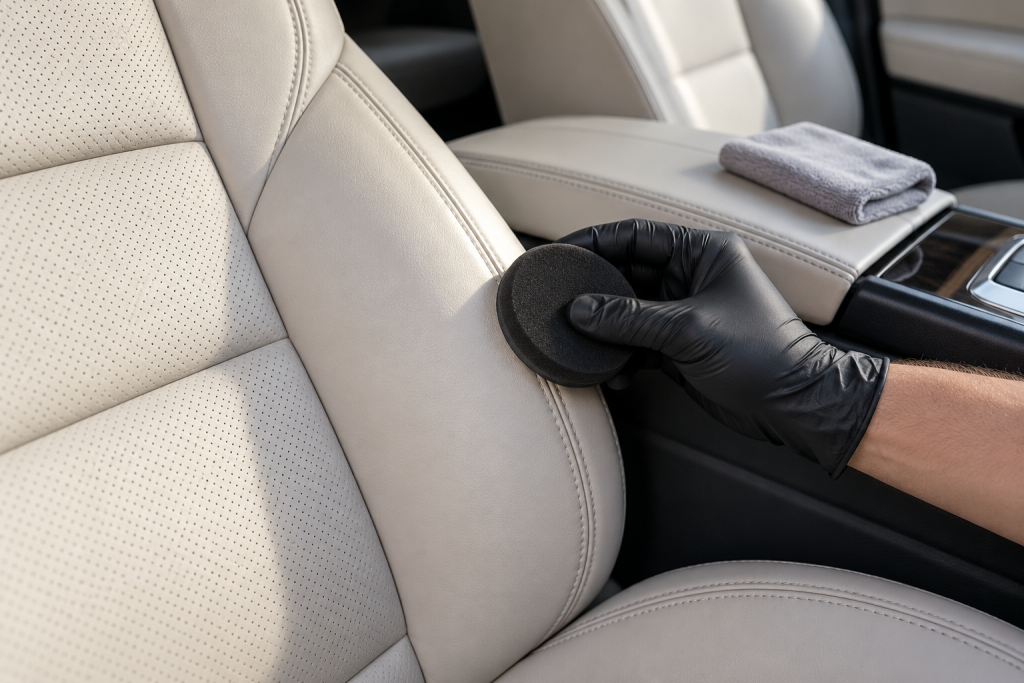
A leather seat that feels a bit shiny or sticky usually deserves a careful clean before another layer of product. Once it’s clean and dry, you can decide whether conditioning or surface protection makes sense for that upholstery. Some vehicle makers recommend a care treatment; others tell you to leave aftermarket conditioners alone.
I’d choose the aftercare from the seat’s actual finish and handbook, rather than its age or how luxurious the bottle sounds. For compatible finished automotive leather, Autoglym Leather Care Balm offers a separate care stage after cleaning. If you’ve already used a combined cleaner-and-protectant, check what it leaves behind before adding anything else.
Cleaner, conditioner and protector do different jobs
A cleaner loosens soil so you can remove it. Conditioning products add ingredients intended to maintain the feel of suitable leather. Surface protection is aimed at the exposed finish, where contact with clothing, spills and everyday use happens. A bottle can combine these jobs, so read the purpose as well as the word “leather” on the front.
Autoglym Leather Cleaner is my starting point for a seat that needs cleaning alone. The current UK method includes a damp removal wipe and drying before the next stage. Turtle Wax Inside Job deliberately combines cleaning, conditioning and protection, leaving a natural sheen. Using the combined product and then automatically applying another care layer makes it harder to tell what’s causing a sticky or uneven result.
If you’re deciding which cleaning routine to buy into, the leather-cleaner buying guide compares those two options. You don’t have to buy a complete shelf of bottles to look after a seat properly.
Work out what covers the leather
Many automotive leather seats have a coloured protective finish over the hide. You’re cleaning and treating the exposed surface, so the compatibility of that coating matters. Oils sold for boots or saddlery don’t become a sensible car-seat choice just because both products use the word leather.
Check the vehicle’s trim specification and upholstery-care instructions. Smooth coated leather, unsealed leather, suede-like material and synthetic upholstery need different decisions. Don’t judge absorbency by pouring water onto the seat: use the identification and care guidance available for the actual trim.
Tesla’s Model X handbook, for example, does not recommend other cleaners, conditioners or protectants for the vegan seats described there. Check your own model’s instructions before buying a treatment labelled for “all leather”. On a mixed-material seat, stop at the seam and change methods where needed.
Clean first, then look again
Vacuum loose dirt and use a cleaner the seat maker permits. Work lightly, remove the loosened soil and product, then inspect the leather dry. Compare the bolster’s feel and the colour beside a crease in the same light, rather than judging it while it’s freshly wet.
If the clean seat is even and comfortable, and the handbook doesn’t call for another treatment, you can finish there. If an approved care product is recommended, apply it to the clean dry surface at the stated stage. Don’t use a conditioning cream to cover dirt that the cloth hasn’t removed.
Cracking, peeling, exposed colour loss and tears need assessment as damage. A balm can change the appearance of a surface, but it won’t replace missing coating or stitch a split bolster back together. If the leather feels tacky after old products have been removed, get the finish identified before experimenting with stronger cleaners or more oil.
A separate care stage for compatible finished leather
Leather Care Balm is useful when you want to clean first and apply aftercare separately. Autoglym formulates it with natural oils and surface-proofing agents and describes a matt finish once dry. Choose it for care of compatible, sound leather; get worn coating or missing colour assessed for repair first.
Its UK directions exclude unsealed leather, suede and highly porous surfaces. Test a discreet patch for colour-fastness and water staining before treating the visible panel. Start on clean, dry leather, shake the bottle, put a sparing amount on a soft applicator and gently distribute it over a natural section. Allow a few minutes for absorption, then buff away excess with a clean cloth.
Keep the working layer thin enough to spread evenly without leaving ridges around stitching. If a visible smear collects at the end of each stroke, spread less on the next section rather than feeding more into the pad. Check the dry result for feel and clothing transfer before using the seat.
Base repeat care on the vehicle’s instructions, the product’s directions and how the seat is used. Pay particular attention to the driver’s outer bolster during routine inspections, where you slide across it getting in and out.
Perforations and seams need a lighter hand
Autoglym permits its balm on perforated automotive leather with a sparing application to the applicator, so the perforations aren’t filled. Spread the product into the applicator away from the seat first. Start on solid material and avoid leaving a creamy deposit along a row of holes.
Colourlock’s perforated-leather guidance explains why this matters: excess liquid can wet the cushion beneath and return as surface staining, while dried care-product residue can be difficult to remove from the holes. Don’t pour treatment onto the cushion or try to massage it through the perforations.
For the preparation and removal detail, use the perforated-seat method. Keep any treatment off the seat controls, buckles and surrounding textile. Clean and treat a matching material panel, rather than sweeping the same loaded pad across the whole seat.
If the result is greasy, sticky or unusually shiny
Check what was applied and whether its final wipe was completed. A separate conditioner on a compatible seat may simply have excess sitting on the surface. Try its specified finishing wipe with a fresh cloth on a small area before applying anything else. Don’t turn a removal problem into another coating stage.
If the seat still feels wrong after drying, stop adding products. Return to the vehicle and product guidance for that exact combination; if neither supplies a suitable recovery method, ask a leather-care specialist to identify the finish. Avoid solvent experiments or abrasive sponges, especially on light colours where a damaged patch will be obvious.
Keep everyday wear manageable
Wipe up spills promptly using the vehicle’s permitted method, remove grit from seams and inspect high-contact bolsters during your normal clean. If clothing has transferred colour, tackle it early with an approved method rather than scrubbing hard at a stain that has become established.
Use the general leather-seat cleaning order when it’s time for a proper clean. For a seat with Alcantara centres, keep the textile method separate from the leather aftercare. Leave the finished seat dry, with its grain and stitching clear of residue.