Some links in my articles are affiliate links. I may earn a commission when you buy through them.
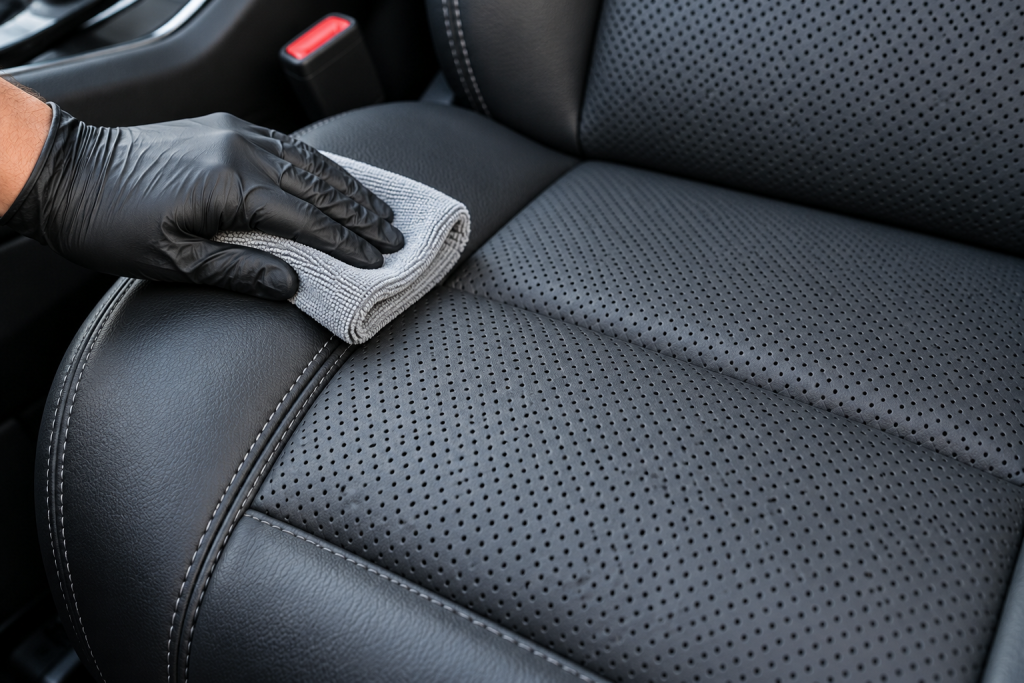
The little holes in a leather seat are very good at collecting crumbs and very annoying when a cleaning product dries inside them. I’d clean these panels with the product on a cloth, keeping moisture at the surface instead of spraying the cushion until it looks wet.
For compatible finished automotive leather, Autoglym Leather Cleaner is a useful starting point: Autoglym explicitly allows sparing use on perforated seats. First check your car’s upholstery instructions. Perforations don’t tell you whether the panel is leather, synthetic material or a specialist finish.
- Vacuum loose grit and crumbs with gentle contact, before introducing moisture.
- Test the cleaner on a discreet part of the same material and let it dry.
- Load a cloth lightly, start on an adjacent solid area and work a small seat panel.
- Remove loosened dirt with the product’s correct wipe-off method, keeping water out of the holes.
- Let the seat dry, then check the holes, seams, colour and feel before doing more.
Check the seat before you choose a cleaner
Read the care instructions for your model and trim, including any restrictions around heated or ventilated seats. A perforated centre and smooth bolster may need different treatment if they’re different materials. Follow the textile route for Alcantara panels; don’t work a leather treatment across them just to finish the cushion in one go.
On finished leather, inspect the edges of the holes and the stitching before starting. If the coating is flaking, colour is missing or the hole edges already look swollen, stop treating it as a routine dirt problem. Keep photographs of the dry condition and get repair advice before applying a stronger cleaner.
Ventilation holes also make excess liquid harder to recover. Colourlock’s specialist guidance explains that too much moisture can reach the cushion core and later migrate back as staining. A surface that has become visibly wet needs prompt attention, rather than a second dose of cleaner.
Lift crumbs without pushing them through
Park with the seat cool and enough daylight to see the holes. Move the seat using its normal controls so you can reach the cushion and seams comfortably, then switch the vehicle and seat functions off for the cleaning work. Don’t disconnect plugs or remove the seat to reach a few crumbs.
Use a soft vacuum attachment with light contact. Keep the nozzle moving over the surface rather than sealing a hard plastic edge against one spot. Gently open an accessible crease with your free hand where the upholstery allows it; don’t stretch the perforated panel or pull at the stitching.
For debris sitting at the surface, loosen it gently towards the vacuum with a soft brush. Leave anything embedded below the surface rather than pushing a pin, toothpick or stiff bristle through each hole. Picking can catch the edge of the coating and turn a speck into a visible mark.
The car-vacuum guide covers useful attachments and access. A controlled nozzle is more helpful here than pressing hard to make up for awkward reach.
Put the cleaner on the cloth
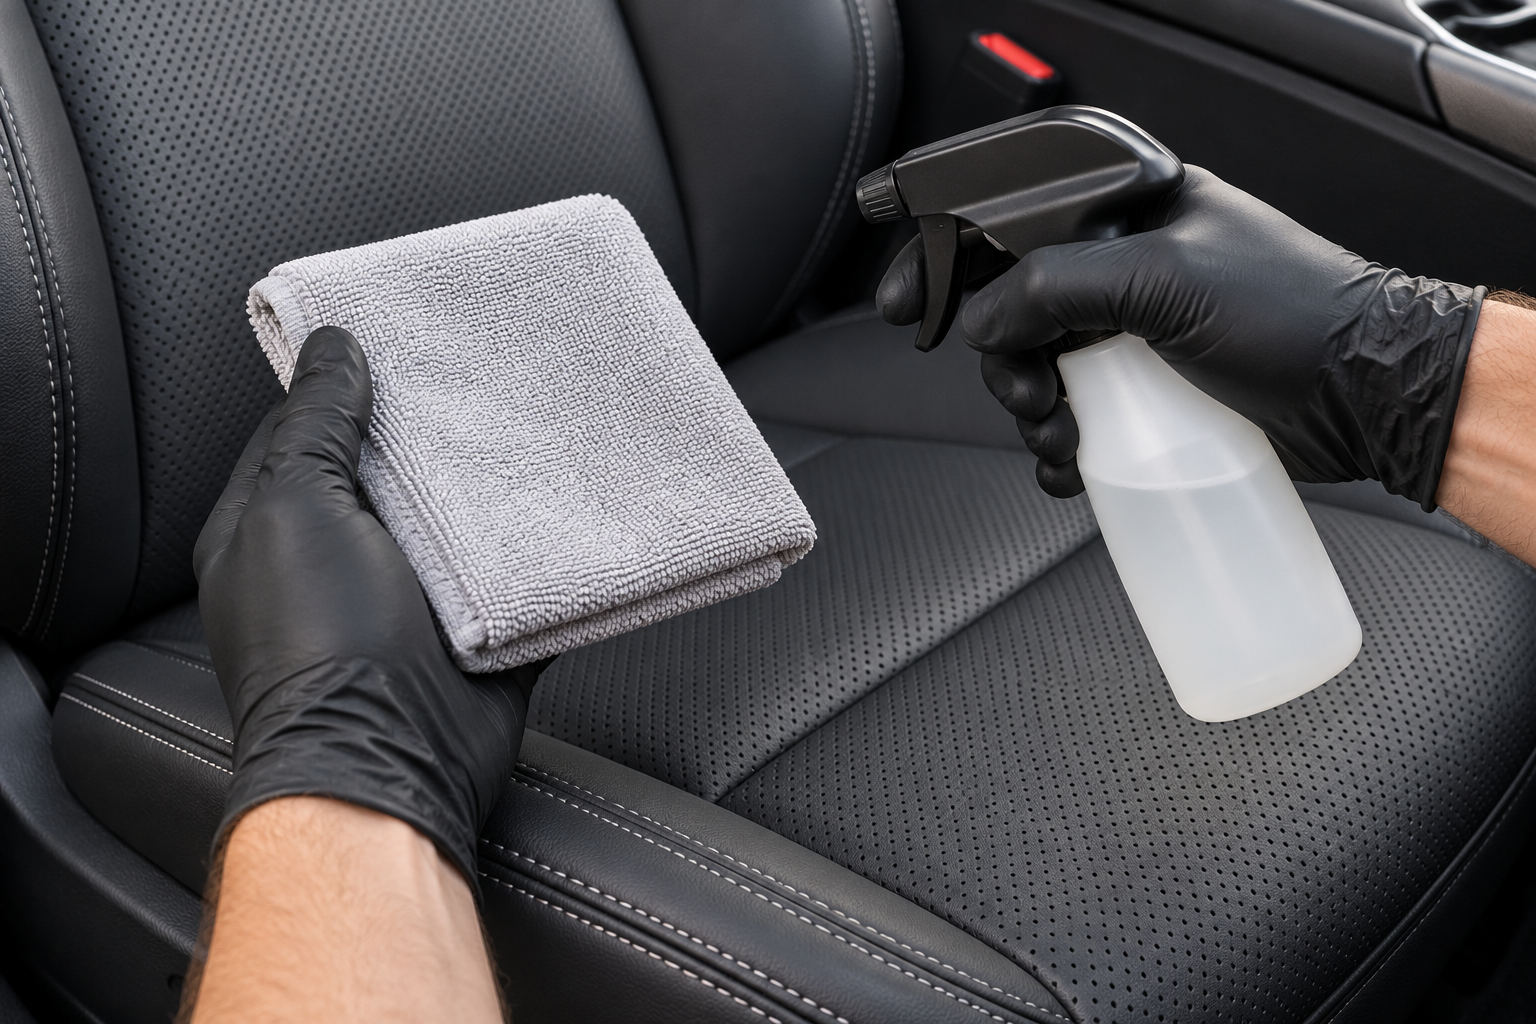
Shake Autoglym Leather Cleaner and spray a little onto a clean folded microfibre. Hold the cloth away from the cushion when spraying, so overspray doesn’t land in the holes or on seat controls. Start on a discreet area of the same material, finish the removal stage and inspect it dry for a colour or texture change.
On the visible panel, begin at an adjoining solid section before moving gently across the perforated area. Aim for a lightly damp working face, with no beads of liquid left sitting in the holes. If the cloth drips or the seat is visibly pooled, stop and blot the excess with a clean dry cloth.
Use a fresh cloth face when the working face looks dirty. Keep the pressure light and work one natural section between seams at a time. Let the surface dry before deciding it needs another pass.
Remove the dirt without soaking the cushion
With this specific Autoglym cleaner, the current UK method is to remove the remaining cleaner and dirt after two minutes using a damp cloth, rinsed frequently in clean water. Wring it out well before it returns to the seat. The damp wipe lifts what the cleaner has loosened; an already dirty cloth spreads it back around.
Bring the cloth flat across the panel rather than scrubbing a wet corner into each hole. Finish seams carefully so loosened residue doesn’t remain in a little ridge beside the stitching. Use a separate cloth for accidental drips on nearby hard trim.
If you’re using another cleaner, don’t borrow the two-minute stage automatically. A foam cleaner or a combined cleaner-and-protectant can have a different removal routine. The leather-cleaner comparison explains why I separate cleaning-only products from treatments that deliberately leave ingredients behind.
What if there is white residue in the holes?
First identify what was applied. Cleaner residue, a thick balm and a spill can look similar once dry, but adding more liquid to all three isn’t a sensible universal remedy. If it’s fresh excess from the product you’re using, remove it with the maker’s specified finishing wipe while keeping the cloth lightly damp.
For a dry surface deposit around the hole mouths, try a gentle clean of one discreet area and collect the loosened material on a clean cloth. Stop if the edges soften, colour transfers or the deposit stays lodged below the surface. Don’t force liquid through the panel, use compressed air to drive it further in or pick every hole with a sharp tool.
If the cushion has been soaked, the seat remains damp, an electrical warning appears or the ventilation behaves differently, stop cleaning and get vehicle-specific help. A wet-and-dry vacuum or upholstery extractor is not an automatic recovery method for a leather seat with components underneath it.
Let it dry before deciding on aftercare
Leave the seat uncovered with safe ventilation and let it dry naturally before sitting on it. Don’t close a still-wet seat under a cover or use a hot-air blast to hurry the surface along. Check the panel from the open door and from the other side of the cabin; residue can show differently along a row of holes than head-on.
Inspect the feel as well as the colour. A clean, dry surface should not leave wet product on your hand or clothing. If the result is even, leave it alone. A stubborn worn patch is not an invitation to repeat the whole clean until the surrounding material matches it.
For separate aftercare, read the conditioner and protection guide first. Where a treatment is permitted, distribute a small amount on its applicator away from the seat and keep the holes clear. A thick layer is much more awkward to remove from this cushion than from a plain bolster.