Some links in my articles are affiliate links. I may earn a commission when you buy through them.
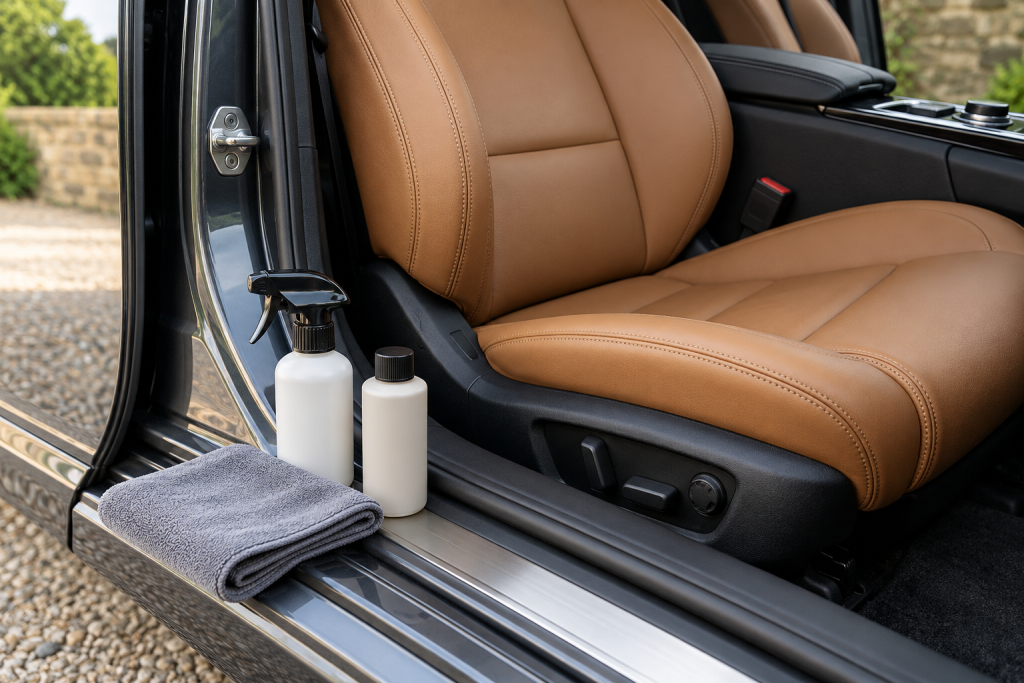
Leather seats are lovely until the driver’s bolster starts looking shinier than the rest of the cabin. If you’re buying a cleaner for ordinary surface grime, I’d start with Autoglym Leather Cleaner on compatible finished automotive leather. It cleans without adding a conditioning or dressing stage, so you can see the seat’s dry finish before deciding whether it needs anything else.
For light upkeep across leather and washable plastic or rubber trim, Turtle Wax Inside Job is the more convenient combined option. It leaves conditioning and protective ingredients behind, which suits a different job. Neither belongs on suede, an unidentified absorbent finish or a seat whose handbook rules out aftermarket cleaners.
My first choice for cleaning alone
A separate cleaning and damp-wipe routine lets you remove dirt, inspect the dry leather and choose aftercare independently.
Before buying: Finished automotive leather only; Autoglym excludes unsealed leather, suede and highly porous surfaces.
For a combined cabin tidy-up
One cleaner-and-protectant for compatible washable leather, plastic and rubber, with a finishing wipe to even out the surface.
Before buying: Expect a natural sheen rather than buying it to reproduce an entirely untreated matt finish. Check the vehicle’s care instructions.
Which kind of seat are you cleaning?
Start with the trim description and the care section in your handbook. A seat can have leather on one panel, synthetic material on another and a suede-like centre. The same bottle needn’t suit all three. If you’ve got textile panels, use the separate Alcantara method for those.
Smooth finished leather is the scope of my first recommendation. Unsealed or absorbent leather can darken or water-mark under a method intended for a coated surface. A name such as Nappa, a leather-look grain or the colour of the seat isn’t enough to select a chemical. Check what the vehicle maker permits for that particular upholstery.
Synthetic seats deserve their own check too. Autoglym lists faux leather as a use, but a broad bottle claim doesn’t override a narrower vehicle instruction. Tesla’s Model X handbook, for example, advises mild soap and a soft damp cloth for general cleaning of its vegan seats and does not recommend other cleaners, conditioners or protectants. Use the handbook for your model and upholstery, rather than transferring that rule to every synthetic seat.
Why I’d start with Autoglym for dirty leather
Autoglym Leather Cleaner makes sense when you want to remove grime without choosing a finishing product at the same time. Its silicone-free formula is intended to leave a natural matt surface. My own useful check was the dried bolster beside a crease: a light clean and proper removal of the excess gave a more even appearance than judging the leather while it was wet.
The removal stage is worth knowing before you buy. Autoglym’s current UK directions say to spray sparingly onto a microfibre, apply gently, then remove the cleaner and dirt after two minutes with a damp cloth, rinsing that cloth frequently. Let the seat dry before inspecting it. You need access to clean water and somewhere to put used cloths, rather than just a bottle and one increasingly dirty rag.
It’s a good fit for an owner who wants control over the result, particularly on high-contact areas such as the outer bolster. On a lightly dirty seat, start with a discreet section and use no more than needed to wet the working face of the cloth lightly. If it drips when held above the seat, you’ve loaded it too heavily.
Autoglym also permits careful use on perforated automotive leather, with a sparing application so the holes aren’t filled. The perforated-seat cleaning guide explains how to manage those panels and the seams around them.
When Inside Job is the more useful bottle
Inside Job suits a regular cabin tidy-up when the seat material permits a combined cleaner, conditioner and protectant. Its UK formula includes conditioning oils and protective polymers; Turtle Wax describes the finish as a natural sheen. That makes it a useful alternative if you want the treated finish as well as the clean, rather than trying to remove soil and leave nothing else behind.
I like the convenience for a cabin with several compatible washable surfaces. Use separate cloth faces for the seat and dusty trim, though: a single bottle doesn’t mean dragging dashboard dirt onto a bolster. On my seats, light cloth application gave a cleaner appearance once dry, without scrubbing at the bolsters.
Shake it, apply to a clean microfibre and wipe the permitted surface thoroughly. The maker recommends a second coat for its best result, then turning the cloth and wiping away excess. Work that routine into your plans if you want the combined treatment. Spraying repeatedly onto a finished seat because the surface still looks wet just makes the final wipe harder.
Choose the original Inside Job variant discussed here, rather than assuming a different fragrance, aerosol or similarly named interior product has identical directions. Keep it off any surface excluded by your vehicle’s handbook, and don’t transfer this seat recommendation to steering-wheel grip or pedal surfaces.
Dirt, wear or a previous dressing?
A dark shiny bolster can carry body oils or old product, but it can also be worn smoother than the surrounding leather. Clean a discreet area, remove the residue properly and allow it to dry. Compare the colour, feel and sheen in the same light. More rubbing is a poor next step if the colour starts lifting or the surface is already peeling.
For ingrained discolouration that remains after a careful clean, ask a leather-repair specialist to identify the stain and finish before choosing a stronger chemical. A household degreaser, solvent or abrasive cleaning sponge can turn a small mark into a much bigger colour-repair job. Neither cleaner here is a repair for cracked coating, missing colour or torn stitching.
If a seat is clean but still has a film, check that you’ve completed the bottle’s removal method. With the separate cleaner that includes the damp wipe; with the combined product it includes wiping away excess. Don’t judge the two products by the same wet appearance midway through the job.
What else is worth having ready?
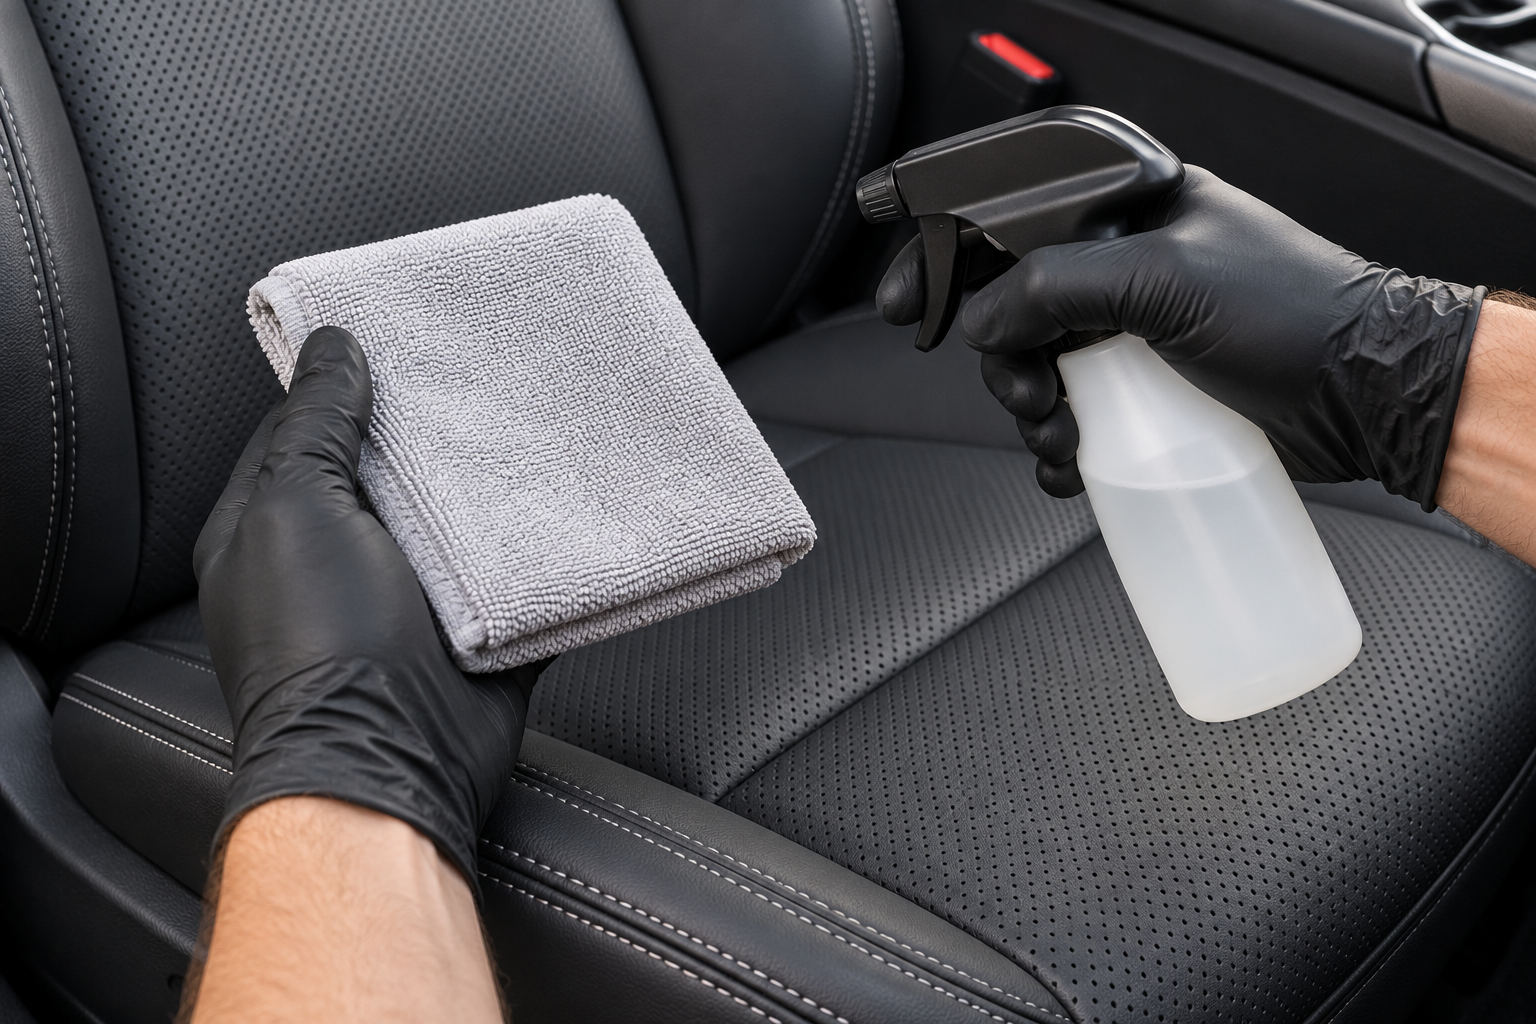
A soft vacuum attachment, several clean cloths and good light are more useful than an enormous kit. Vacuum crumbs from creases first, keeping a hard nozzle edge away from the leather. Fold each cloth so you can change to a fresh face as it picks up grime; the microfibre guide helps you keep seat cloths separate from exterior jobs.
Work across a natural panel bounded by stitching, rather than cleaning a little circle in the middle and leaving a tide line around it. Keep a clean dry cloth within reach for accidental drips and leave time for the seat to dry before sitting on it. The existing leather-seat method takes you through the general cleaning order.
After cleaning, decide whether your upholstery actually needs a separate treatment. My conditioner and protection guide explains the options. You don’t need to add an oily finish just because the seat is leather.